I went on a bit of an old frame-buying spree on my last trip to Goodwill. You may have noticed in my post about the greeting card turned wall decoration.
When I came across this frame at Goodwill, I had two immediate thoughts: That gold frame is sooo pretty! And wow, that picture is not my style.
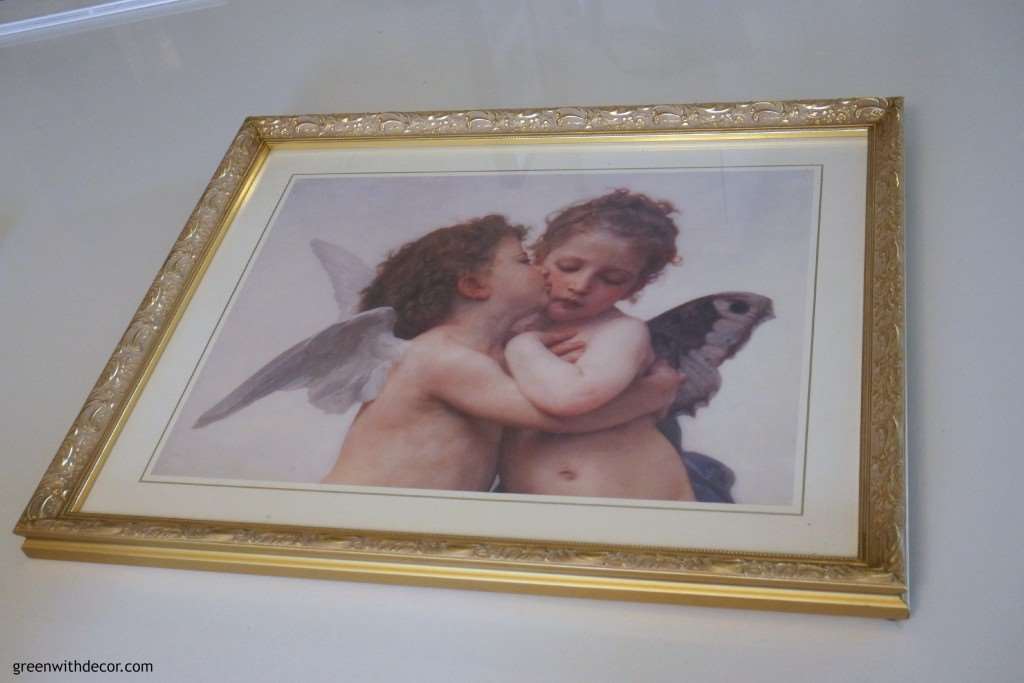
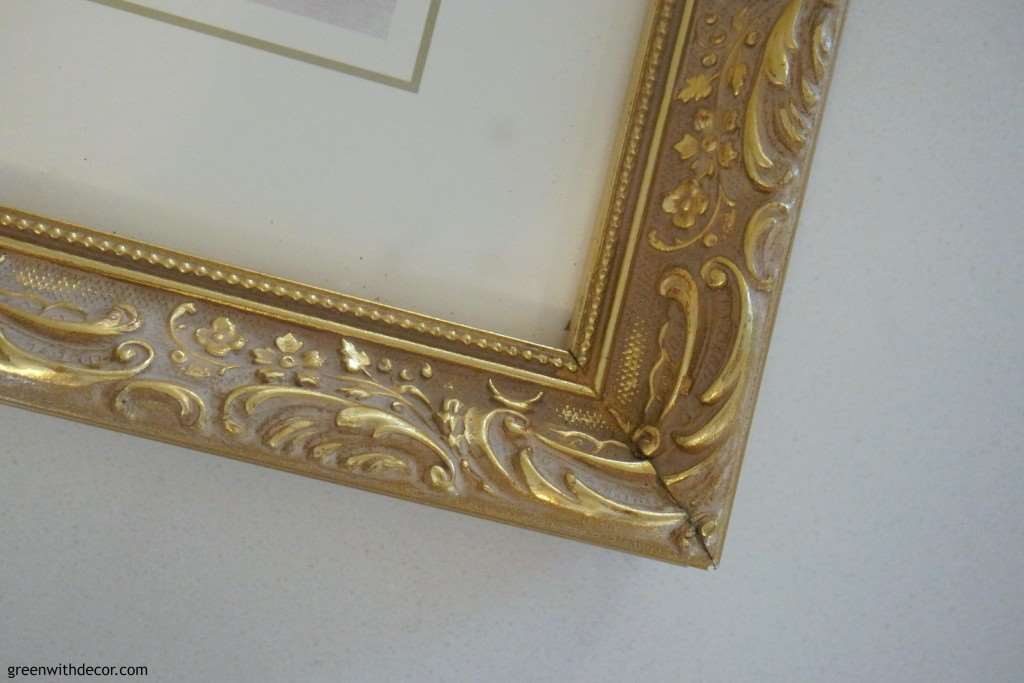
So I bought the frame knowing I could make the inside into something pretty to match the awesome frame.
Since it’s the perfect time of year for a Christmas DIY project, here’s what I came up with:

This post contains affiliate links. This means if you click the link and buy something, I may receive a small percentage of sales at no extra cost to you.
Supply list:
This was my first project with chalkboard paint and it’s safe to say, I’m in love.
This definitely won’t be my last chalkboard paint project.
Make your own Christmas decoration with chalkboard paint:
1. Shake the chalkboard paint.
Having never used chalkboard paint before, I didn’t know this one. But the paint is definitely watery and gross if you don’t shake it before pouring it on your tray, so shake it.
And by tray, I mean paper plate in my case, because that’s usually what I end up using for my paint … hey, whatever works.
2. Paint the material using all horizontal strokes.
I used the back of the creepy picture, but you could use the back of the frame (if your frame has a back), too.
The picture actually wasn’t a picture at all. It was just a print on some weird Styrofoam material. I wasn’t sure that the chalkboard paint would adhere to it, but it did without a problem.
Cover the whole piece, then let the paint dry for 1 hour.
3. Paint the material using all vertical strokes.
It’s amazing how this technique ended up going from looking stripe-y to looking like one solid piece of chalkboard.
Let the paint dry for 24 hours.
4. Line up your stencils.
I wanted a Christmas theme, so I went with all the reindeer names.
I didn’t have enough stencils to spell out every name without reusing some stencils, but I had enough to figure out my layout.
As long as you have a general idea of where you want the letters to go, you’re good. It would just be a huge bummer to have most of your letters drawn out and then realize you’re out of room!
You actually wouldn’t have to use stencils at all, but I knew my handwriting wouldn’t look great by the end (or even the middle) if I wrote all those reindeer names out freehand.
5. Start drawing the letters with chalk.
If you do use stencils, be sure to hold them down so you don’t accidentally draw a crooked letter.
This part took a little bit of time, only because I had all the reindeer names to write out. (Why are there so many?!)
A simple “Merry Christmas” might be an easier project if you’re stretched for time!
Oh well. Once I had some of the reindeer names done, I wasn’t going back.
6. Blow off the extra chalk dust.
Unlike paint, which is what I usually use with my stencils, chalk leaves dust EVERYWHERE. I kept blowing it off as I went so it wouldn’t settle onto the frame.
If you mess up a letter, you can get a paper towel wet, wipe off the mistake and start over. (Yes, I did that.) No big deal.
7. Put your finished piece inside the frame.
8. Display!
If you saw my Christmas house tour earlier this week, I said I’d probably be changing up my mantel a few times this season. Well here ya go!
How do you decorate your mantel for Christmas? Please tell me I’m not the only one changing it up because I have too many ideas for one mantel. I wish I had a mantel to decorate in every room.
Remember to bookmark or pin this post if you want to save it for later!
Pin it!
Want to read more posts like this?
Follow along: Get my emails | Facebook | Pinterest | Twitter | Instagram
Heather @ DeansListBlog says
What a clever idea, Meg! I love doing DIYs like this from the thrift store… I may have to pick up a creepy frame next time I’m shopping! 😉
GreenWithDecor says
Thanks, Heather! Ha!
Sara says
Ooooo! This is awesome! That frame is beautiful!
GreenWithDecor says
Thanks, Sara!
Vicki and Jennifer 2 Bees in a Pod says
Hey Meg – your repurposed frame looks wonderful as a chalkboard. Great graphics too! Happy to tour with you!
GreenWithDecor says
Thanks, ladies!
Katrin@KreativK.net says
Meg, chalkboards are the best! I love them because you can use them more than once. And this frame of yours is so beautiful! I love what you did with it!
GreenWithDecor says
Thanks, Katrin! I’m obsessed with chalkboard paint now!
Tammy says
What an adorable sign and repurpose! Great idea!
GreenWithDecor says
Thanks, Tammy!
Roxanne says
That frame was a great find, I LOVE what you did with it!
GreenWithDecor says
Thanks, Roxanne! I was excited to find such a pretty frame!
Cat @ Pocketful of Posies says
Looks great Meg! I’m loving those reindeer signs this year too! Yours is soo cute! I’m pinning! Thank you for sharing!
Cat
GreenWithDecor says
Thanks so much, Cat!
April R - Uncookie Cutter says
Very cute Meg! I love it, much improvement ;).
GreenWithDecor says
Haha, thanks, April!
Karen says
So cute and smart to make a chalkboard sign Meg! I love it!
P.s. I also had tha Angel picture in the 90,s 🙂
GreenWithDecor says
Thanks, Karen! That is too funny!! 🙂
Tara says
Great chalkboard project Meg! Looks super on your Christmas mantel:)
GreenWithDecor says
Thanks, Tara!
Sarah says
What a great way to upcycle a thrift store find! (And I agree about the creepy cherubs.)
GreenWithDecor says
Thanks, Sarah! Ha 🙂
Vanessa says
How adorable! Great use of the picture frame. I love you can use it all year around too.
GreenWithDecor says
Thanks, Vanessa!
Designing Vibes says
This turned out so well, Meg. I loved how you used stencils…this gives me some inspiration given my handwriting leaves much to be desired. haha
Keep rockin it!
Erica- Designing Vibes
GreenWithDecor says
Thanks, Erica! I’m with you on the handwriting!
Tee @ Beauteeful Living says
I love that gold frame! You’re right, that old picture looks weird. Your chalkboard was a much better fit! Nicely done, Meg.
GreenWithDecor says
Ha, thanks, Tee!
Lucy @ Patina Paradise says
Cute idea if you have kids. Pretty frame.
GreenWithDecor says
Thanks, Lucy!
Emily, Our house now a home says
This is such a good idea! I always see a bunch of canvas’s at store but am never happy with the print. This is a great upcycle.
GreenWithDecor says
Thanks, Emily!
Cathy says
I love chalkboards and this one is definitely perfect for Christmas. Love the frame. Cathy
GreenWithDecor says
Thanks, Cathy! I love the frame, too 🙂
Marie from The Interior Frugalista says
Very cute chalkboard! Pinning to share 🙂
GreenWithDecor says
Thanks, Marie!
Amy Dowling says
Super Cute!!
GreenWithDecor says
Thanks, Amy!
bon bon @ Farmhouse 40 says
Hi Meg….what a great idea. I love this..
GreenWithDecor says
Thanks, Bon bon!
Sue Eldred says
What a great way to re-purpose something “unique”. (I have an obsession with frames and am always picking them up at yard-sales.)
GreenWithDecor says
Thanks, Sue! I’ve caught onto the old frame obsession!
Tiffany says
This turned out really cute. I love chalkboard projects as well. Sounds like you are hooked now too!
GreenWithDecor says
Thanks, Tiffany! I am hooked!
Creatively Homespun says
This looks sooo great!!! What a fun idea! I was so excited to see the huge amount of link ups for this hop! There is so much eye candy!! 🙂 Pinned!!
GreenWithDecor says
Thank you! I know, so many great projects!