Disclosure: This post is sponsored by Wagner. All opinions, images and love of DIY painting projects are 100% mine.
You know when you’re out thrifting and come across a piece with perfectly crackled paint? As if the piece aged just right to create that look on purpose? Well you no longer have to hope and hope to come across these crackled pieces because you can create the look yourself!
We used our Wagner heat gun earlier this year to clean our grill, and it’s such a cool tool. There are soooo many projects you can use a heat gun for. The cracked paint look always intrigued me so I was excited to give it a try.
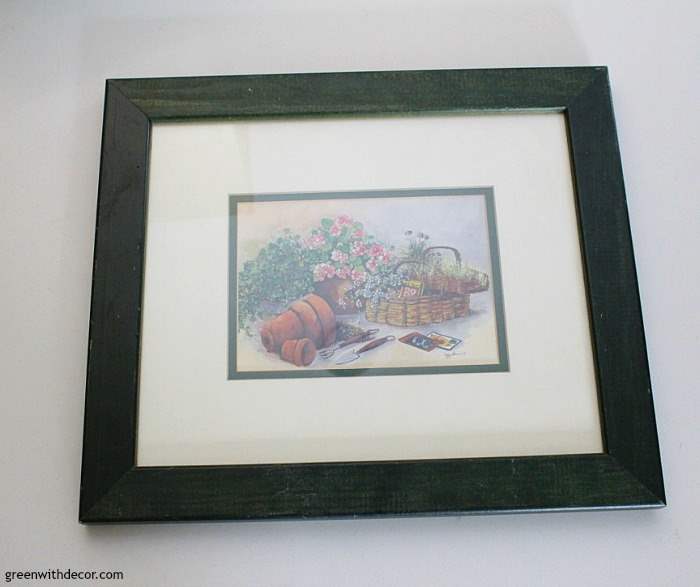
I picked up an old picture frame from the thrift store and got to work. I decided to use chalkboard paint on the middle of the frame to turn the piece into a little chalkboard, too. It’s perfect for my desk!

Here’s how the frame started:
This post contains affiliate links. This means if you click the link and buy something, I may receive a small percentage of sales at no extra cost to you.
Supply list to crackle paint:
- Picture frame, be sure the frame is wide enough to show a few crackles.
- Drop cloth/old blanket
- Acrylic craft paint, two contrasting colors (I picked green and white, because of course I did.)
- Painter’s tape
- School glue
- Four small paint brushes (one for each paint color and one for the glue, plus a fourth brush if you’re also going for the chalkboard look. Keep in mind, you can wash out the brushes you use for painting and use them again for a future project, but I found it easier to just throw out the glue brush instead of cleaning it.)
- Wagner heat gun, FURNO 750 (also available here)
- Extension cord (if needed)
- Chalkboard paint (optional)
How to crackle paint with a heat gun:
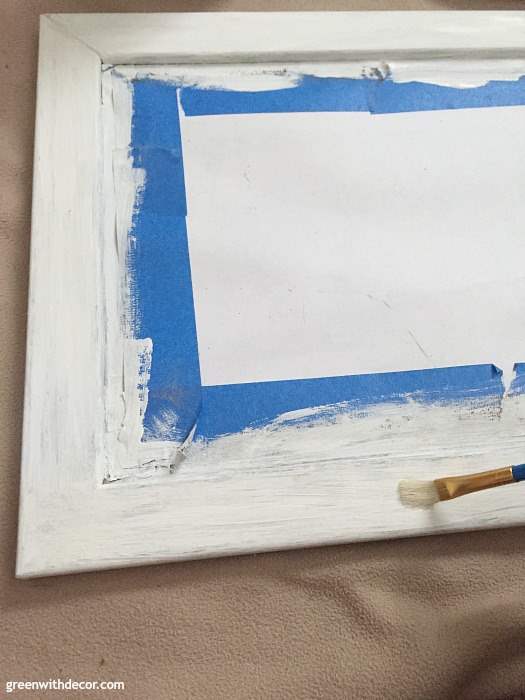
1. Tape off the frame to avoid getting any paint on the inside.
You can also pop the frame off the glass so you can just paint it without worrying about stray brush strokes.
2. Paint the frame like you would paint any other project.
Let it dry.
3. Paint a second coat.
Let it dry.
4. Brush the glue onto the frame.
It’s really helpful to have two people for steps 4-6 so you can kind of work as a team before the glue/second paint color dries. We also found it easiest to do one side of the frame at a time, completing steps 4-6, then repeating on each side of the frame till you’re done.
Spread the glue evenly on the frame going in only one direction, not back and forth.You’ll want to apply enough glue to cover the whole frame but not an excessive amount, because it will take longer to dry.
Pay attention to the glue as it starts to dry and when it’s tacky, move on to step 5. If the glue is still wet or has already dried, you won’t get the crackling paint effect.
I realize this step sounds a bit tricky, and it is, but once you play around with it, you’ll realize the perfect glue thickness and tackiness to get the best results.
5. Once the glue is tacky, apply your second paint color with a paint brush.
Just like how you applied the glue, apply the second paint color in just one direction (the same direction you applied the glue in).
Be careful not to apply too much paint/too much pressure or you might end up covering the glue or moving the glue around, and then the paint won’t crackle.
6. Use your heat gun to dry the second paint color.
The paint will start to dry and crackle as the heat hits it.
If you’re not familiar with using a heat gun, I talk a lot about it in this blog post, but I’ll do a quick run through here, too.
Pick the correct attachment.
Then turn your heat gun on and select the right temperature. We set ours to 340*F for this project.
If it’s much higher than that, you run the risk of your paint bubbling instead of crackling, which is definitely not the look we were going for.
And a quick side note, the manual that comes with the heat gun has recommended temps for various projects, which is a great place to start. If you’re not sure how hot to turn up your heat gun for a project, start lower and work your way up. It’s way easier than overheating a project.
Always keep your heat gun moving instead of just focusing on one spot.
It’s really cool to watch the paint start to crackle.
7. Let the heat gun cool down.
The gun will automatically go into cool down mode when you turn it off. The case has the perfect slot on top of it to hold your heat gun while it cools down.
8. Take the painter’s tape off the frame.
9. (optional) Paint the inside of your picture frame with chalkboard paint to create a chalkboard.
When using chalkboard paint, apply one coat vertically and let it dry for at least an hour. Then apply a second coat horizontally and let it dry for at least 24 hours.
Then rub chalk over the entire frame and erase it. This prevents whatever you first write on the chalkboard from leaving an outline on the frame forever.
(Okay, I totally feel like this whole blog post is full of all sorts of little tips, but all of these are soooo helpful to know up front instead of figuring all of this out the hard way!)
I haven’t written anything on my chalkboard yet, but I love the green frame on top of the white painted desk. It will be the perfect little frame to write a to-do list or fun quote on.
If you want the tutorial for getting perfect chalkboard letters, I spill my secret in this blog post.
Now isn’t this an easier way to get a crackled paint look rather than scouring flea markets and thrift stores looking for the perfect crackled pieces?! Not that I’ll stop shopping, of course. 🙂
Do you have any painting projects on your summer to-do list? Any pieces that will look extra special with crackled paint?
If you’re interested in more heat gun projects, check this out:
If you’re looking for more painting projects, check these out:
- How to use a paint sprayer
- How to add glaze to painted pieces
- How to dry brush (an easy painting technique)
Remember to bookmark or pin this post if you want to save it for later!
Pin it!
Want to read more posts like this?
Follow along: Get my emails | Facebook | Pinterest | Twitter | Instagram
Leave a Reply