Disclosure: This post is sponsored by Wise Owl. All opinions, images and love of painting projects are 100% mine.
I’m so excited about today’s post! I’ve been wanting to jump on the chalky paint trend for awhile, and guess what the theme is for this month’s Create & Share Challenge?
Use Wise Owl’s Chalk Synthesis Paint to transform a piece!
Here’s my first chalk synthesis paint project:

If you’re not familiar with the monthly Create & Share Challenge, Steph from Casa Watkins gather us all together once a month to each complete a similar project – with our own personal decor touches of course!
I know everyone says using chalk synthesis paint is easy, and guess what? It is!
This post contains affiliate links. This means if you click the link and buy something, I may receive a small percentage of sales at no extra cost to you.
Supply list:
- Wise Owl Chalk Synthesis Paint, Antique Villa
- Wise Owl Natural Furniture Wax, Driftwood
- Clear wax
- Wise Owl wax brush
- Paint brush
- Lint-free rag (I use old t-shirts. No need to buy anything new!)
- Wood filler
- Drop cloth
- Drawer label holders
- Paper
- Printer
- Scissors
- Drill
I’ve been collecting more and more decor and furniture pieces that I want to make over. Our basement is starting to look like a thrift store … I love it!
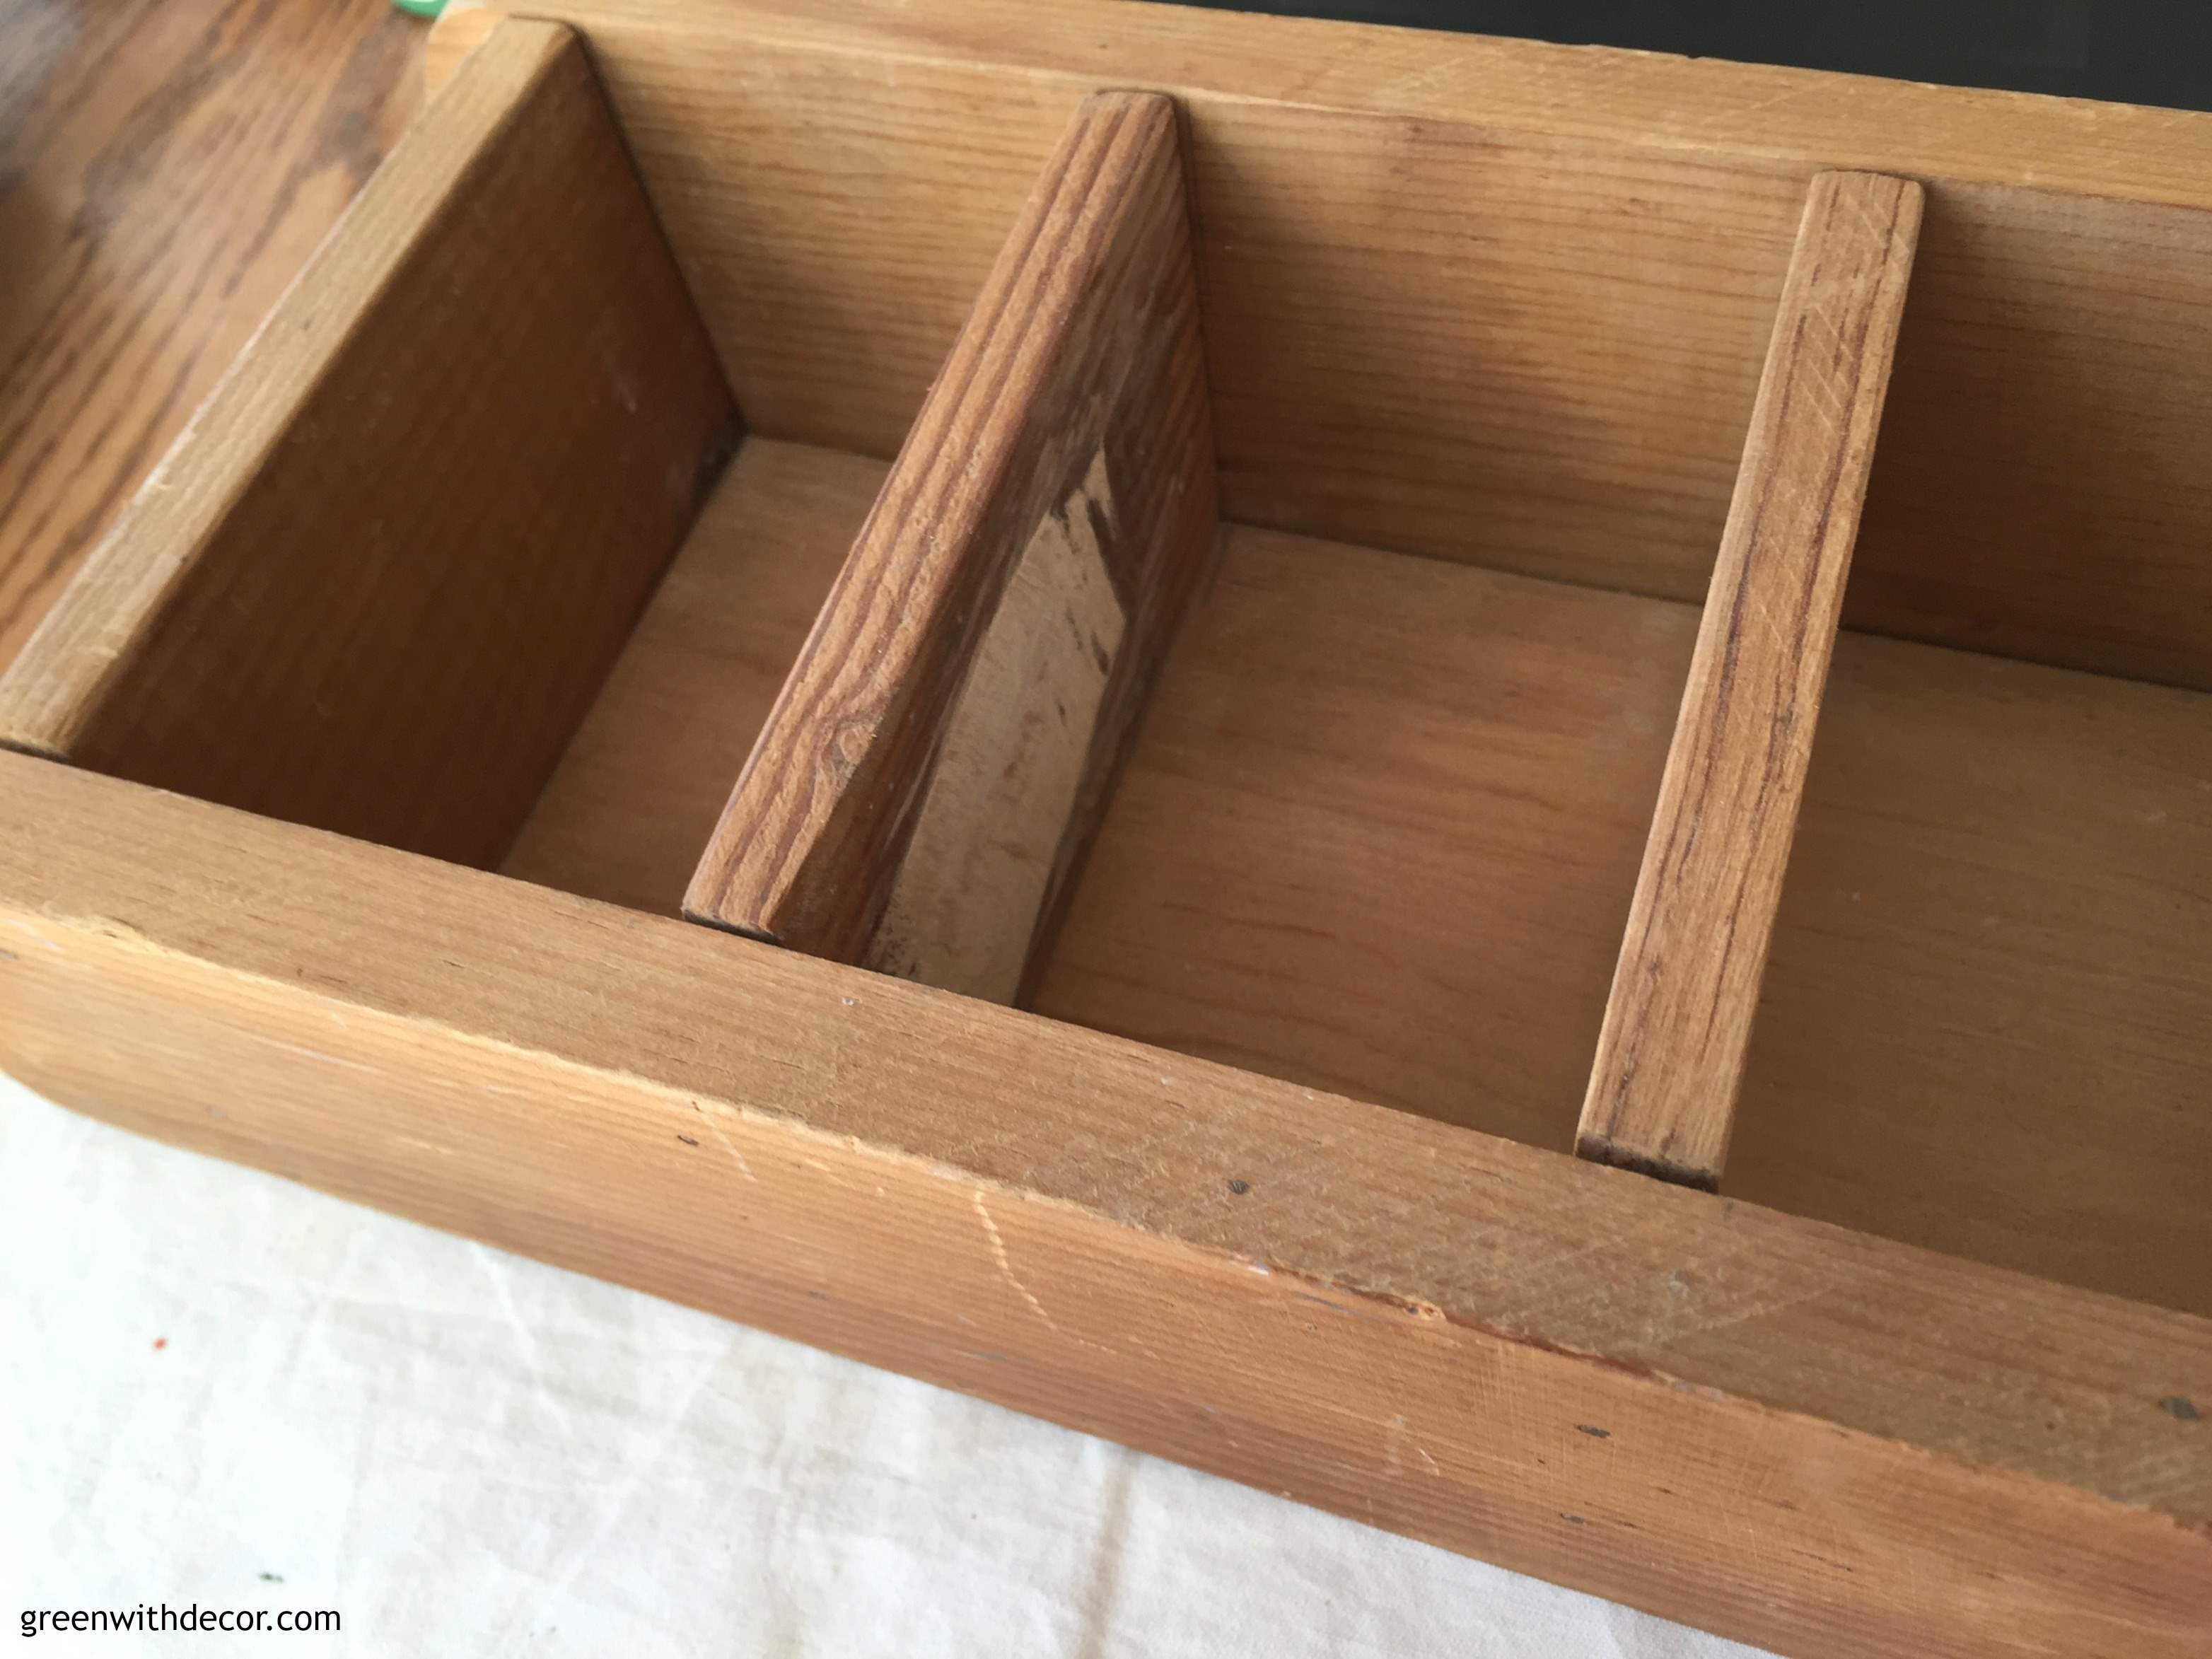
One of the pieces I recently bought was this little drawer set.
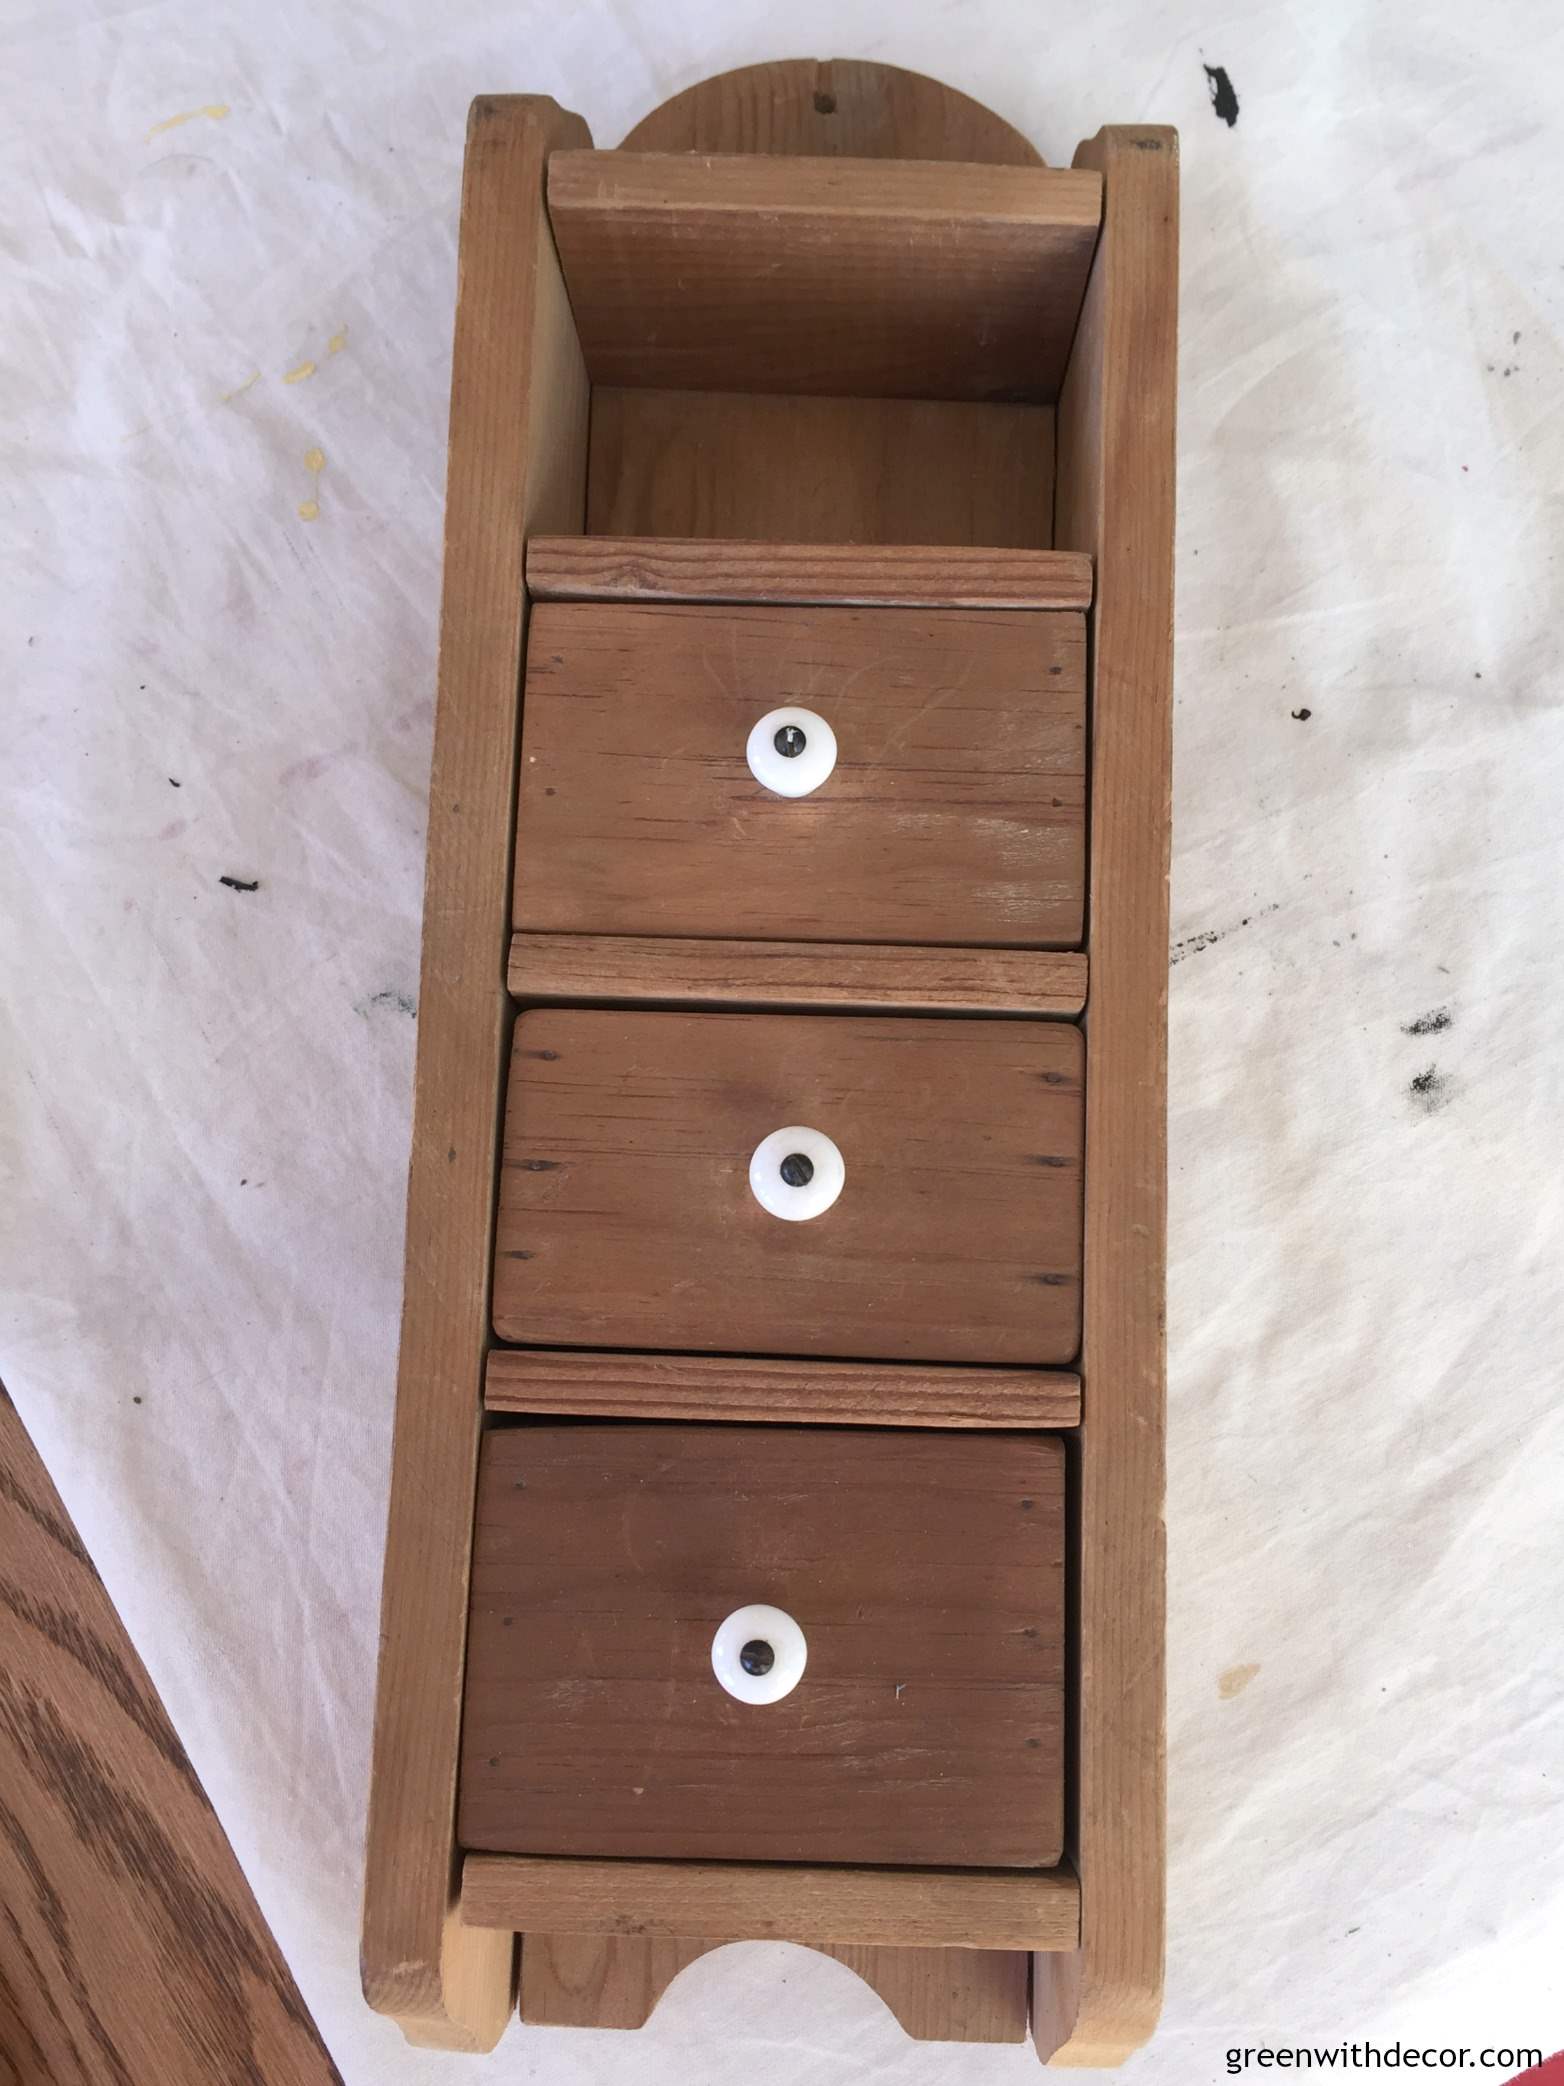
Even though it was missing a drawer, it was too cute to pass up! I knew I could come up with something to do with it.
A home office is on our list at some point since Kalen does some work from home, and I’m working on the blog a lot. So I figured we could use this piece in the home office.
(Give me a cute home decor item, and I WILL find a reason we need it in our house!)
How to paint with chalky paint:
1. Fill the nail holes
You can see some small nail holes on the sides of the drawers. If you pick up a piece with similar holes, use some wood filler to fill in the holes. Let it dry, and then you’re ready to paint.
2. Get your paint ready.
Shake, shake shake. Stir, stir stir.
Be sure to use a drop cloth so you protect whatever surface you’re painting on. It’s winter in Wisconsin, so you bet I was inside at the kitchen table.
3. Prep your piece (kind of)
Chalk synthesis paint is often referred to as “no prep.” This is pretty much true, but if your piece is really banged up, you may need to do a little sanding.
My little drawers and chest were in fine shape, but I do always give a piece a quick once-over with a damp rag to get rid of any loose dirt and dust.
I took the drawers out to paint them separately from the chest.
4. Start painting
Be sure to use your brush in the same motion when applying paint so you don’t end up with brush strokes going in perpendicular directions.
I’d also recommend painting in the same direction as the grain of the piece you’re painting.
Let it dry for at least 30 minutes and then apply a second coat.
Make sure your piece is completely dry before you give it a second coat or you could end up messing with the paint coat you already applied.
However, if you want more of a brushed look, you can skip the second coat.
White and red paint often need at least two coats though – due to how they’re made – so I gave my piece two coats with my Antique Villa (white) paint.
5. Apply clear wax.
If you’re not familiar with chalk synthesis paint, wax helps to seal and protect a piece so the paint stays adhered to the piece.
Even if you’re going to use a colored wax on a piece, do a coat of clear wax first. If you apply colored wax before the clear wax, your piece will probably come out darker than you want it because it absorbs right into the paint, which can be hard to undo.
When it comes to wax, a little goes a long way.
You can use a wax brush or a lint-free cloth to apply the wax. Use a circular motion and try not to go over spots you’ve already covered.
Don’t let the clear wax dry completely before moving onto the colored wax.
6. Apply colored wax.
First a few prep steps:
If you like applying wax with a brush, use a different brush for the clear wax than you do for colored wax. Otherwise, that brush will pretty much be a ‘dark wax’ brush going forward, because you won’t be able to use it for clear wax again without inevitably getting some of the darker wax mixed in.
If you don’t have two wax brushes, no worries. You can also use a lint-free rag to apply the dark wax.
Work this over the piece similar to the way you did the clear wax – using a circular motion and avoiding any spots you’ve already covered. Be sure to cover the piece, especially into any little grooves.
The best part is, if you put on too much colored wax, you can rub clear wax over it to lighten it.
Let it dry.
The Driftwood gray wax is pretty light so it didn’t change the color of the piece too much, just added a bit of a textured look.
7. Make your labels.
While your wax is drying, you can make labels for your drawers.
I measured the front of the drawer and found these drawer labels that would fit on the front and then measured the inside of the label holders so I knew what size to make the labels.
I made these in Microsoft Word using Copperplate font. I printed them off and cut them to fit the size of the label holders.
8. Drill your label holders onto your drawers.
Center your label holders on your drawers and drill them in place.
9. Display!
What a fun project, right? I love making over old pieces.
Here are some close ups so you can get a better look at the paint and wax:
Remember to take a look at the other bloggers’ awesome Wise Owl projects. I have fun every month going through all the Create & Share blog posts to see what projects everyone else did!
For more home office DIYs, check out these projects:
- A DIY display board
- The secret to making a DIY cork bulletin board
- How to organize a craft closet without spending a dime
Remember to bookmark or pin this post if you want to save it for later!
Pin it!
Want to read more posts like this?
Follow along: Get my emails | Facebook | Pinterest | Twitter | Instagram
bon bon @ Farmhouse 40 says
Meg this is so cute. Love the paint and how the was gave it a vintage look.
GreenWithDecor says
Thanks, Bon Bon!
Jessica says
wow, good work Meg!
GreenWithDecor says
Thanks, Jess!
Cat @ Pocketful of Posies says
Cute project Meg! I could use a little office organizer just like that! Pinning!
GreenWithDecor says
Thanks, Cat!
Karen Chouinard says
So cute! I love the shabby application! Sometimes the beauty really is in the imperfections and I often use a chip brush like that to achieve a time worn finish! If I want brush stroke free I turn to the Cling On Brush for sure. Thanks so much for sharing and participating in such a cool blog event!
GreenWithDecor says
Thanks, Karen! So glad we could work together on this blog post!
April R - Uncookie Cutter says
Looks amazing Meg! What a great little piece. I’m loving that paint!
GreenWithDecor says
Thanks, April!
Jenny @ Refresh Living says
What a transformation – it looks so much better! I love those little label tags.
GreenWithDecor says
Thanks, Jenny!
Kimberly @ The Daring Gourmet says
Love this idea, your drawer set turned out totally awesome! I’ve never heard of chalk synthesis paint until now and I’m totally checking it out, thanks!
GreenWithDecor says
Thanks, Kimberly! You should definitely give it a try if you like painting!
Emily, Our house now a home says
I love how this turned out!
GreenWithDecor says
Thanks, Emily!
Katy-ashadeofteal says
This is soo cute! My garage also looks like a thrift store, I love it but the husband doesn’t, haha!
GreenWithDecor says
Thanks, Katy! Haha glad I’m not the only one!
Meghan @ The Twin Cedars says
I’m loving the rustic look! Great job Meg 🙂 Pinned!
GreenWithDecor says
Thanks, Meghan!
Tara @ Lehman lane says
Such a great makeover Meg! The labels you added to the drawers are my favorite part:). You created a fantastic organizer. Have a great weekend and take care, Tara
GreenWithDecor says
Thanks, Tara! I love the labels, too!
Ruthie says
I love how you changed this to a wall hanging desk organizer! It’s the perfect size and looks adorable!
GreenWithDecor says
Thanks, Ruthie!
Stephanie @ Casa Watkins says
This turned out great. Great makeover and I love the labels! Pinned!!
GreenWithDecor says
Thanks, Steph!