If you’re wondering how to insulate windows for winter, follow this easy DIY tutorial for using a window insulation kit.
This is a sponsored post written by me on behalf of Duck Brand. All opinions are 100% mine.
We’re busy doing a billion little house projects as we anxiously await Baby H’s arrival. Nothing like a deadline, right?!
Her room is pretty much ready (nursery reveal will be live next week!), although our toddler is still thoroughly enjoying her crib so we’re in no hurry to move her into her new toddler bedroom. (Which is currently the guest room turned home office because 2020 is crazy!)
Baby will enjoy the bassinet for a while until we move everyone into their new rooms.
Regardless of which little one is sleeping in this pretty pink room, we want to be sure the windows are ready for those cold Wisconsin winters.
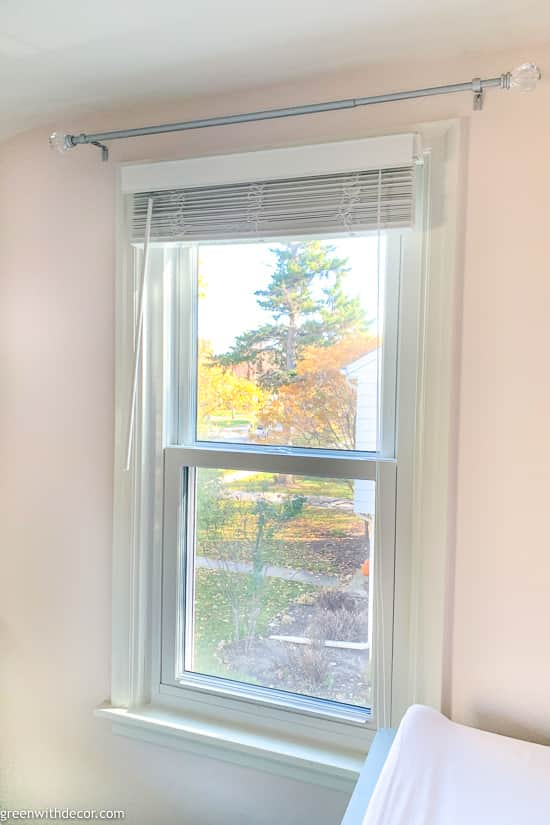
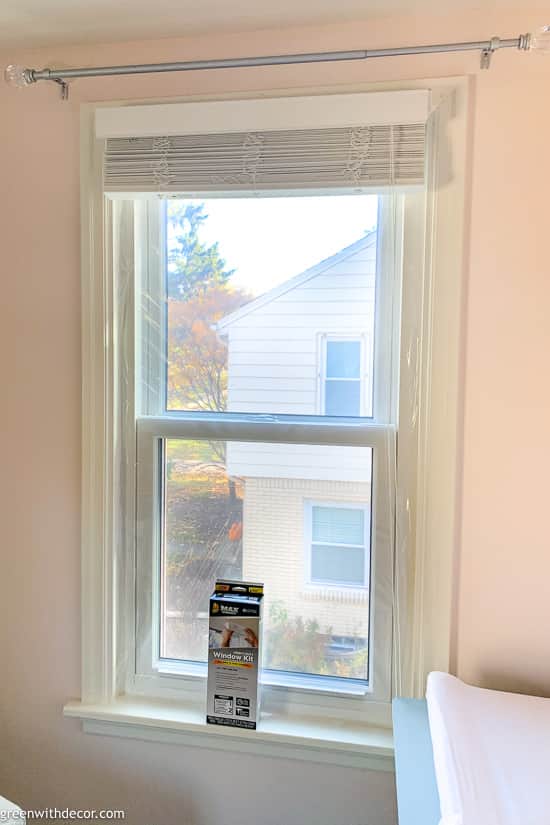
We added Duck Brand‘s window insulation kit to the windows in here to be sure this room stays warm. The heavy-duty window kit blocks cold drafts that lead to high heating costs.
Plus the puncture-resistant rolled film is two times thicker than standard window kits to create a strong barrier between outside and inside.
And huge bonus, it’s easy to install and remove. No measuring even needed since you just cut off the extra film after you install!
You can see details on how to insulate windows below. The installation process is easy, which is about the only type of project I’m currently interested in at 8+ months pregnant.
This post contains affiliate links. This means if you click the link and buy something, I may receive a small percentage of sales at no extra cost to you.
Supply list for sealing windows for winter:
- Duck Brand Rolled Window Kit (available at Walmart – easy to order online!)
- Scissors
- Hair dryer
(Nope, no tape measure on this list! You just cut off any excess film.)

Note, you should use the window insulation kit on clean and dry surfaces, including painted or finished wood, vinyl or aluminum. If you have plaster, drywall or unfinished wood, this product isn’t recommended.
How to insulate windows for winter:
1. Press the tape to to the top edge of your window.
Then remove the liner.
2. Roll the window insulation film across the tape. Start on the right side of your window, rolling toward the left side.
The roll setup makes the process easy and convenient. Then cut the film to size.
Be sure the loose edge of the window insulation film is applied to the tape, not the folded edge so you’ll be able to unfold it in step #4.
3. Apply the tape to the sides and bottom of your window.
Remove the liner.
4. Unfold the window insulation film and press it firmly against the tape.
5 . Use a hair dryer to blow on the window insulation film to shrink it and remove any wrinkles.
And that’s it! Really easy.
We love that the window insulation kit is made from crystal clear shrink film so you can see clearly through the window as normal.
So excited to have this little project checked off the to-do list that will keep our kids warm while keeping our energy bills down. Win-win-win!
You can catch up on all other nursery projects here (including our cute and easy-to-install drawer liners also from Duck Brand!).
Stay tuned for the big room reveal next week!
If you want more weatherization project ideas after you’re finished insulating your windows, check out Duck Brand’s Weatherization Project Selector.
Remember to bookmark or pin this post if you want to save it for later!
Pin it!
Want to read more posts like this?
Follow along: Get my emails | Facebook | Pinterest | Twitter | Instagram
Laura F Podrasky says
I have been thinking of what to do to my back porch so I can still look out. Thanks!!! This is it
GreenWithDecor says
Glad this is helpful!