If you’re wondering how to build a DIY planter box, this tutorial walks you through step-by-step! Perfect project for a backyard!
It’s finally spring, which means we’re planning outdoor projects again!
I have a fun backyard update to share today: A DIY planter box.
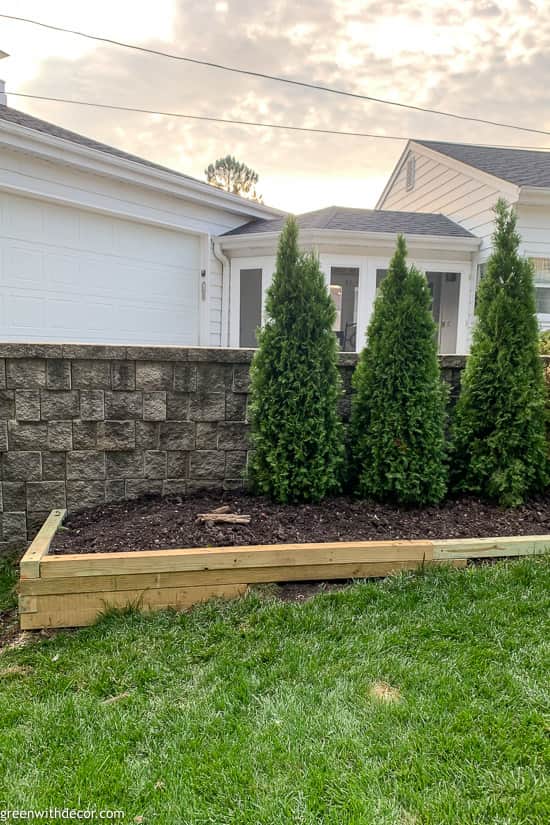
Our yard slopes slightly as you head further back. As we added more Arborvitae for additional privacy and shade along the side of our yard, the dirt pile underneath them wasn’t looking so nice as it got bigger and bigger.
Plus curious toddlers have definitely been known to think the dirt pile was just for them, so this had to be addressed!
So we decided to close in the planting area with this DIY planter box. (I can’t promise this actually keeps toddlers out of the dirt, but hey we can dream.)
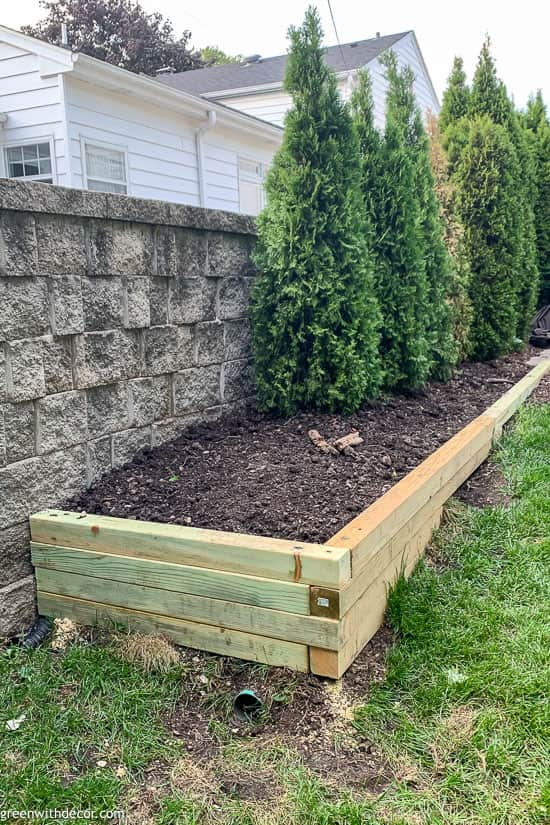
This makes such a difference in making the planter area with our Arborvitae look more finished! (We’re going to add a couple more Arborvitae in here soon, but the best time to plant Arborvitae is the spring so we’ve been waiting.)
This post contains affiliate links. This means if you click the link and buy something, I may receive a small percentage of sales at no extra cost to you.
SUpply list for a DIY planter box:
- Weather treated 4’x4’s
- Tape measure
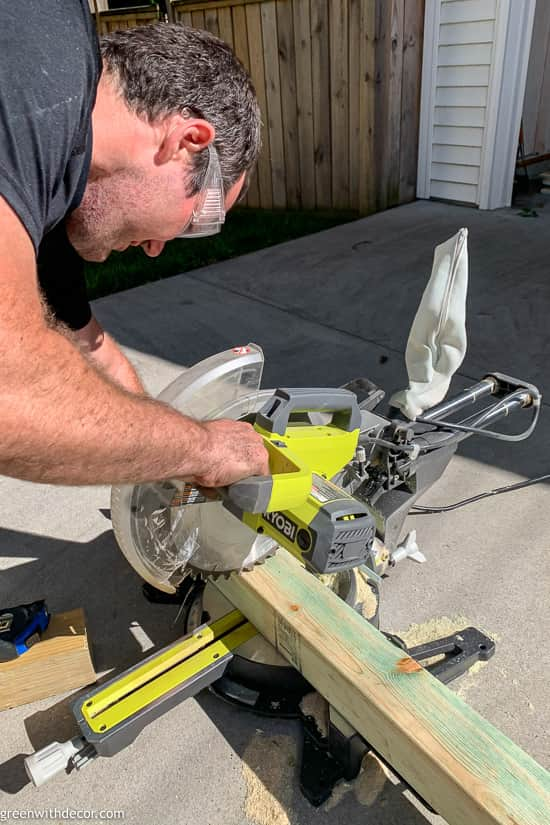
- RYOBI 12” sliding miter saw
- Safety glasses
- GRK screws
- Hammer drill
- Spade drill bits
- Rebar (how many you need will depend on how long / wide your planter is. See step #6 below.)
- Sledge hammer
How to build a DIY planter box:
1. Measure how long and wide you want your planter to be. Then plan and measure your 4×4’s accordingly.
Keep in mind you’ll want your 4×4’s to be staggered. Not only does it look better, it’s better to keep the weight spread out throughout your planter so it stays in place.
2. Cut the 4×4’s to your desired lengths.
3. Place the 4×4’s where you’ll want them to go for the planter, but don’t screw anything in yet.

4. Line up and level your 4’x4’s.
5. Connect each layer of 4’x4’s with GRK screws.
Connect your first and second layer of 4’x4’s, then your second and third layers, etc.
6. Take a long spade drill bit and drill all the way down through the 4’x’4s at each corner.
Repeat the process in the centers of both your length and width. Depending how long your sides are, you may need to do 2 or even 3 holes evenly spaced between the corners.
Here’s a handy diagram to show how we approximately placed ours:
7. Pound a piece of rebar through each hole you made in step #6 with a sledge hammer.
The rebar will keep your planter stable in the ground. We (Kalen!) pounded ours 4 feet into the ground to ensure the planter stays in place.
8. Pour in your dirt and plant your plants.
And all done! Well once we plant a couple more Arborvitae.
If you want to see our backyard as we left off last year, check it out here: Family-friendly backyard tour.
Or you can see all backyard projects here! Stay tuned for more!
Remember to bookmark or pin this post if you want to save it for later!
Pin it!
Want to read more posts like this?
Follow along: Get my emails | Facebook | Pinterest | Twitter | Instagram
Leave a Reply