Wondering how to paint a bench? Follow this easy DIY tutorial for a furniture makeover.
Apparently, it’s the month to share furniture makeovers of pieces I’ve had since I was a kid. Well, actually this is the end of that streak because this bench and last week’s chair makeover are the only pieces I still have, but two in a row counts as a streak, right?!
This little bench was in my room as a kid, and now we’re going to use it for our daughter. I’m not quite sure how it happened but, just like every single parent says, the toys are all of a sudden multiplying and EVERYWHERE.
They really do take over.
We have baskets and bins, but they’re overflowing with toys and books. This bench should hopefully help corral some of them.
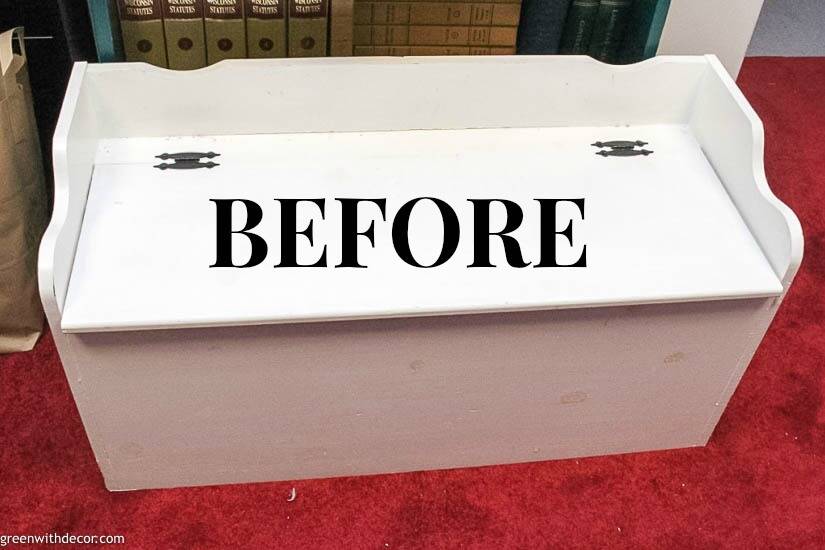
Here’s how the bench started:
And here’s how it looked after a fresh paint job:
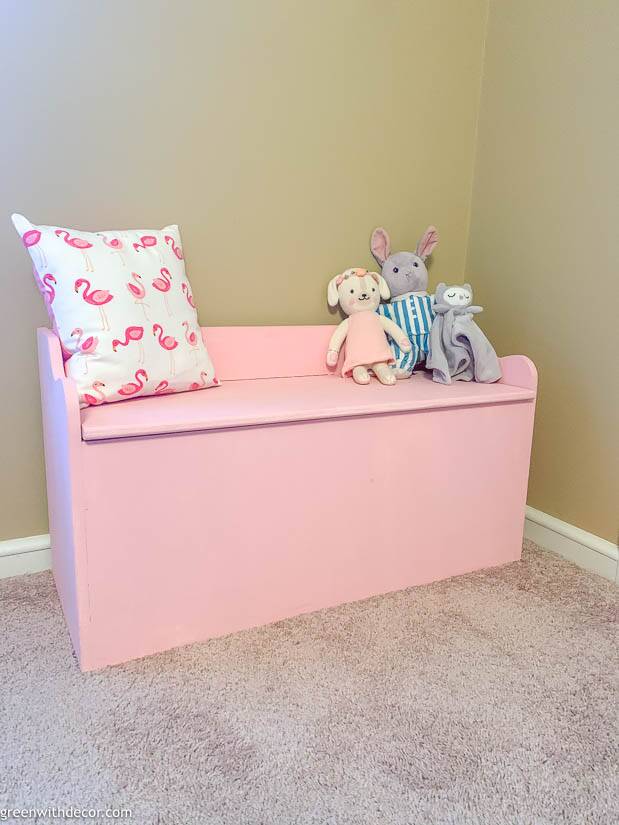
This bench has created a bit of a domino effect with rearranging toys/furniture in various rooms, which I haven’t 100% decided on yet, hence the lack of artwork above this bench. It’s probably getting moved again – stay tuned on that!
Today’s post is part of the Thrift Shop Challenge I do quarterly with a group of my blogging friends. It’s always fun to see what projects people come up with thrift shop pieces – or you know, pieces that they’ve had sitting in their garages / basements forever like this bench!
I’ll link to the other bloggers’ awesome projects plus my previous Thrift Shop Challenge projects at the end of this blog post. And if you have a fun makeover you’re working on, be sure to share on Instagram with the hashtag #thriftshopchallenge so we can see it!
This post contains affiliate links. This means if you click the link and buy something, I may receive a small percentage of sales at no extra cost to you.
Supply list for painting a bench:
- Drop cloth or an old sheet
- Screwdriver
- Plastic resealable bags
- Wood filler (if needed)
- Sandpaper
- Tack cloth
- Paint stir stick
- Paint brush
- Primer (maybe – see below)
- Paint – we used Country Chic Paint’s Vintage Cupcake
- New hinges (optional)
How to paint a bench:
Painting a bench is pretty easy.
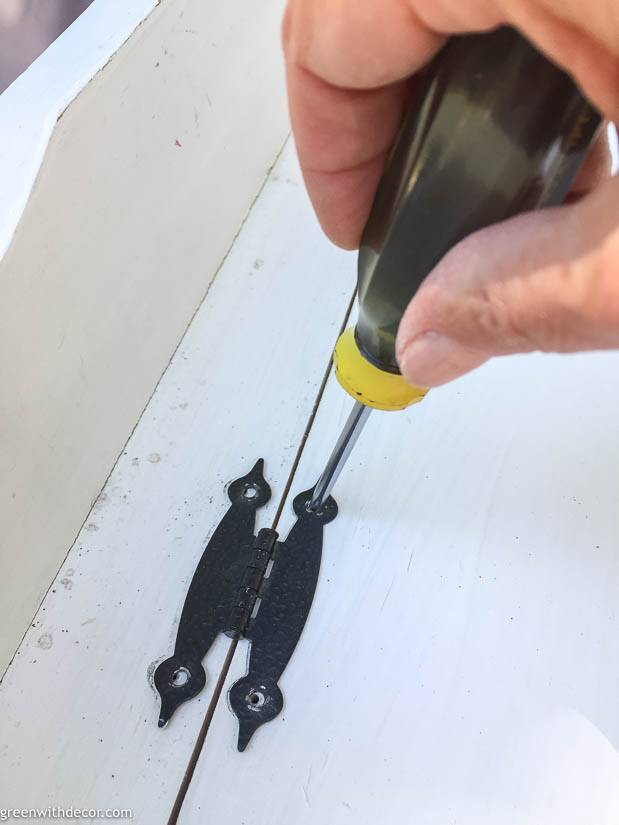
1. Remove your outside hinges.
Use a screwdriver to remove the hinges on top of the bench.
You could use painters’ tape to tape around them, but it’s easier to just take them off, especially if they’re a curvy shape like these are.
I always keep the hinges and screws together in a little plastic bag so they don’t disappear while you’re painting.
2. Sand your bench.
Sand your bench down to scuff out any scratches. Sanding also gives the paint something to adhere to, so you’ll have a smoother paint finish if you do a quick sanding job first.

If you have any big dents or scratches, use wood filler to fill them in, then sand the area smooth.
3. Clean your bench.
Use a tack cloth or damp paper towel to wipe down any dirt and sanding dust.
Then give your piece a good cleaning.
4. Prime your bench. (if needed)
If you’re painting a dark piece a light color, or if your piece has a glossy finish, do a coat of primer before painting. It will save you multiple coats of paint later.
(I’ve skipped priming before and regretted it! See what I mean here: How to paint a bookshelf.)
Since I was painting pink over white, I skipped priming this time.
5. Shake and stir your paint.
6. Paint!
Now for the fun part! Apply brush strokes in the same direction as the wood grain of your piece.
Cover your whole piece, and let it dry.
7. Do a second coat of paint.
It always amazes me the difference in coverage between the first and second coats when using Country Chic Paint. Usually, two coats provide great coverage and your piece should be thoroughly painted.
(I’ve used Country Chic Paint on lots of past furniture makeovers and always love how they turn out!)
8. Let your bench dry and cure.
Let it dry before reattaching your hinges. Ideally, don’t use the bench for at least 48 hours to really let it cure.
If you don’t need to use your bench right away, I’d let it sit for 30 days. The longer paint has to cure, the less likely you are to end up with scratches and chips later.
9. Reattach your hinges.
And all done! Painting a bench really is easy and a fun way to give new life to an old piece!
I always love seeing what paint can do for old pieces.
Be sure to check out the other bloggers’ Thrift Shop Challenge makeovers!
At Charlotte’s House // Making Joy & Pretty Things // Love & Renovations
Making Manzanita // Small Stuff Counts // Green With Decor // Holland Avenue Home
And here are my past Thrift Shop Challenge makeovers if you want more thrift shop makeover inspiration:
- How to paint candlesticks
- A repurposed plant stand (a perfect table in small spaces!)
- Nursery artwork with a thrifted frame
- A mini sled makeover with dark wax
- A painted Christmas village house (these are addicting once you do one!)
Remember to share your own thrift shop makeovers on Instagram with the hashtag #thriftshopchallenge or tag me: @greenwithdecor.
Remember to bookmark or pin this post if you want to save it for later!
Pin it!
Want to read more posts like this?
Follow along: Get my emails | Facebook | Pinterest | Twitter | Instagram
Leave a Reply