Who loves easy DIY projects that become even easier when you can skip a few steps?! I thought so!
Then I have the perfect project for you today: how to paint a banister without taking it off the wall. Why bother with all that taking it off the wall and putting it back on when you don’t need to? Exactly!
This was sooo easy. The original banister had been bugging me forever, but I just kept putting off this project, and now I can’t believe I didn’t get to it sooner.
I actually was considering taking the banister off when I first told Kalen I was finally going to paint the banisters, and he asked why I would do that. Good point, why would I do that?! I knew I loved him.
Here’s the beautiful painted banister:

And here’s how it started.
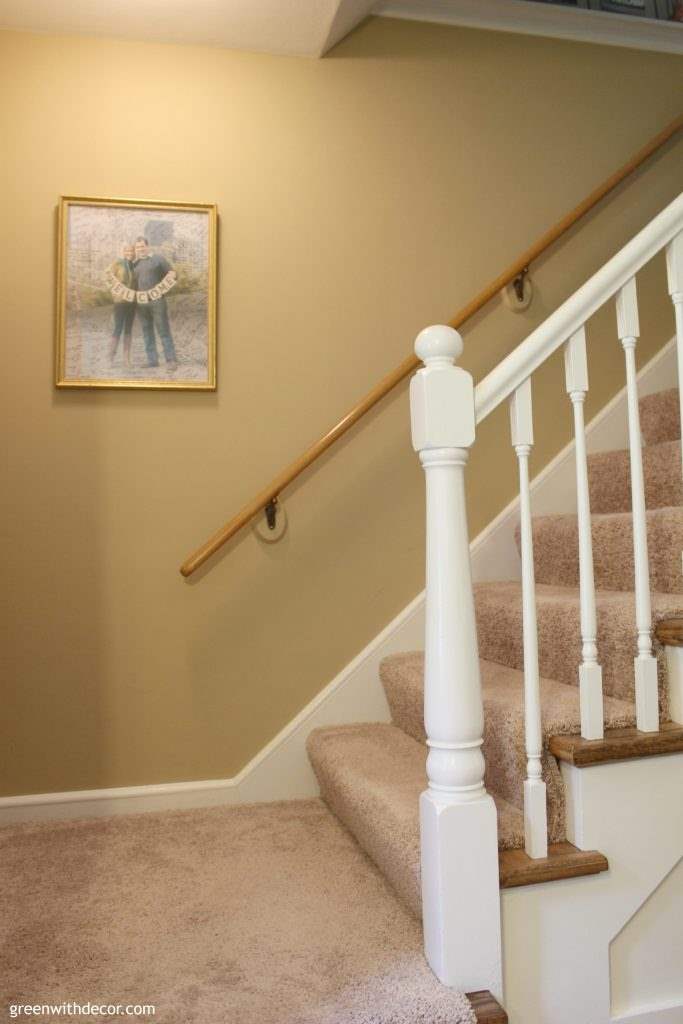
Ugh, so bad, right?! And can we talk about how hard it is to take pictures of a stairway?!
This post contains affiliate links. This means if you click the link and buy something, I may receive a small percentage of sales at no extra cost to you.
Supply list:
- Drop cloth
- Sanding sponge
- Clean cloth
- Painter’s tape
- Stir stick
- Paint
- Paint brush
How to paint a banister without taking it off the wall:
1. Prep the banister.
Sand it. I’ve talked about this before, but I’ll say it again.
I love these sanding sponges. I haven’t gone back to regular sandpaper since I started using them. And you can rinse them with water and get multiple uses out of them.
Then wipe down the banister to get rid of the sanding dust.
2. Tape.
ape however much you’re comfortable with, depending on how messy of a painter you are. I taped around the hardware that adheres the banister to the wall.
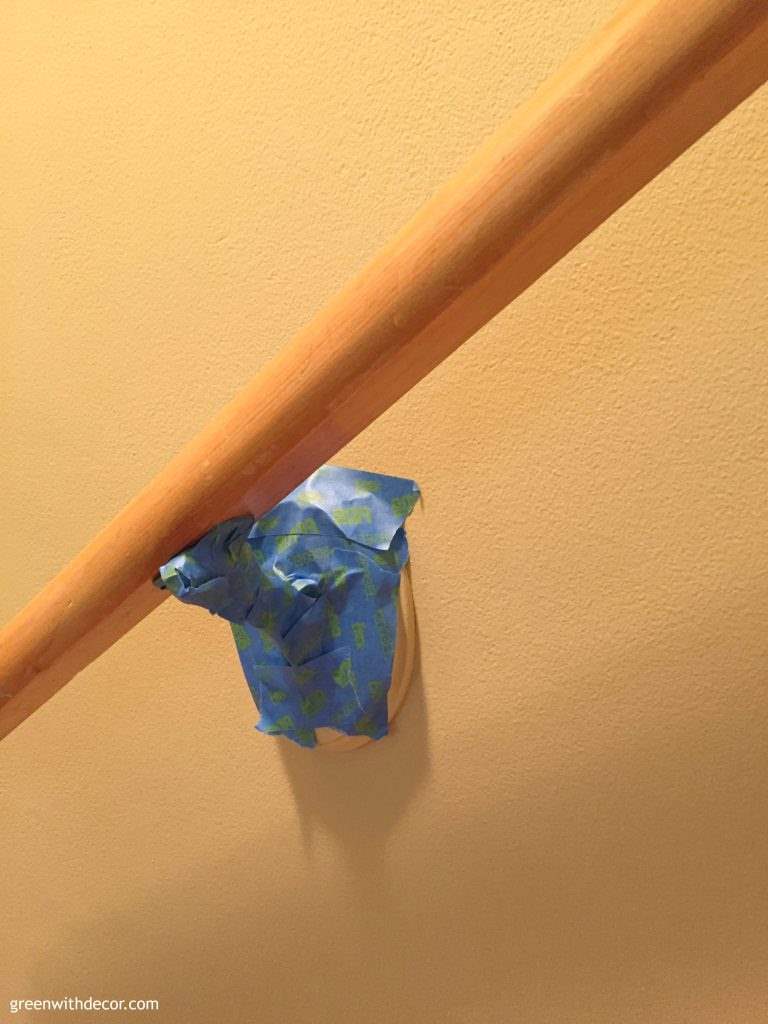
You could tape the section of the wall that runs along the banister to prevent stray brush strokes, but taping takes forever, and I figured I was a careful enough painter to skip this step.
I also had the drop cloth down under the banister to protect the carpet.
3. Paint.
Stir up the paint. We had some paint left from when we painted the trim during all the renovations, but we hadn’t touched it in a couple years.
It looked terrible when I opened the can, but after a few minutes of stirring, it looked bright and white.
Then start painting!
I seriously love painting.
Maybe it’s the crazy part of me that likes immediately seeing results and feeling like I’m quickly crossing something off my to-do list. 🙂
I did about three coats with some touch ups in a few places, mainly near the banister hardware.
The thing about painting the banister with it still on the wall is, the side of the banister near the wall is obviously hard to reach. I sat on the stairs, kind of crouching under the banister and painted a bit at a time, moving up a stair or two at a time.
At the bottom of the banister, be sure to avoid any paint drip marks by running the brush back over the banister.
Take the tape off after you’re done with your last coat of paint. The paint can still be wet, just be careful you don’t end up with wet paint all over your hands as you remove the tape.
And then enjoy your gorgeous banister! While smiling about the fact that you’re done with the banister instead of waiting for it to dry, screwing it back into the wall and THEN enjoying it.
I still haven’t found a vase for the second floor landing. Mostly because I haven’t really looked since I told you all I was searching for one.
I’ve been too busy starring at my pretty banister.
The basement landing looks even better because aside from the banister, there was a lot of trim to paint white. I’ll share it soon – the difference is crazy!
Remember to bookmark or pin this post if you want to save it for later!
Pin it!
Want to read more posts like this?
Follow along: Get my emails | Facebook | Pinterest | Twitter | Instagram
Natalie says
Love the color of the wall. Can you tell me what it’s called?
GreenWithDecor says
It’s Camelback by Sherwin Williams! It’s one of my favorite tans. I talk more about it in this post: https://greenwithdecor.com/camelback-sherwin-williams/.