Disclosure: This post is sponsored by Country Chic Paint. All opinions, images and love of painting projects are 100% mine.
It’s safe to say I’m really into this paint color, and I’ve gotten my mom hooked now, too. My mom and I have pretty similar decorating style, so no surprise there.
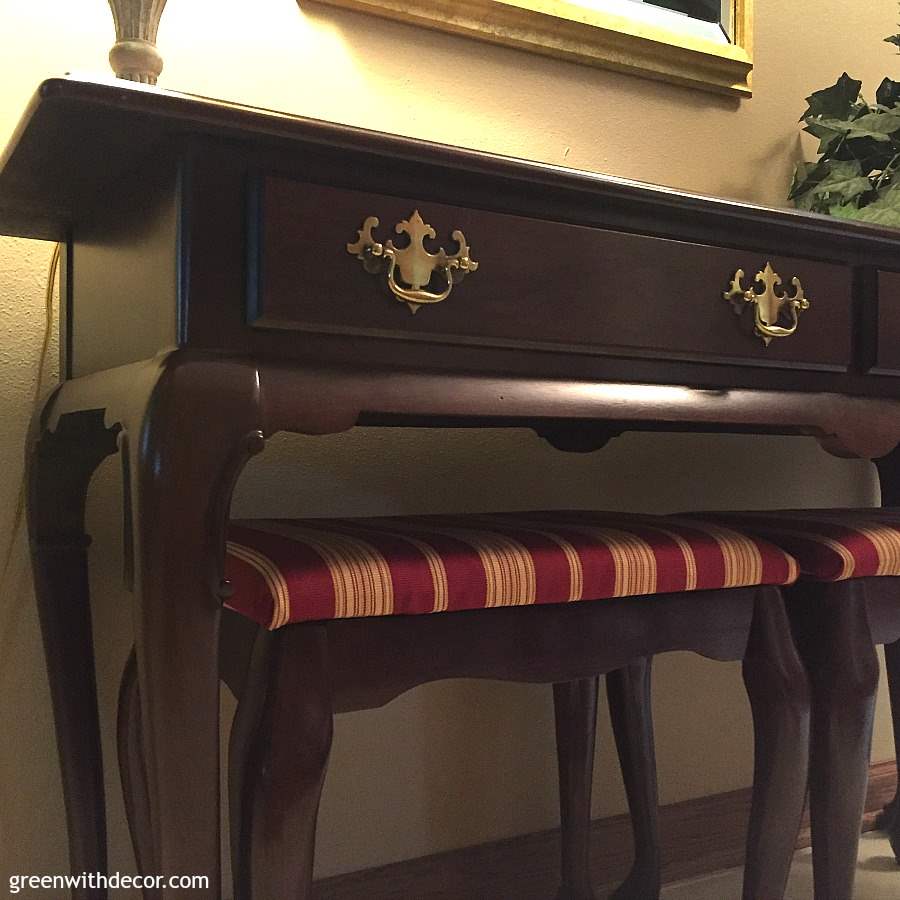
The Queen Anne table has been in my parents’ for years. It’s pretty, but my mom was ready for a new look. I totally agreed with her.
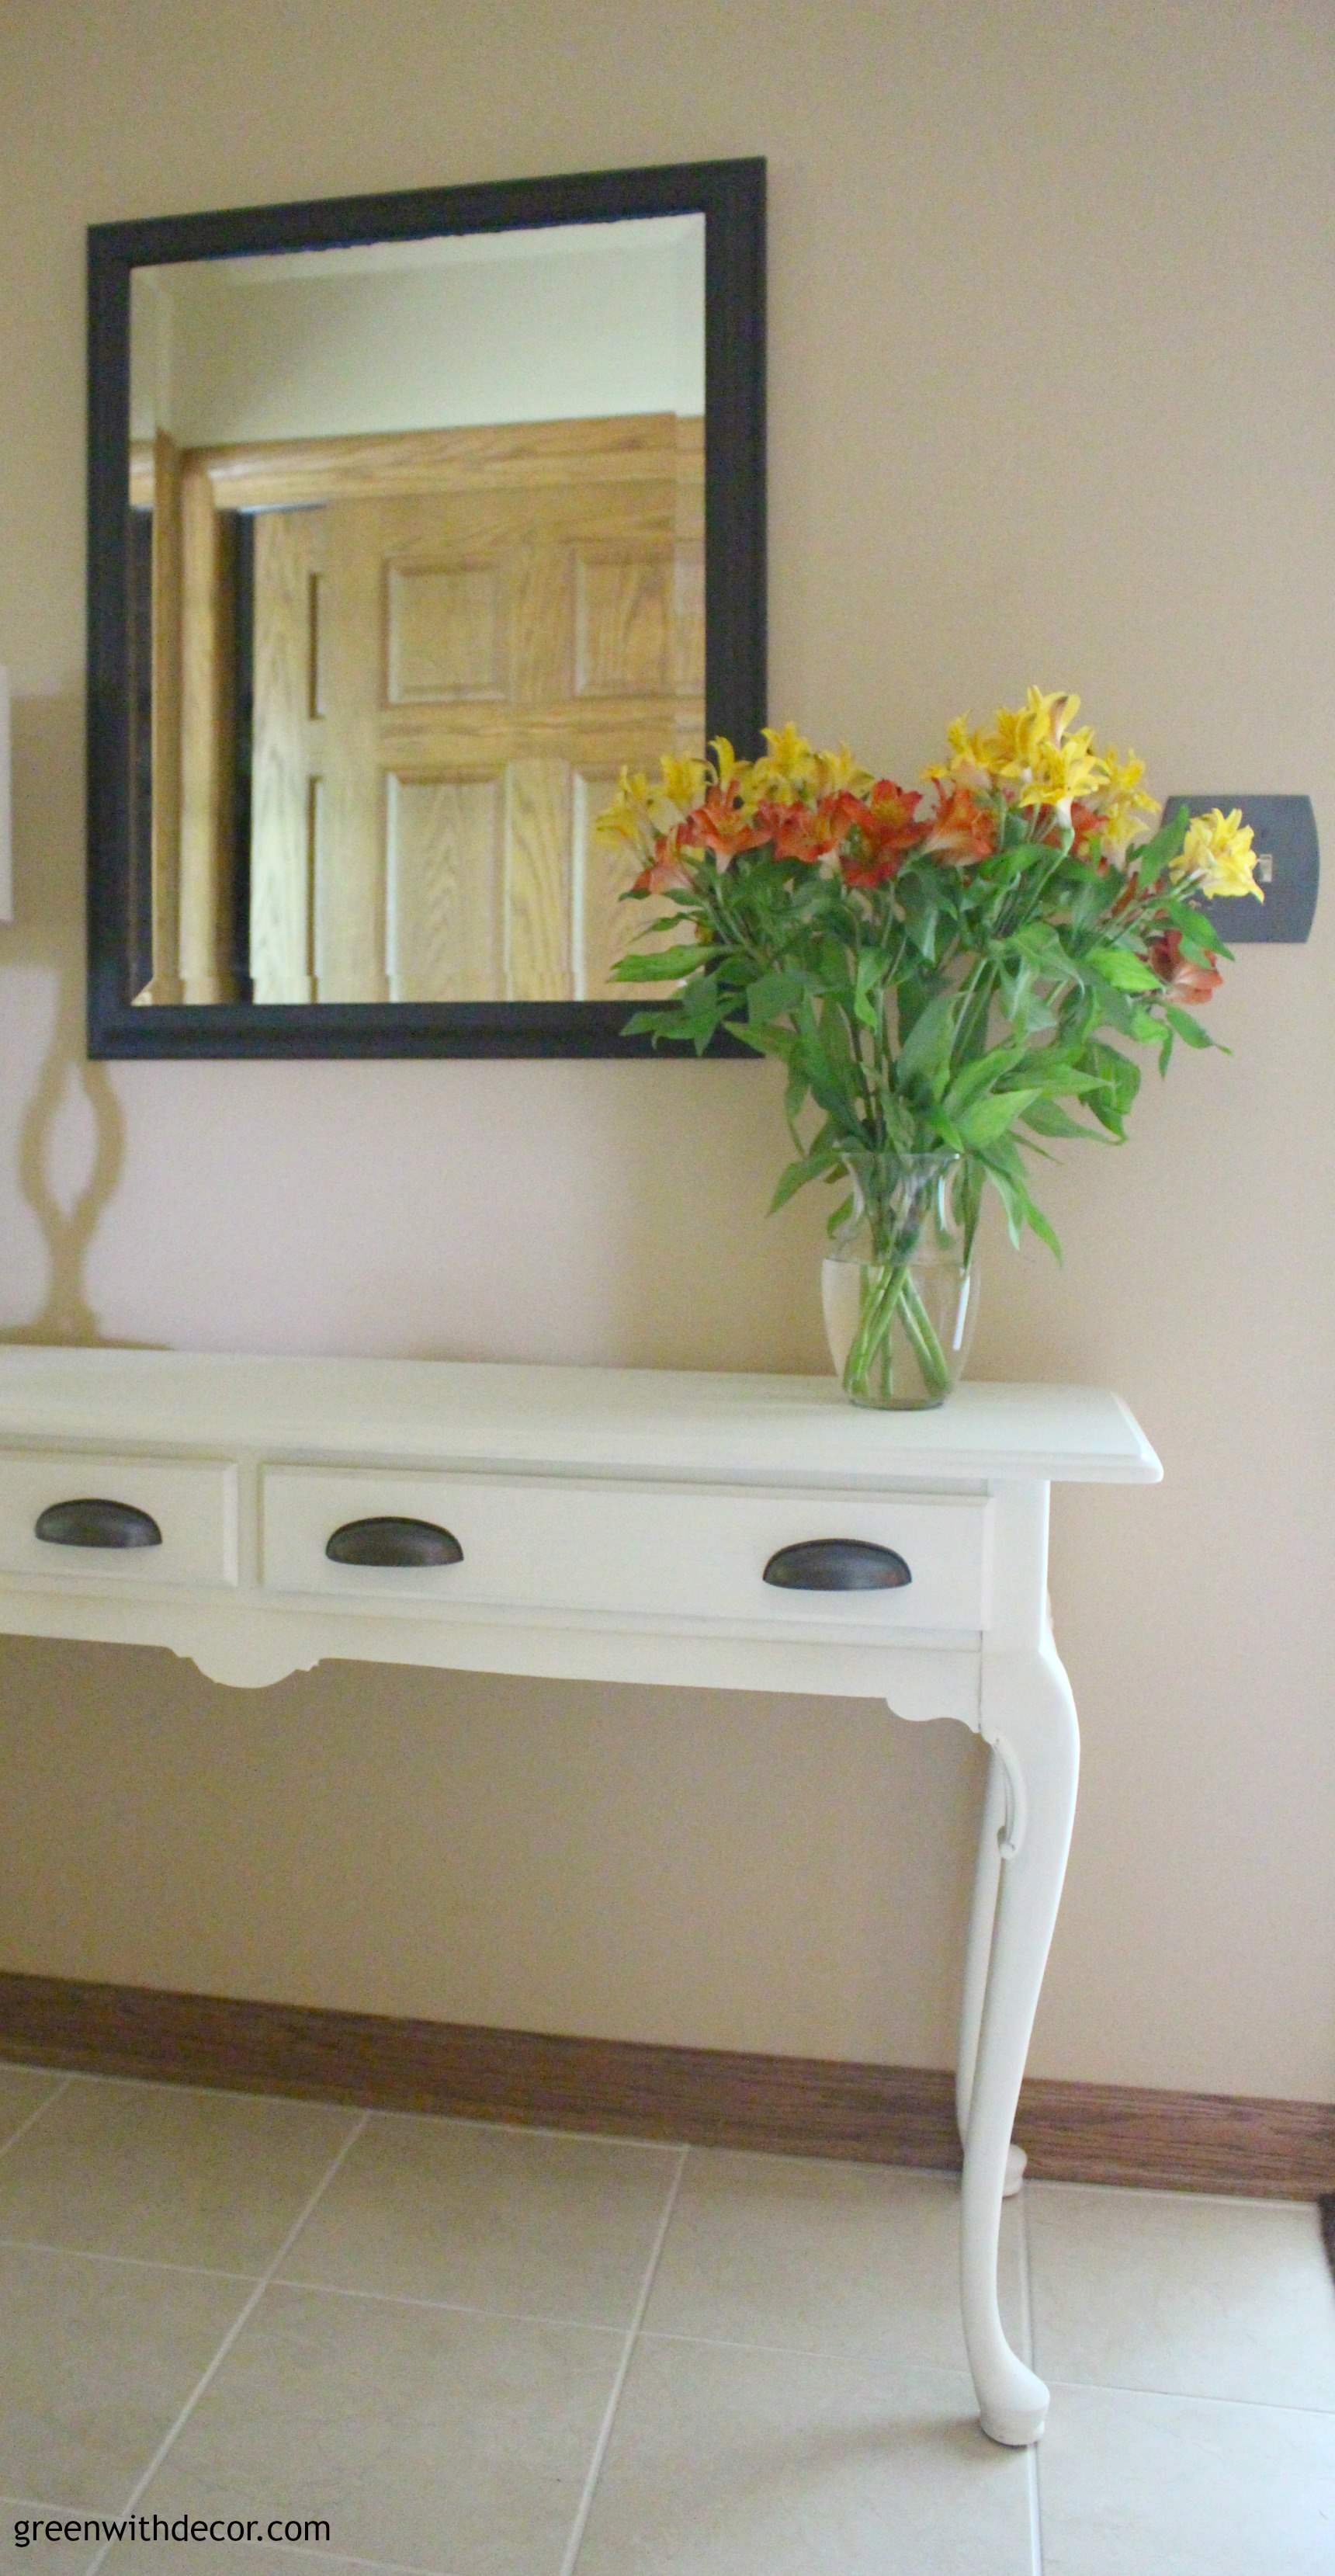
It’s crazy how much brighter my parents’ foyer looks now that the table is white.
Here’s how the table started:
And now:
This post contains affiliate links. This means if you click the link and buy something, I may receive a small percentage of sales at no extra cost to you.
Supply list:
- Country Chic Paint, Vanilla Frosting
- Country Chic Paint’s Natural Wax
- Drop cloth
- Paint brush
- Paint stir stick
- Lint-free cloth
- New hardware (we used these bronze pulls)
- Wax brush
I talked a lot about how much I love Country Chic Paint and how to use it in my blog post about the desk makeover.
How to paint a table with clay paint:
1. Prep your piece.
You don’t technically need to do any sanding when using clay paint, but we gave the table a quick once over with a sanding sponge to get rid of some of the ‘shine’ of the piece.
2. Paint!
Shake and stir your paint.
This is especially important with clay paint, because a lot of the pigments settle on the bottom of the paint jar.
Then start painting.
Apply the brush strokes in the same direction across the piece, especially if you’re going for that brush-stroked look.
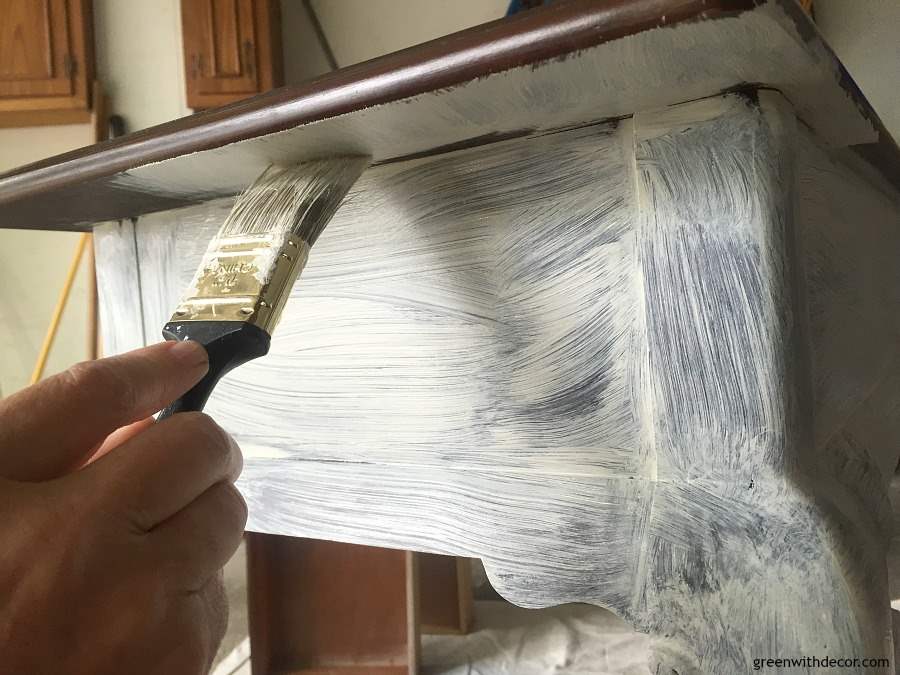
It’s best to apply the pain in the same direction as the wood grain.

Let the paint dry in between coats.
We ended up doing four coats of paint on this piece, because my mom was going for a more saturated look versus the farmhouse look you often see with clay or chalky paint.
3. Distress your piece. (optional)
If you’re going to distress your piece, do it before you wax.
I distressed my painted desk, but we didn’t distress this table.
4. Seal with wax.
Whether you distress your piece or not, let your last coat of paint dry for a day or two.
You can pick different colored waxes depending on how you want the final piece to look.
We went with Country Chic Paint’s Natural Wax so we wouldn’t change the color of the piece. Because we both just love the Vanilla Frosting color so much!
Take a wax brush and swirl it in the wax container, then apply it to your piece in small circular motions.
Buff the piece with a clean, lint-free cloth, getting rid of any excess wax.
5. Add new hardware.
We used these bronze beauties.
6. Display!
I love how it looks! It really brightens up the foyer.
What do you think of the table makeover? Are you hooked on clay paint yet?
I have a painted bookshelf makeover with Vanilla Frosting planned, so stay tuned!
If you like painting furniture, you’ll want to see these, too:
- Painting an old desk with clay paint
- A Queen Anne table makeover with clay paint
- An easy dresser makeover with spray paint and new hardware
Remember to bookmark or pin this post if you want to save it for later!
Pin it!
Want to read more posts like this?
Follow along: Get my emails | Facebook | Pinterest | Twitter | Instagram
Leave a Reply