This St. Patrick’s DIY shamrock made from wine corks is an easy, festive St. Patrick’s Day craft! Start saving your corks now!
Disclosure: This post is sponsored by Gorilla Glue. All opinions, images and love of DIY projects are 100% mine.
It’s almost St. Patrick’s Day!
Which you know is just one of my favorite holidays.
I mean there’s green everywhere! It’s perfect.
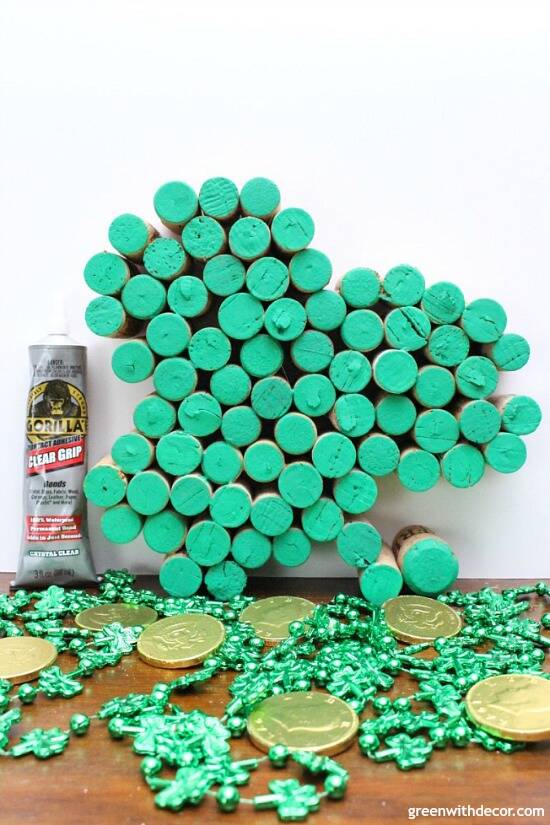
I just put together this fun little cork shamrock to add a festive touch to our house. Isn’t it cute!?
And such a fun St. Patrick’s Day craft!
This post contains affiliate links. This means if you click the link and buy something, I may receive a small percentage of sales at no extra cost to you.
Supply list for a DIY shamrock:
- Corks (We have an insane amount since our neighbors save them for us, but you can buy some if you’re not a fellow cork hoarder. 🙂 )
- Gorilla Glue’s Clear Grip (You can get some here or here.)
- Green paint (I used this by DecoArt.)
- Paint tray (or paper plate)
- Small paint brush
How to make a DIY shamrock for St. Patrick’s Day:
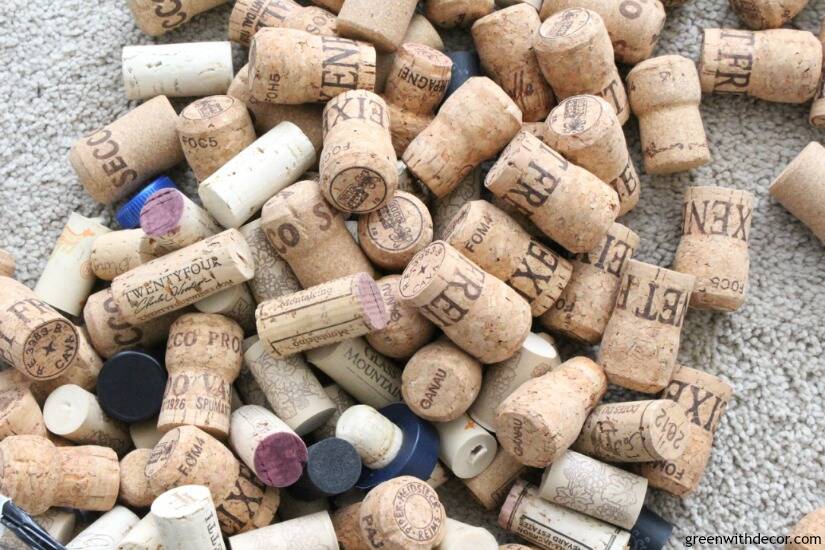
1. Line up your corks into a shamrock shape.
It might help to pull up a picture of an actual shamrock and kind of mimic it so you get the leaf shape.
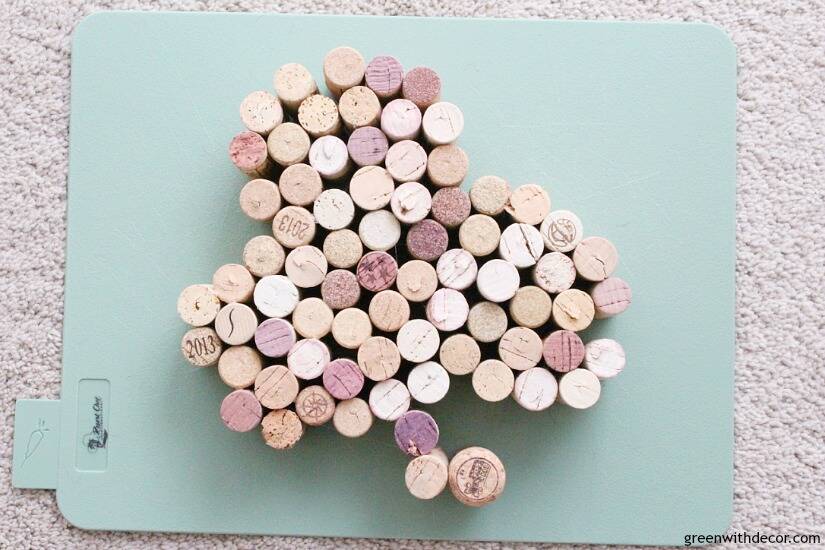
2. Glue your corks together.
Start by gluing the corks from one leaf together, then a second leaf, then glue those together and build the third leaf off of that.
Glue on the stem last.
I used Gorilla Glue’s Clear Grip, which is awesome. It’s strong.
The bond forms pretty quickly (as in almost immediately) so be sure to line up your corks exactly where you want them before pressing them together, because it’s hard to move them after the fact.

For an even stronger bond, apply the Clear Grip to a cork, let it (partially) dry for about 2 minutes.
Then join the two corks together.
I love that with Clear Grip, you don’t have to worry about burning your fingers with hot glue (which I’ve definitely done with other wine cork projects).
Let the Clear Grip dry for 24 hours before you move or paint your cork shamrock.
(As a totally random side note, I love that Gorilla Glue is based in Cincinnati since we used to live there, and I have a special place in my heart for all things Cincinnati!)
3. Paint!
I painted just the cork tops (with this green paint) and kept the natural look of the corks on the sides. I like the contrast. I did just one coat, and the coverage was great.
If you want to paint the whole thing, Clear Grip is paintable so you don’t have to worry about the paint clumping or not sticking.
Let it dry, and then display your little St. Patrick’s Day craft!
That Target Dollar Spot gets me just about every time, but how fun are those beaded shamrock necklaces?
And gold coins, because of course.
Have you done any St. Patrick’s Day projects yet this year?
For St. Patrick’s Day craft ideas, check out these projects:
- St. Patrick’s DIY with old wine bottles
- A DIY leprechaun hat from an old flower pot
- A St. Patrick’s Day DIY with old glass jars
Sense a theme? I’m all about repurposing things you’d probably otherwise throw away for easy St. Patrick’s Day crafts!
Remember to bookmark or pin this post if you want to save it for later!
Pin it!
Want to read more posts like this?
Follow along: Get my emails | Facebook | Pinterest | Twitter | Instagram
Lydia says
I loooove me some wine cork crafts! Cute idea!
GreenWithDecor says
Thanks, Lydia!
Vicki And Jenn 2 Bees in a Pod says
Oh my gosh- this shamrock is so cute and creative! Thanks for sharing!
GreenWithDecor says
Thanks so much, ladies!
Emily says
Wine cork projects are so fun, and I love how your shamrock turned out 🙂
GreenWithDecor says
They are! Thanks, Emily!