An easy tutorial on how to stain a wood table or wood for any other woodworking project – even if you’re worried about how to apply wood stain because you haven’t done it before!
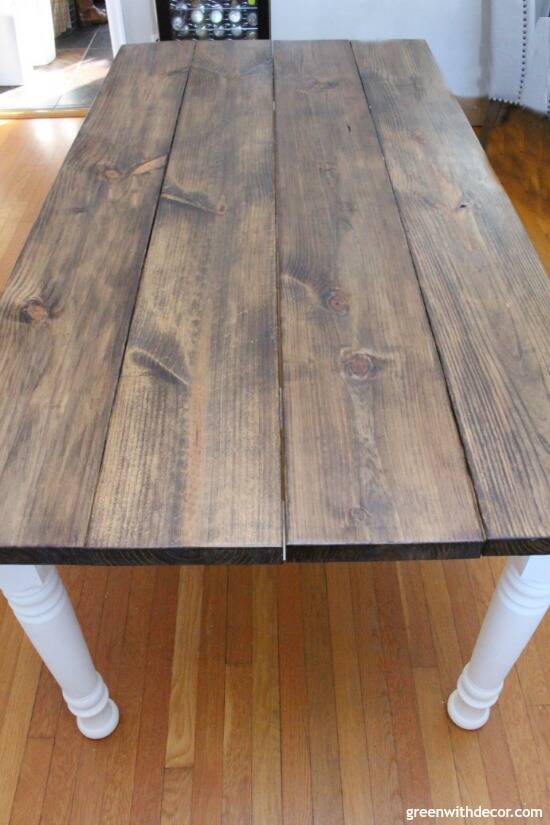
When we finished building our farmhouse table, we decided on a darker wood top and white painted legs. But I was a bit intimidated when it came to finishing the top since I wasn’t quite sure how to stain wood!
Even though I paint furniture ALL the time (see all furniture makeovers here), I’d never stained anything before, and I didn’t want to mess up this beautiful table we’d spent all this time building!
Well the worrying was really for nothing. Staining wood is EASY.
This post contains affiliate links. This means if you click the link and buy something, I may receive a small percentage of sales at no extra cost to you.
Supply list for staining wood:
- Drop cloth (stain is messy!)
- Stain, color of your choice – we used Dark Walnut by Minwax (also available here – you can order online and pick up in store)
- Paint stir sticks
- Clean, lint-free rags (we used just under one and a half bags of these – you can order online and pick up in store)
- Foam brushes
- Sealant – we used Polycrylic in Matte by Minwax
- Paint brush
- Fine sandpaper
FYI, our table is 37″ x 72″, and we used less than one can of stain and could have gotten away with the small can of the Polycrylic.
How to stain a wood table:
Here’s the quick run-down, and then I’ll go into further details for each step below!
1. Pick a stain color.
2. Start staining using a clean rag and horizontal strokes, then wipe the stain off.
3. Stain the cracks between the planks (if you’re also staining a tabletop).
4. Let the stain dry.
5. Apply a sealant.
6. Let the sealant dry for at least 24 hours before use.
Here are all of the fun details:
Keep in mind, this tutorial is for how to stain unfinished wood.
1. Pick a stain color.
I tried out a few stains on scrap pieces of wood so we were sure we’d like the color.
If you’ve never stained anything before, I’d recommend practicing on some scrap wood, too. It made me feel a lot better before just diving right into the table.
2. Start staining!
Ah, I was so nervous to mess up our brand new table! But then once I started, it was easy.
Be sure to be in a well-ventilated area, because stain definitely smells.
If you’re outside, just work quickly in the sun so your stain doesn’t become too tacky while you’re working. Shaded areas are better.
First, before you even think about staining, be sure you’ve sanded your wood thoroughly. You can read more about all of the sanding we did on our tabletop here.
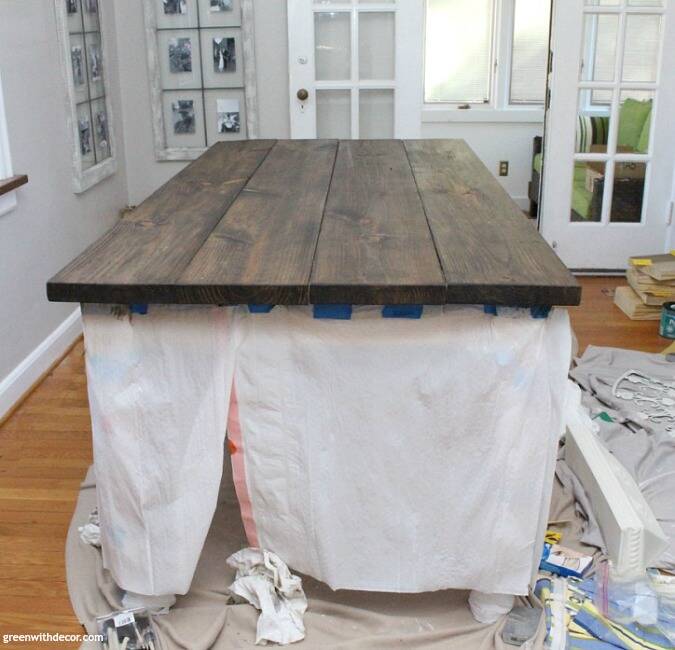
I taped garbage bags around the apron of our table so I wouldn’t get any stain on our brand new table legs. It was easier than worrying about it, but if you’re careful, you wouldn’t have to.
You can apply wood stain with a rag or a foam brush, I found it easiest to use a rag (these rags, specifically) for the planks and a foam brush for the cracks in between the planks.
Some tips and tricks for staining wood:
- Stir the stain with a paint stick before you start, and during use if you’re staining for a while. Dip your rag in the stain can so the tip is full of stain but not overly dripping.
- I started with the table edge since I figured those were less important than the tabletop. The short edges of the planks will take a LOT of stain.
- Then stain one plank at a time, starting at one end of the table and moving to the opposite end. Apply horizontal strokes in the same direction as the wood grain. Do long strokes so you don’t end up with blotches.

- The stain will adhere to knots in the wood in kind of a funny way – either lighter or darker, but it’s all part of the farmhouse look. I just went with it.
- You can either let the stain dry for 5-10 minutes and then wipe the excess stain off (with a clean rag), or just wipe it off right after you apply it. The longer you let the stain sit, the darker the color will be.
- I wiped the stain off right after I put it on. Whichever you decide, be consistent across your entire table (or whatever piece you’re staining) so you get an even color. Play around on scrap wood if you’re not sure how dark you want the stain.
- Be sure to wipe off the excess stain before it dries, or you’ll end up with a blotchy, uneven color and have trouble applying a sealant. And be sure to wipe off the stain in the same direction as the wood grain, just like how you applied the wood stain.
Simple enough, right?! And to think I was panicking about how to stain a wood table! I felt waaaay better after the first coat of stain went on and was looking beautiful.
Repeat the whole process twice, so you end up with three total coats of stain on your piece.
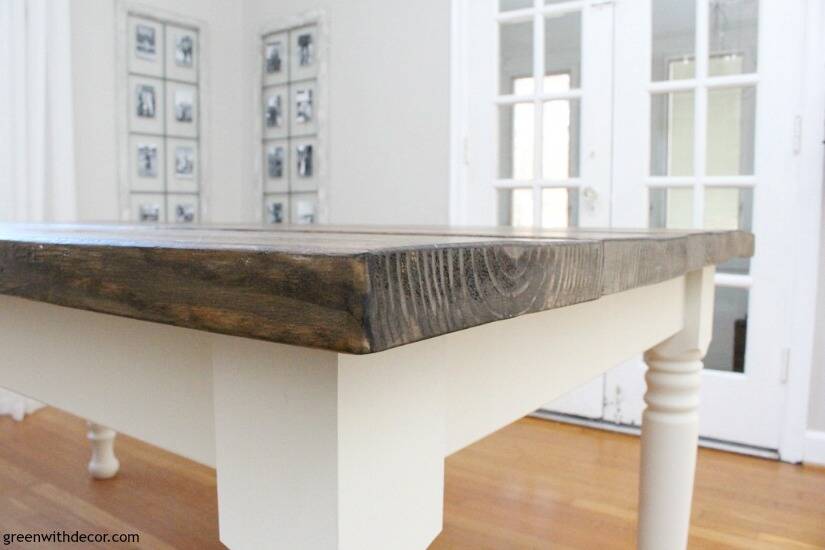
3. Stain the cracks (if you’re also staining a tabletop or planked piece).
I found a foam brush easiest for being sure to get the stain down in between the cracks far enough that you couldn’t see the bare wood.
Plus foam brushes are cheap so just use them and toss them, no need to waste time cleaning stain out of them!
You can see how dark the stain is right after I ran the foam brush along the edge. Be sure to wipe it down with a clean rag right way to get rid of all that excess stain so the color matches the color of the planks.
Repeat this process twice more – in between the coats of stain you’re applying to the planks of the tabletop – to end up with three total coats of stain.
4. Let the stain dry.
And you’re now an expert on how to stain wood! Pretty easy, right?!
5. Apply a sealant.
We used Polycrylic. I practiced this on the scrap wood, too since I’d never done this before and wanted to be sure we liked the color after it was all dry.
We went with clear Polycrylic in Matte so we’d get the least amount of sheen on our table while maintaining the original color of the stain.
If you’re not sure what finish you’d like, grab a few of the smaller sample sizes and bring them home to sample on scrap wood. Some of the finishes are more yellow, some are clear, and the amount of sheen varies.
- Stir the sealant before you use it, but don’t shake the can.
- Look at the directions on whichever finish you chose. For the Polycrylic, I used a paint brush to apply the finish in the direction of the wood grain. Remember, less is more. A thin coat is all you need.
- Let it dry for about two hours, then sand it lightly with fine sandpaper. Wipe off the sanding dust, then repeat that process twice for a total of three coats of the sealant.
If you’re working on a piece you won’t use as much as a dining table, you can probably get away with just two coats. This table is our everyday table, so we went with three coats given all of the activity this table will see.
6. Let the sealant dry for at least 24 hours before use.
If you don’t want to deal with a sealant. you could also get a piece of glass cut to fit the top of your table to protect it. We did that for both of our desks (you can see my desk here). It’s a great way to protect the entire piece.
Feeling way better about how to stain wood? Or have you taken on another new DIY skill lately? I love trying new things and realizing they’re almost always easier than we build them up to be.
We’d never built anything before, and I’m telling you, if we can build and stain a wood table, you can, too. The tutorial for building a farmhouse dining table is here and the tutorial for painting the table legs is here.
It’s not hard, just takes some time, but the end product is so worth it!
Remember to bookmark or pin this post if you want to save it for later!
Pin it!
Want to read more posts like this?
Follow along: Get my emails | Facebook | Pinterest | Twitter | Instagram
Allison says
hi,
Your table came out lovely. What brand/color stain did you use?
Thanks,
Allison
GreenWithDecor says
Hi Allison! Sorry for my delay – we have a newborn at home! 🙂 We used Dark Walnut by Minwax, we love how the color turned out!