Disclosure: This post is sponsored by Country Chic Paint. All opinions, images and love of painting projects are 100% mine.
Collect old Christmas village pieces, and you can easily get an expensive looking DIY Christmas village on the cheap!
It’s the year of miniature Christmas, apparently. I don’t know how it happened.
Between the Christmas village, miniature living room, DIY Christmas list ornaments, lantern turned villages, snow globes … and now this little white ceramic Christmas village.
This post contains affiliate links. This means if you click the link and buy something, I may receive a small percentage of sales at no extra cost to you.
It all started with the a trip to the thrift store …
Supply list for DIY Christmas village:
- Old Christmas village pieces
- Country Chic Paint, Vanilla Frosting
- Country Chic Paint’s Natural Wax
- Drop cloth
- Paint brush – I used one of these
- Small paint brush
- Paint stir stick
- Lint-free cloth
- Wax brush
- Tea light candles or flameless tea light candles
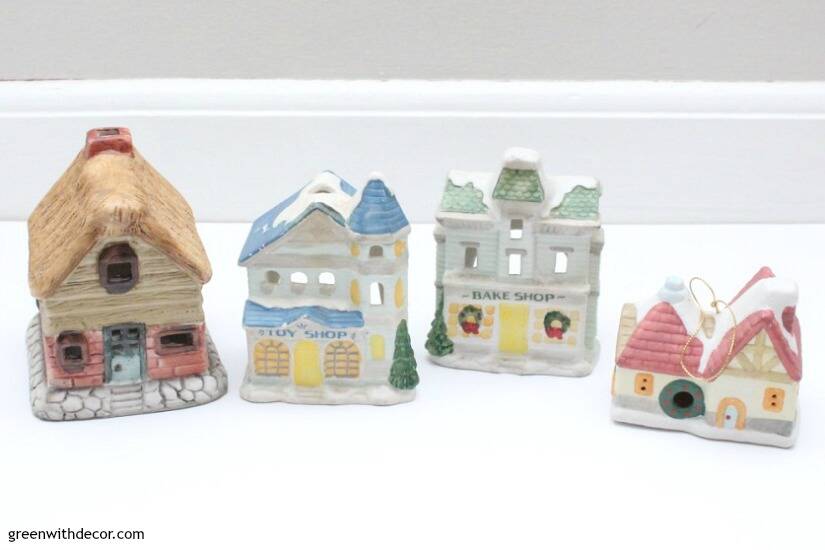
I found all of the the Christmas village pieces at Goodwill and other thrift stores. I’ve heard the Dollar Store has them sometimes, too.
One I found was actually an ornament, but I just cut the twine off. If you want to use these with candles inside, be sure they have the window holes.
If not, you’ll probably have more luck finding houses! I saw quite a few that were solid.
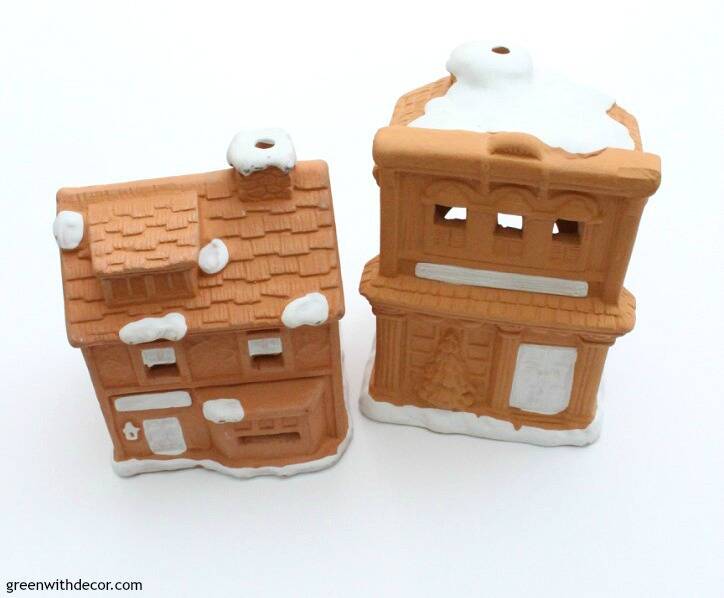
Here’s how all 6 of mine started:
How to make a DIY Christmas village:
1. Clean the pieces.
Get rid of any dust and dirt.
2. Paint!
I talk about Country Chic Paint a lot – I often use it on furniture makeovers. It’s just great paint! It adheres really easily to just about any surface, including these hard ceramic houses.
Shake and stir the paint before you start, then just start painting.

Let the first coat dry, then do a second coat.
For the insides of the little windows, you might need a small little paint brush. Same with some of the weird cracks if your houses have ‘brick’ or ‘roof shingles’, too.
3. Seal the paint with wax.
A wax brush makes this way easier. Wipe the wax on, then use a lint-free cloth to get rid of any excess.
And that’s it!
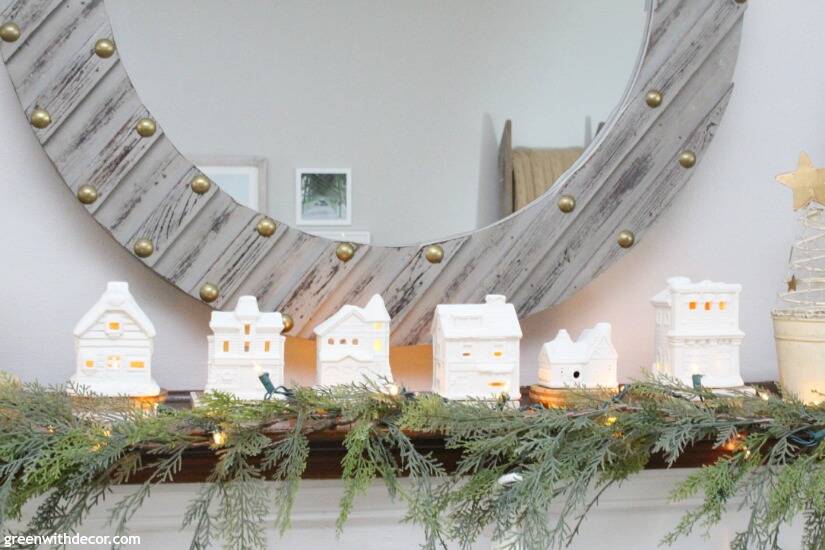
Forget the mismatched outdated Christmas village pieces sitting all sad on the thrift store shelves, these little white pieces look like an expensive looking ceramic Christmas village!
I’ve had them in the dining room on top of the wine fridge …
… and spread out along the mantel. I love them up here.
They look great with the lights on the garland bouncing off them at night, even if we haven’t lit the candles inside.
About the candles … these little houses get HOT so be careful after you’ve had a candle lit inside for a while.
The flameless candles may be the way to go.
If you’re set on real candles, be sure to get tea lights with the silver base, so your candle wax doesn’t melt all over the inside of the little village house.
I used some coasters to prop up the houses behind the garland so we could see them better. I love them. I’m still looking for them every time I’m at a thrift store.
That faux garland is amazing, and I can’t believe how real it looks in person. You can see more of the Christmas mantel here.
Have you done any fun Christmas DIY projects from thrift store finds? I found a little sled I’ve been painting, too. It’s too hard to pass that stuff up!
For more Christmas fun, you can see our Christmas living room here or see Christmas decorating ideas for the kitchen here.
Remember to bookmark or pin this post if you want to save it for later!
Pin it!
Want to read more posts like this?
Follow along: Get my emails | Facebook | Pinterest | Twitter | Instagram
Kati says
I love your village! Painting the thrifted houses is such a brilliant idea!
GreenWithDecor says
Thanks, Kati! It was such an easy project!
Amanda says
I have so many of these little houses and have never thought about painting them! I love that look so much! Now to just convince my daughter that her Christmas village would look better all white!!
GreenWithDecor says
Thanks, Amanda! We have two Christmas villages now, ha – one white and one original!
Christine says
What a great idea! I love what you did and you have inspired me!
GreenWithDecor says
Thanks, Christine! Hope you find some good village pieces at the thrift store!
Lisa says
What is the approximate size of these houses? They are adorable! I so want to do this for my house.
GreenWithDecor says
They’re about 3-4 inches tall! They’re pretty small! I painted another village house this year that’s more the typical size of most village pieces: https://greenwithdecor.com/painted-christmas-village-house/.