Home office decor should be pretty and functional. This little DIY clipboard is perfect for holding notes or business cards.
When I worked in an office full time, there were many lunch hours I’d head to TJ Maxx to stroll through the aisles and give myself a little mental break to think about pretty home decor.
This little lunch hour habit led to a lot of fun finds. I came across this old beat-up clipboard in the clearance aisle and thought it would make for a fun DIY project.
But you know how things go sometimes.
This little clipboard fell to the bottom of the project list. A couple years went by, and I finally found a little time to paint it and give it a makeover. (How did that take me so long?!)

It’d be a fun way to display kids’ artwork, too.
Here’s how it started:
This post contains affiliate links. This means if you click the link and buy something, I may receive a small percentage of sales at no extra cost to you.
Even if you don’t stumble upon a little clipboard like this in the clearance aisle (oh and if you do, obviously let me know because really, what are the chances?!), you could put one of these together with a small piece of wood and some clipboard hinge clips.
Supply list:
- Drop cloth or an old blanket
- READY solution
- Primer
- Paint, I used FAT Paint’s Verdigris
- Paint brush
- Wax, I used FAT Paint’s Beeswax Polish, Natural
- Clean, lint-free rag
- Screwdriver
How to use chalky paint to update an old clipboard:
I love trying out different kinds of paint to see which ones are good and which ones aren’t.
I hadn’t used FAT Paint before, but I’d heard others mention it, so, of course, I had to give it a try. I liked it, and the color is gorgeous!
The process was pretty similar to any other chalky or clay paint. You can see all of my furniture makeovers here for tutorials on everything from clay paint to waxing.
1. Clean your piece.
Any time I have a piece that’s really shiny, I use READY by Velvet Finishes.
It strips away everything so that you can paint on a piece and the paint will actually stick.

Just spray it on, leave it for a minute, then wipe it off. If your piece is still really shiny, do it again. (If you want to learn more, I talk more about Velvet Finishes in this post about a nightstand makeover.)
2. Remove any hardware/clips and set aside.
3. Cover the piece with primer.
If you’re using a plain piece of wood, you can skip this step.
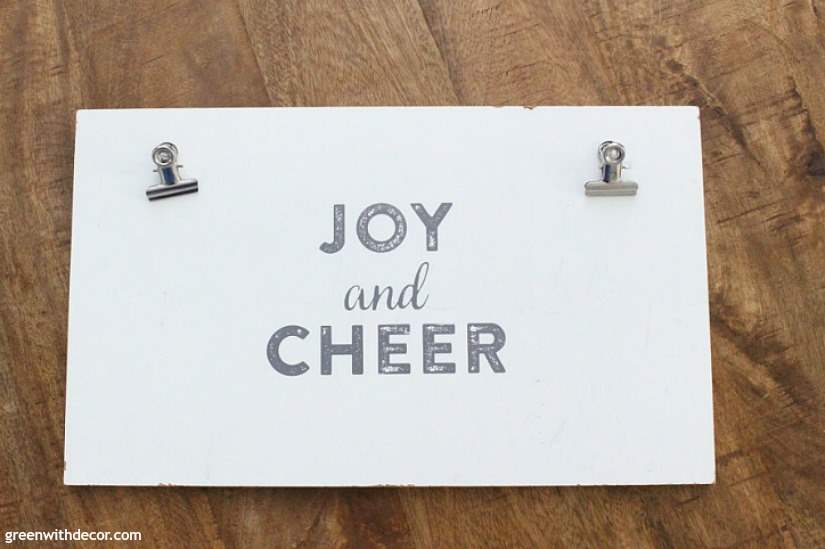
I wanted to be sure the “joy and cheer” words on the original wouldn’t show through.
4. Give your piece a coat of paint.
Apply the paint with brush strokes going in the same direction.
If you’re using a piece of wood, apply the paint in the same direction as the wood grain.
Let it dry.
5. Give it a second coat.
Let it dry.
6. Apply the wax.
This wax was much softer than other waxes I typically use, and it was kind of a fun texture.
Because it was so soft, I didn’t even use my wax brush. Instead, I used a clean, lint-free rag to wipe wax all over the piece, wiping off any excess. Because this wax is so soft, a little goes a long way.
Let the wax set for a day or two.
7. Screw the hardware/clips back in.
Easy enough, right? I feel like a lot of projects we all put off really aren’t that hard, it’s just finding the time to sit down and do them.
Isn’t this color gorgeous!? I just love it.
I mentioned last week that I’m trying to figure out something to go on that wall above the desk. (Update: We made a cork bulletin board for this space!)
Once I get a plan together for that, I might hang up this clipboard, too. It has one of those sawtooth hangers on the back already so it’d be easy to hang.
If you want to see more of this space, you can see more of the home office here and the painted desk here (it used to be my grandparents’!).
Do you have any projects you’ve put off forever? Any fun home office DIY accessories?
GET THE LOOK:
Since a popular question I get is “Where’d you get that?!,” here are links to the same or similar sources:
- Wall color: Agreeable Gray by Sherwin Williams
- Pink card was from a friend, this one has the same fun quote
- Painted desk tutorial (drawer pulls here and crystal knob here)
- Desk chair
- Lamp from TJ Maxx
- Green basket
Remember to bookmark or pin this post if you want to save it for later!
Pin it!
Want to read more posts like this?
Follow along: Get my emails | Facebook | Pinterest | Twitter | Instagram
Leave a Reply