Follow this easy DIY painting tutorial to give a doll cradle a makeover.
I have such a fun little makeover to share today!
Furniture painting isn’t really happening often around here these days (hello baby + toddler life), but I thought our toddler would love a little bed for her doll so she can be just like mom putting the baby to sleep!
I found this doll cradle on a Facebook group. (Those mom / kid Facebook groups are ADDICTING! So many toys for cheap!)
It started like this:
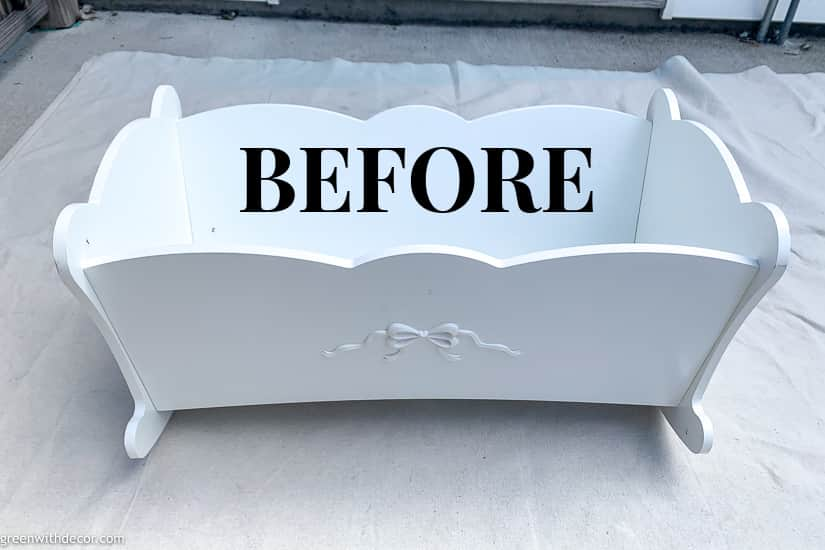
Super cute, but I wanted to add some color.
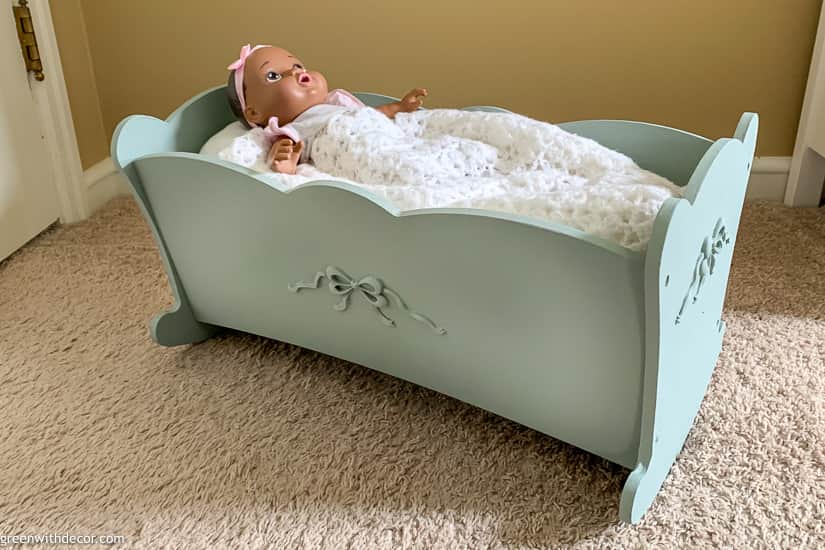
And now:
This post contains affiliate links. This means if you click the link and buy something, I may receive a small percentage of sales at no extra cost to you.
Supply list for a doll cradle makeover:
- Drop cloth
- READY by Velvet Finishes
- A clean cloth
- Paint stir stick
- Paint brush
- Paint – I used Dune Grass by Country Chic Paint
- Paper towel
- Plastic resealable bag
How to paint a doll cradle:
1. Prep your piece.
To start, clean the cradle to get rid of any dust and dirt.
Since the cradle had a glossy sheen to it, I used my favorite READY spray to prep it.

If you’ve never used it, READY is amazing. You spray it on, leave it for a minute or two and then wipe it down with a clean cloth.
It gets rid of any glossy sheens and eliminates the need to sand. I love it!
And a bottle lasts forever. Seriously, if you love painting furniture, get some READY.
2. Paint!
Shake and stir your paint, then start painting!
Apply brushstrokes in the same direction as the wood grain of the piece.

The bow on the sides of the cradle proved a little tricky since I had to kind of wedge my brush in there to be sure I was getting full coverage, but otherwise this was a quick paint job.
Let it dry.
You can wrap your paint brush in a damp paper towel inside a plastic resealable bag and place it in the fridge between coats. Don’t waste time washing your brush out when you’re just going to use it again!
3. Do a second coat.
The second coat always makes such a difference in terms of paint coverage.
Let it dry.
4. Let your paint cure.
This is always important, but especially when painting furniture that kids will bang around.
If you can let your piece sit for up to 30 days, the paint will really have time to cure to a hard finish and stand up much better to future bumps and bangs!
Isn’t this just the cutest makeover?!
GET THE LOOK:
Since a popular question I get is “Where’d you get that?!,” here are links to the same or similar sources:
- Wall color: Camelback by Sherwin Williams
- Trim color: White Dove by Benjamin Moore
- Blanket was a gift (wish I could make pretty blankets like this!)
- Doll
If you want more kid’s furniture makeovers, check these out:
Remember to bookmark or pin this post if you want to save it for later!
Pin it!
Want to read more posts like this?
Follow along: Get my emails | Facebook | Pinterest | Twitter | Instagram
Leave a Reply