This is a sponsored post written by me on behalf of Duck Brand. All opinions are 100% mine.
I have three cute, easy projects to share today!
I’ve mentioned a time or two (or ten) that I’ve been focusing on really organizing the house this past year.
This had led to some serious purging and organizing of everything from the basement storage room and laundry area to our kitchen cabinets and even the workout equipment.
There’s something so refreshing about opening a closet or walking into a room and knowing everything has a place instead of things being a jumbled mess. And even better if that organized space looks pretty.
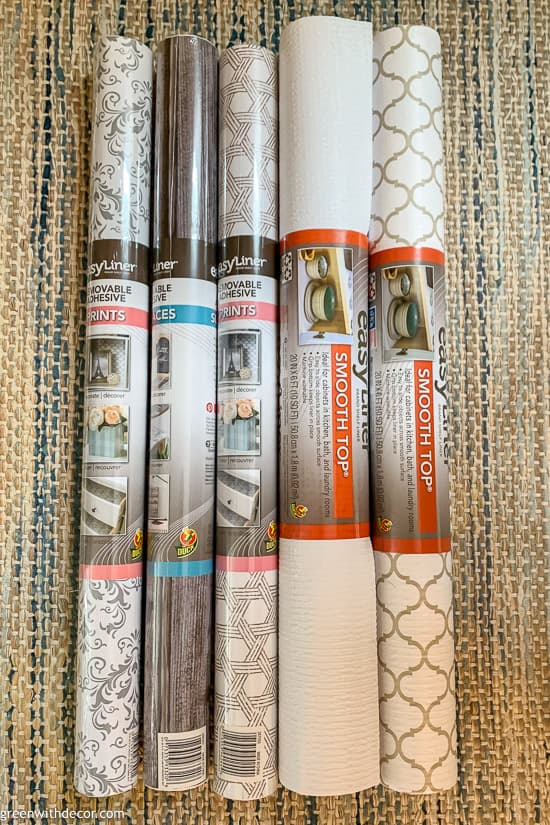
I recently added Duck Brand Removable Adhesive EasyLiner® to the back of a bookcase and a picture frame, and Duck Brand® Smooth Top® EasyLiner® to our kitchen cabinets. They have so many cute patterns to pick from, see the pic below!
This post contains affiliate links. This means if you click the link and buy something, I may receive a small percentage of sales at no extra cost to you.
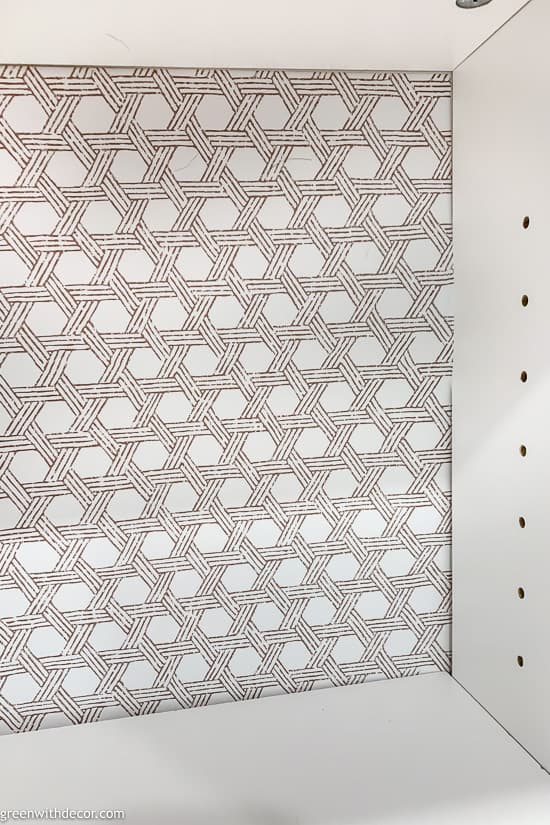
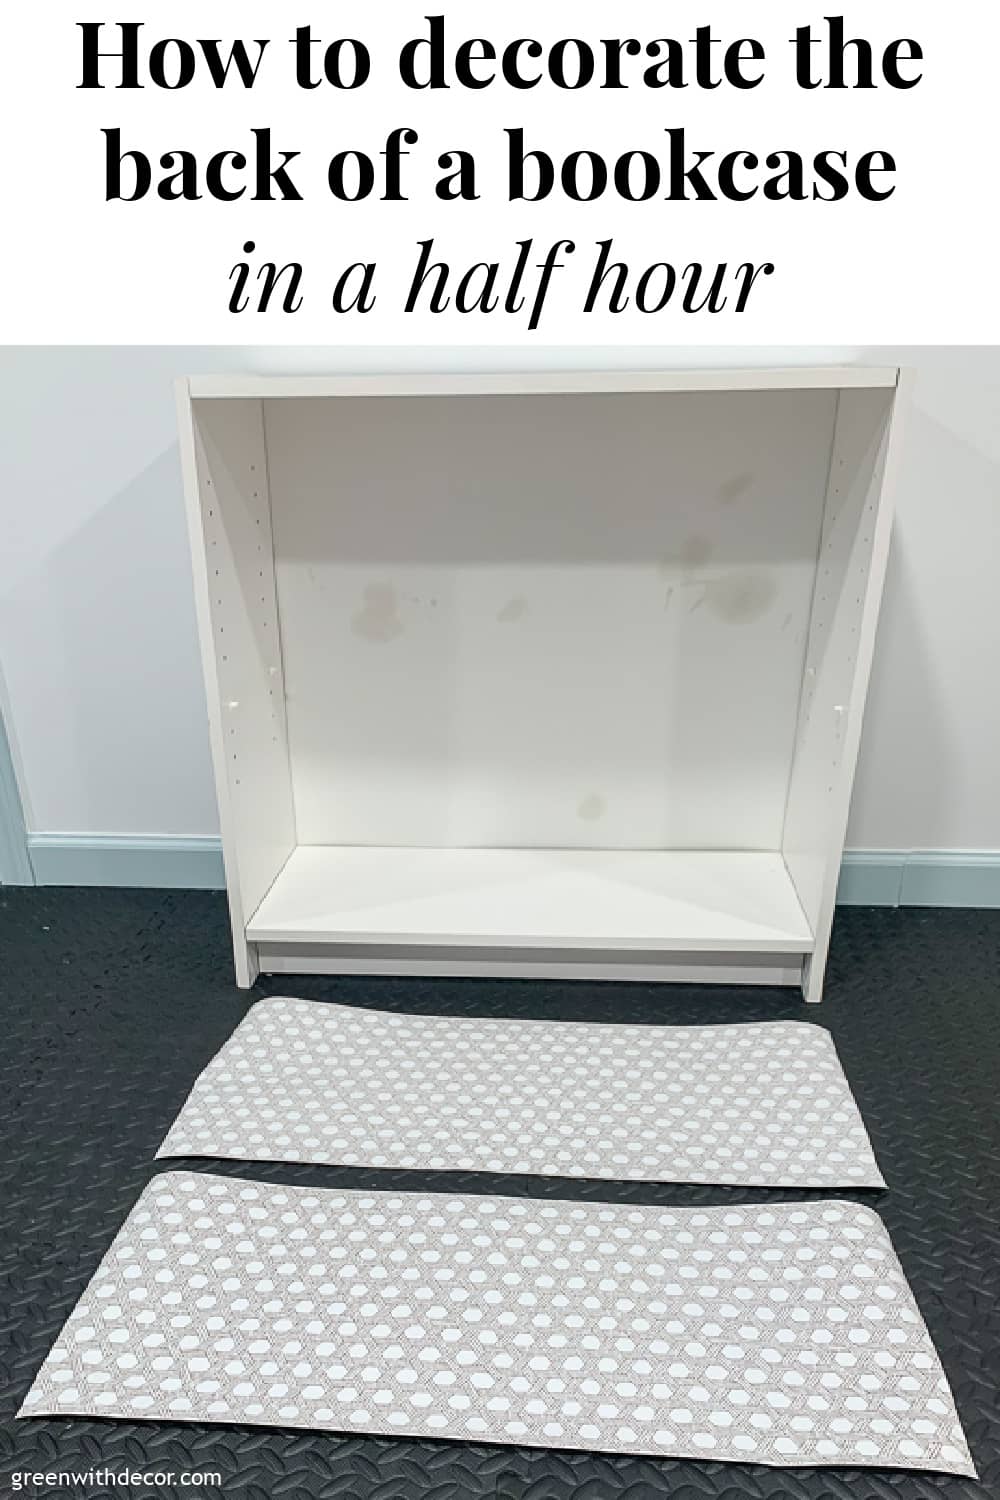
How to decorate the back of a bookcase:
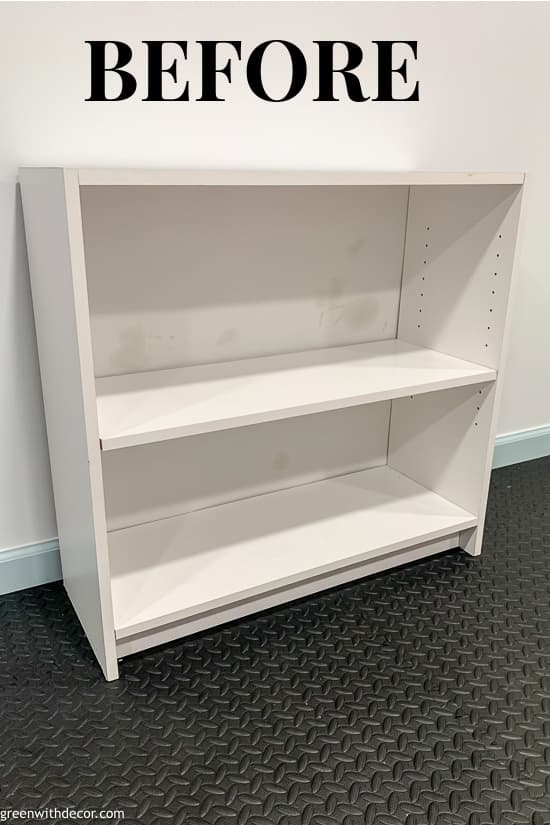
We have this old bookcase in the basement that is still plenty functional for organizing things near our washer and dryer, but the back of it has seen better days. (Gotta love how detergent is great for cleaning clothes but a mess when it spills anywhere else!)
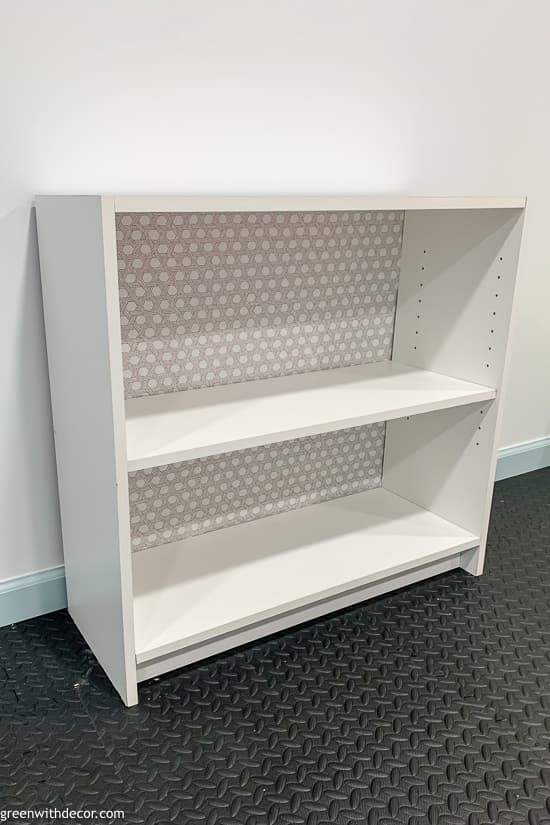
I added Duck Brand’s Removable Adhesive EasyLiner to the back, and it looks good as new. Even better than the original, actually. I love the pop of pattern.
(See more of our basement playroom here: Fun playroom adult seating area)
And the project only took a half hour!
The liners are easy to wipe clean and perfect for all sorts of decorating, craft or resurfacing projects. (Note, these liners aren’t for use on wood, wallpaper or water-based paint.)
I also added a Removable Adhesive EasyLiner to the back of this picture frame for a simple, cute decoration. I’m always a sucker for a good Damask print.
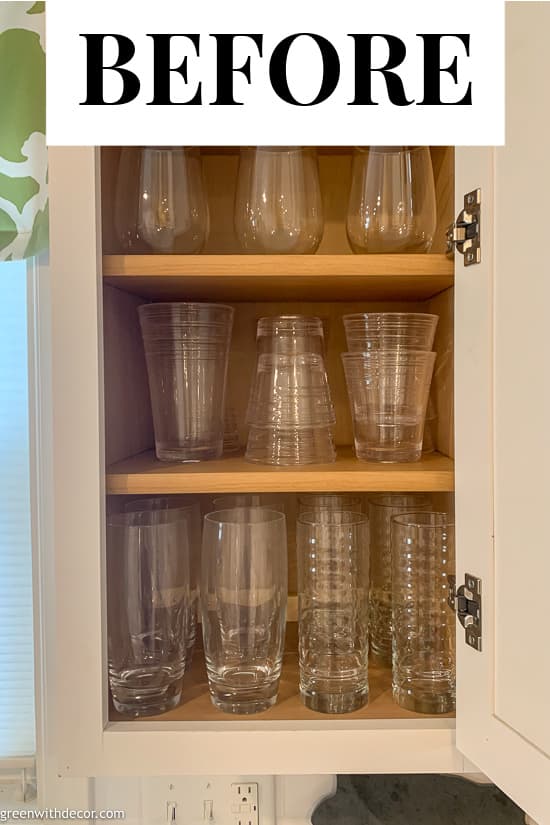
Here’s the before…

… and after:
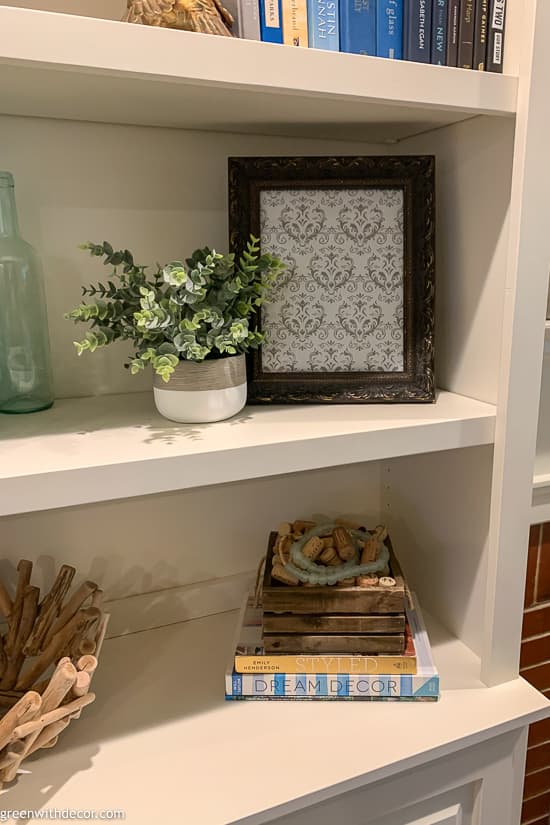
(See more of our living room bookshelves here: How to decorate bookshelves)
How to use the Removable Adhesive EasyLiners:
1. Clean and dry your surface area.
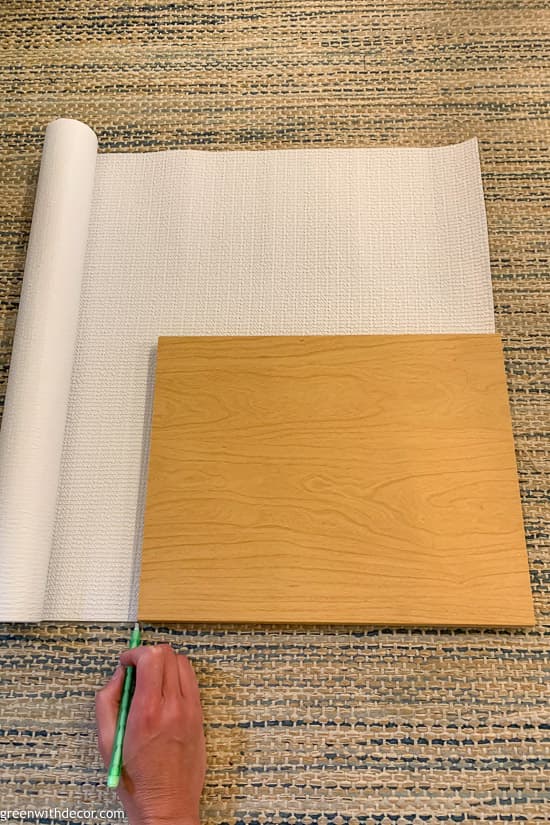
2. Measure the surface area of whatever you’ll be covering.
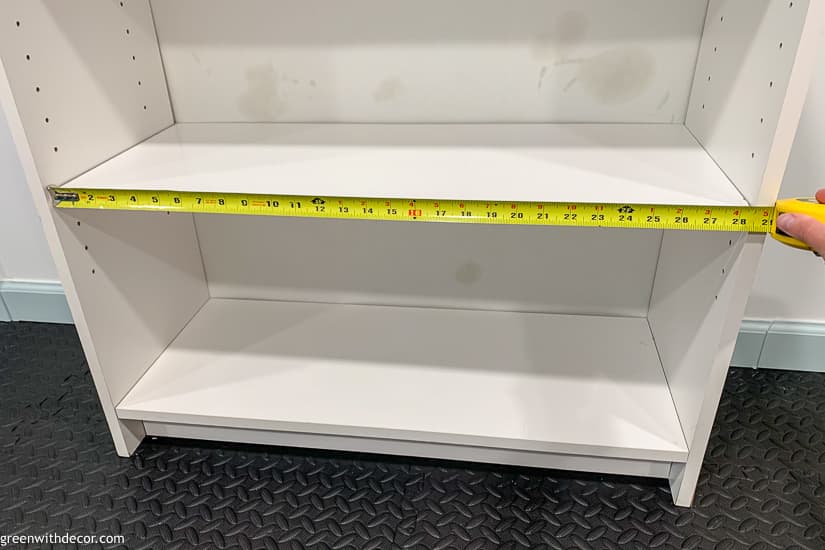
Leave 1/4″ overhang on all edges in case of shrinkage.
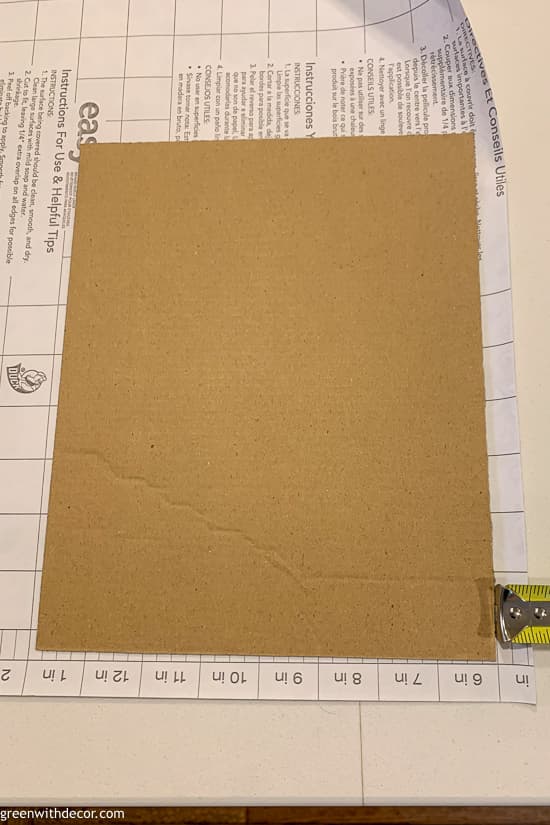
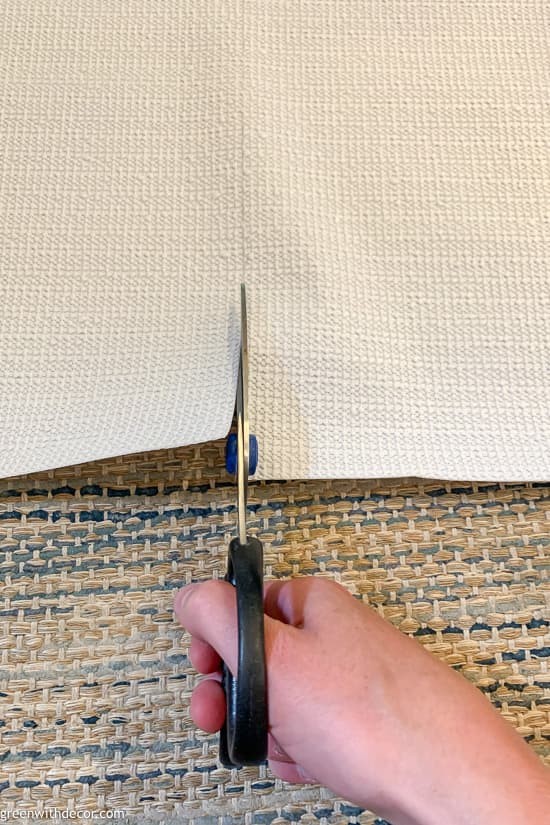
3. Cut the liners. The liners have an inch-by-inch grid on the back, which makes measuring and cutting very helpful.
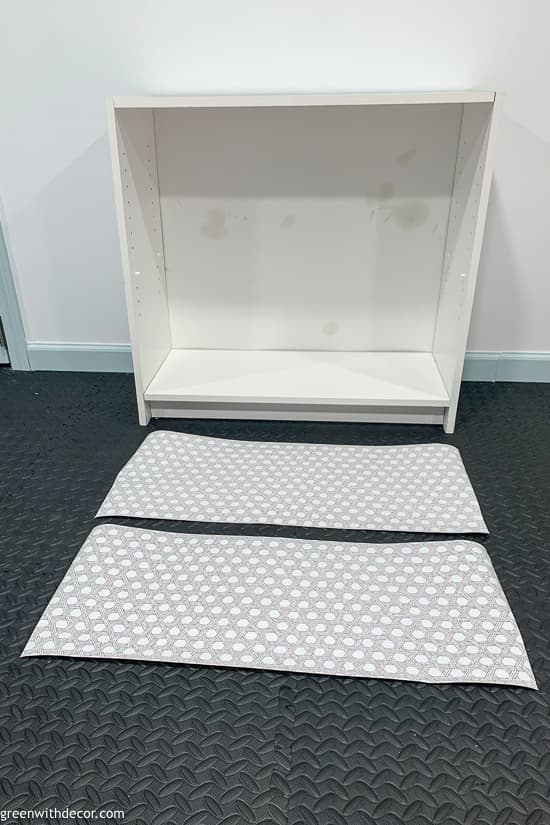
With the bookcase, one sheet wasn’t tall enough to cover the whole thing, so I cut two strips, making sure the place where they would meet was behind the shelf so the pattern didn’t have to line up exactly perfectly. It’s pretty close, but this took a lot of the pressure off!
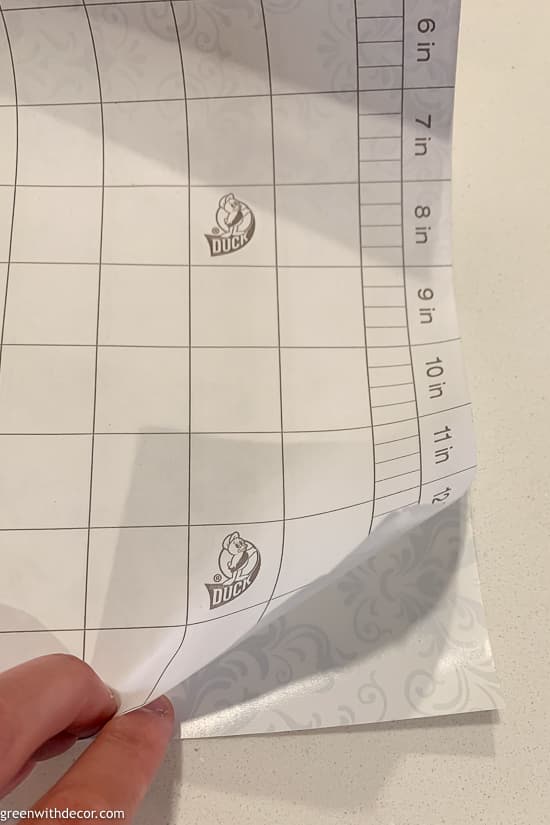
4. Peel off the adhesive back.
5. Press the liner onto your object, starting in the center and smoothing out toward the edges.
If you mess up and accidentally stick the liner in the wrong spot, just pull it off and start again. It’s easy to pull off. I didn’t have any issues with it ripping or wrinkling.
Easy, right?!
Here’s a closeup of both of the projects I did with the Removable Adhesive EasyLiners so you can see the pretty patterns:
And:
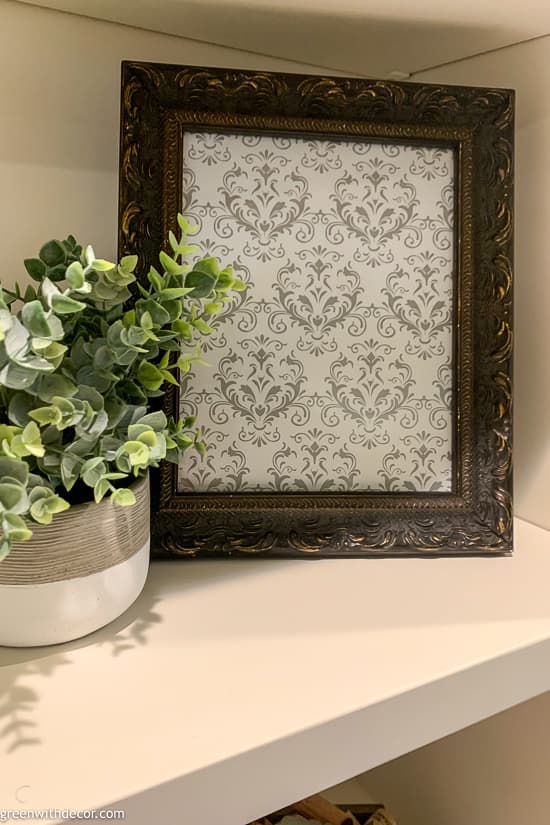
So pretty, right?! I love them.
Kitchen cabinet liners:
And now for the Smooth Top EasyLiners. A few months ago, I took pretty much everything out of our kitchen cabinets and rearranged it all.
It’s amazing how shelves just get dirty and dusty, and how many dishes and kitchen utensils we had collected over time. It felt good to clean and purge.
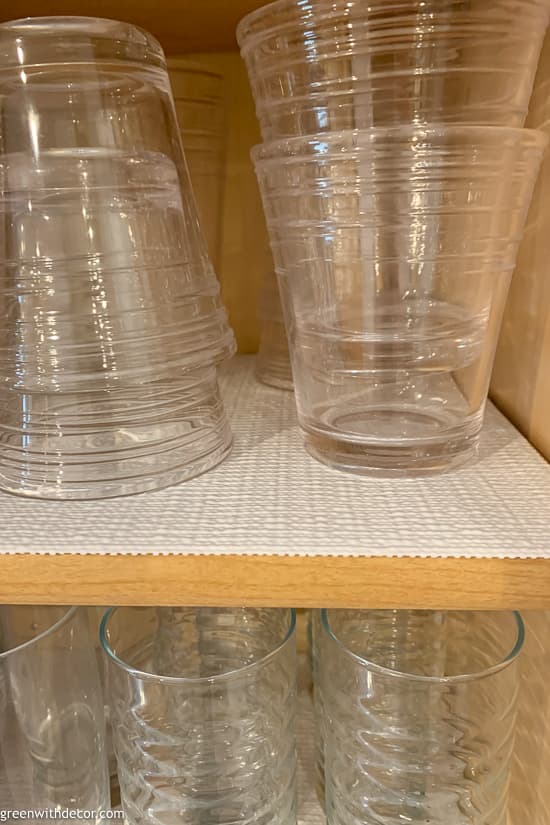
Then I added Duck Brand’s Smooth Top EasyLiners.
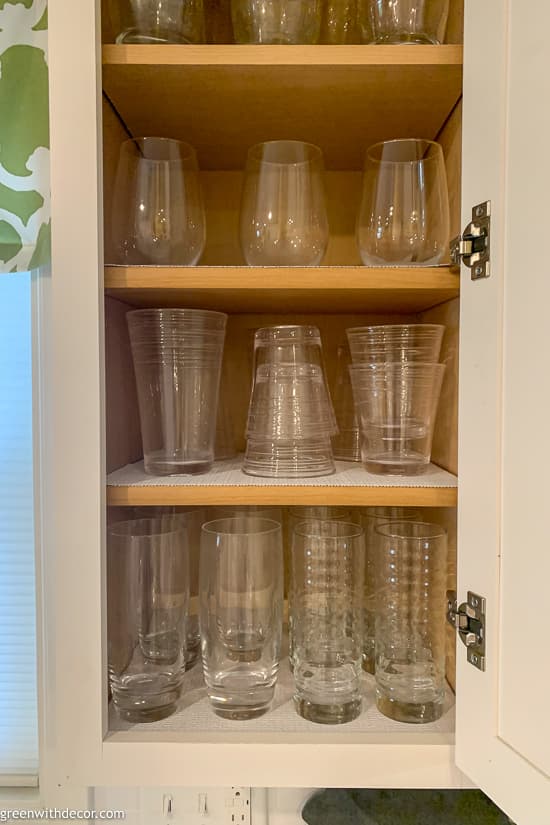
The liners are perfect for cabinets in the kitchen, bathroom or laundry room since they have gripped bottoms to keep them from shifting or buckling. They have a smooth surface so it’s easy to slide containers, bottles, baskets and other objects across them – perfect for a pantry.
They’re also machine washable – a must for when an inevitable spill happens! Plus they’re easy to shake out to get rid of any dust and crumbs.
How to use the SmoothTop Easy Liners:
The liners are easy to add, just follow these quick steps:
1. Measure your shelf in place or take it out and trace it right on the EasyLiner to avoid measuring altogether.
2. Cut the EasyLiner to fit your shelf. Since the liners all have some sort of repeating pattern on them, it’s easy to follow the pattern and cut in a straight line. If you have a paper cutter, cutting will be even easier.
3. Place the EasyLiner on your shelf. It’s amazing what some pops of white can do to make your cabinets seem brighter every time you open them.
So happy to cross these easy projects off the list. I’m thinking the Removable Adhesive EasyLiners would be perfect for a dollhouse makeover, too, if I ever get to that project on my to-do list!
Are you working on any easy DIY or organizing projects this summer?
Remember to bookmark or pin this post if you want to save it for later!

Pin it!
Want to read more posts like this?
Follow along: Get my emails | Facebook | Pinterest | Twitter | Instagram
Leave a Reply