This DIY tutorial for a two-tier side table makeover is easy to follow!
Disclosure: This post is sponsored by Wagner. All opinions, images and love of painting projects are 100% mine.
I really told myself that I wasn’t picking up any more furniture pieces from the side of the road or any Facebook buy/sell groups until I makeover all the ones currently sitting in our basement.
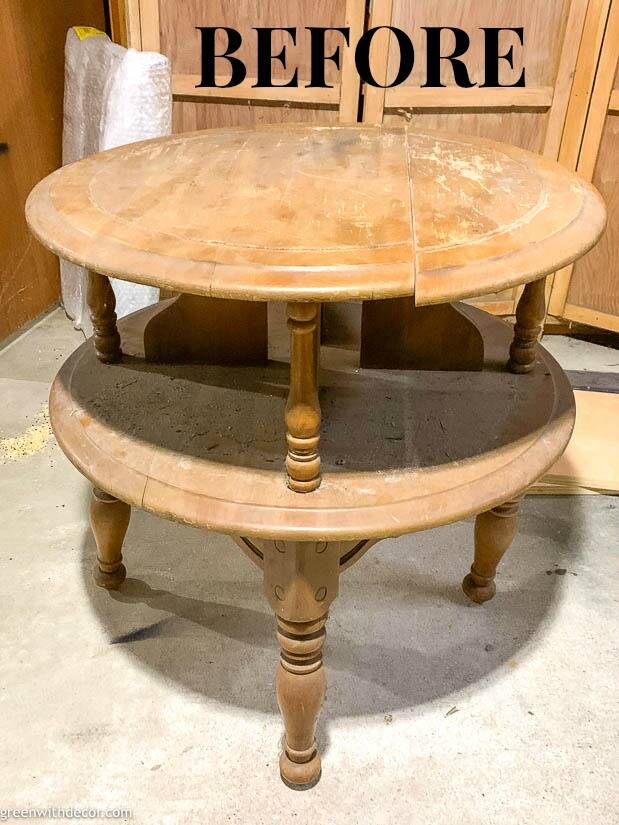
And I was doing really well for months until we passed this cool looking two-tier table on the side of the road last month …
Ugh! The old furniture strike was up.
This table was too cool to pass up. I love the shape of it!
It was also definitely the dirtiest piece of furniture I’ve ever started a furniture makeover with. Yuck.
But it call came off with a good cleaning, and isn’t it gorgeous now?!
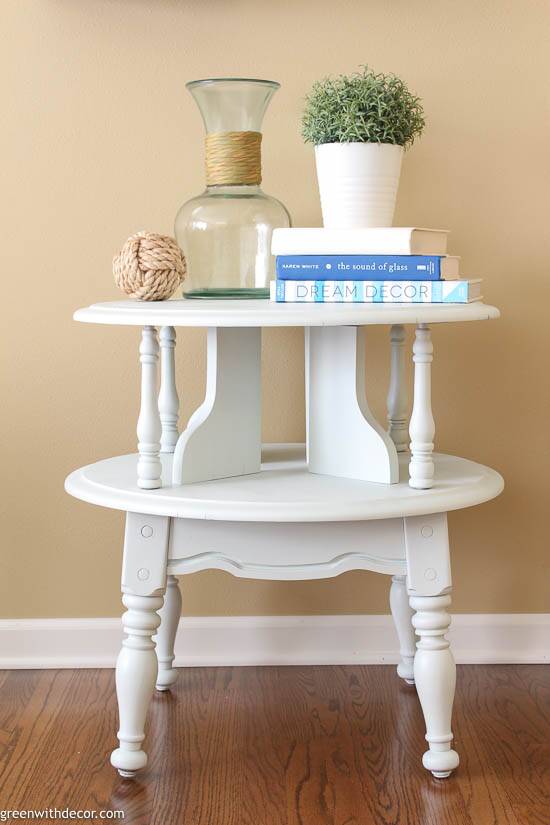
I love the paint color!
This post contains affiliate links. This means if you click the link and buy something, I may receive a small percentage of sales at no extra cost to you.
Supply list for a two-tier side table makeover:
- Cleaner
- Patch Plus Primer
- Sandpaper
- Studio Spray Tent (also available here – remember you can order online and pick up in store!)
- FLEXiO 3000 paint sprayer (also available here or here)
- Extension cord (if needed)
- Paint – I used Sherwin Williams’ Dewy
- Paint stir stick
How to paint a two-tier side table:
If you also have a beat-up two-tier table, these are the steps I followed to take it from gross to pretty:
1. Clean your table.
If your table is as disgusting as this one was, give it a GOOD cleaning first. Otherwise you can patch and sand first, then clean.
But this table was GROSS and needed to be cleaned thoroughly before I did anything else to it.
2. Patch your table.
Use this amazing Patch Plus Primer to fill in any scratches or cracks. Follow the directions and sand off the excess patch material.

3. Sand your table.
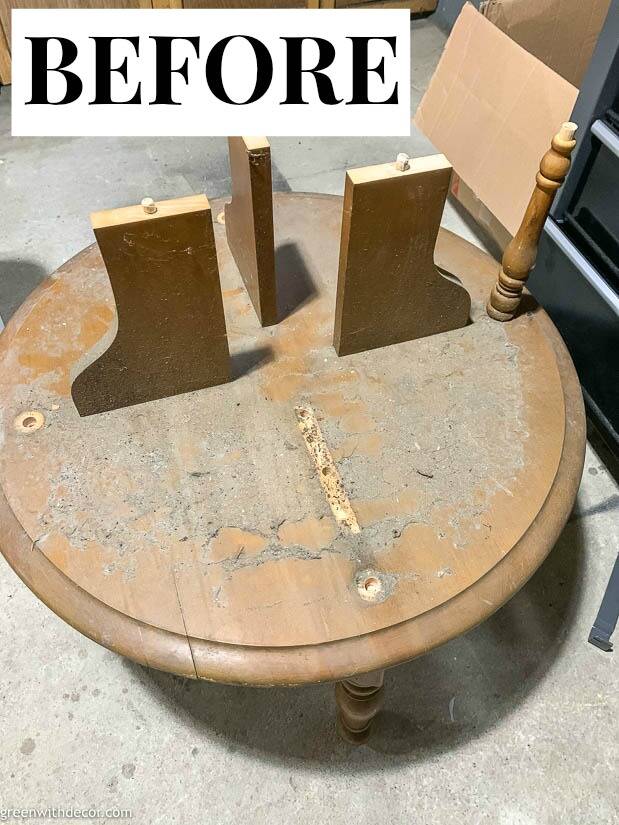
I took all of the pieces of the table apart so they’d be easier to sand, especially the legs between the two tiers.
Sand your table to get rid of any previous sealers and get a smooth finish so the paint will adhere better.
4. Clean your table.
Give your table a good cleaning to get rid of the sanding dust.
5. Put your table together.
I put everything back together except for the top piece. I figured it would be easier to paint the leg pieces between the two tiers without a piece on top of it.
I set the top of the table next to the rest of it to easily paint it.
6. Set up your Studio Spray Tent or drop cloth.
I love using the spray tent to be able to easily use the paint sprayer when it’s cold out!
7. Put your paint sprayer together.
The iSpray nozzle is best for pieces with a smaller surface area like this two-tier table.
Your suction tube should be positioned forward or backward depending if you’ll be spraying downward or upward.
8. Set your paint sprayer settings.
The paint sprayer settings depend on your specific project and the type of paint you’re using. Wagner’s manual gives good direction on these.
Spray shape / air cap (blue knob in front): This determines the spray pattern. You can paint in a vertical, horizontal or round pattern. With a two-tier table like this that has various vertical and horizontal surface areas, I adjusted this as I painted.
Air power control (red knob on top): This depends on how thin your paint is. Start low, and adjust as needed.
Material flow control (gray knob behind the trigger): This depends on the type of paint you’re using. Start low, and turn it up if you’re not getting enough coverage.
9. Paint!
Start painting. Keep your sprayer moving with it positioned 6-8 inches from your table.
The spindles and table legs would have been a pain to paint with a brush. The paint sprayer made the project must faster!
Do a first coat, let it dry, and do a second coat.
Wipe the nozzle with a damp paper towel every once in a while to avoid dried bits of paint from messing with your paint flow.
10. Clean your paint sprayer.
Clean your paint sprayer and let it dry before putting it away.
11. Put your table together.
Once your table is dry, reattach the top of your table if you also took it off to paint.
And all done!
You can get all the details on our crate shelves here.
For more table makeovers, check these out:
- A Queen Anne table makeover with clay paint
- How to paint a table with chalky paint
- A quick table makeover with a paint sprayer
Remember to bookmark or pin this post if you want to save it for later!
Pin it!
Want to read more posts like this?
Follow along: Get my emails | Facebook | Pinterest | Twitter | Instagram
Deborah says
Did you thin the paint ?
GreenWithDecor says
Nope! This sprayer works great without having to thin the paint.