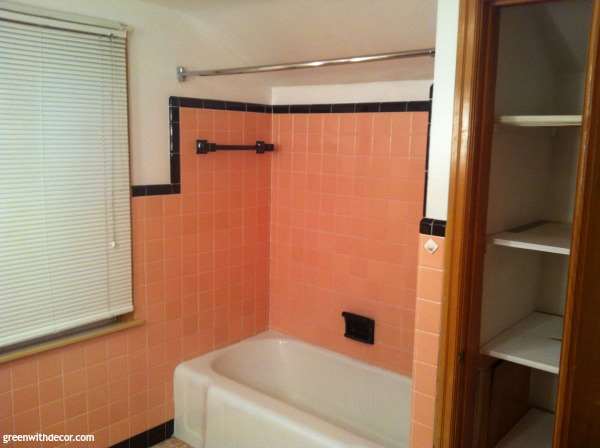
Next on our list of rooms to demo was the upstairs bathroom! The coral tile had to go. We planned to replace the shower tile, toilet, vanity and floor – and paint the walls.

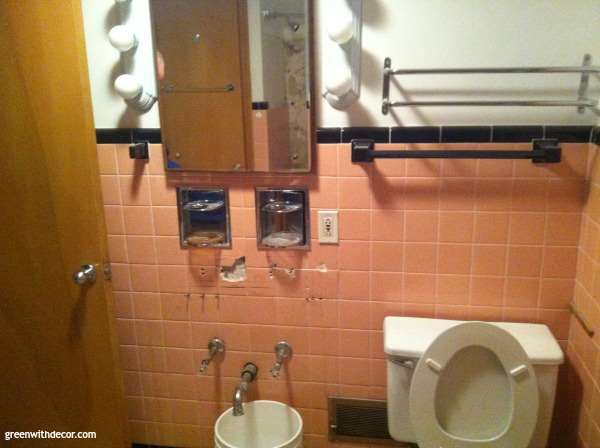
We took out the vanity first.
In the bathroom in our Cincinnati house, we had similar white tile in our original kitchen, so we were familiar with the difficult process of demo-ing it.
The tile was attached to the wall behind it with a layer of wire mesh, which makes the demo process a bit messy. Using a hammer and chisel, we worked to remove all of the tile and mesh.
That tile is heavy! There were quite a few trips to get it all into the dumpster in the driveway.
Have you ever demo-ed this old tile? It’s quite the job!

We started with the tile in the bathtub and worked our way around the room. The room was a mess!
We took out the toilet and tub, then the tile floor… and then the drywall. We took the room down to the studs.
Next up, one of my favorite parts, we had to figure out the room layout. We wanted more counter space but had to figure out the costs of rearranging any plumbing first.
It felt great to have another room demo-ed.
Update: See the bathroom renovation reveal here.
Planning your own renovation?
Download my printable Bathroom Renovation Checklist so you can easily keep track of each step.
*Please note: All printables and downloads designed by Green with Decor are for personal use only. Please do not alter the files or claim them as your own. These files are not intended for resale, nor are the printed versions of these files.
Remember to bookmark or pin this post if you want to save it for later!
Want to read more posts like this?
Follow along: Get my emails | Facebook | Pinterest | Twitter | Instagram
Leave a Reply