You know when you buy a new shirt or jacket or whatever and there’s a button or extra thread attached?
I always keep the buttons. I don’t know why. I’ve yet to ever use one to replace one that fell off a shirt or jacket.
Oh wait, I know why. Because I’m addicted to crafting, DIYs and upcycling. Why get rid of something you might be able to use for a cute project like this DIY Christmas card?
These cards are fun for teachers, neighbors, the mailman, whoever! Plus they add the perfect touch to a present.
This post contains affiliate links. This means if you click the link and buy something, I may receive a small percentage of sales at no extra cost to you.
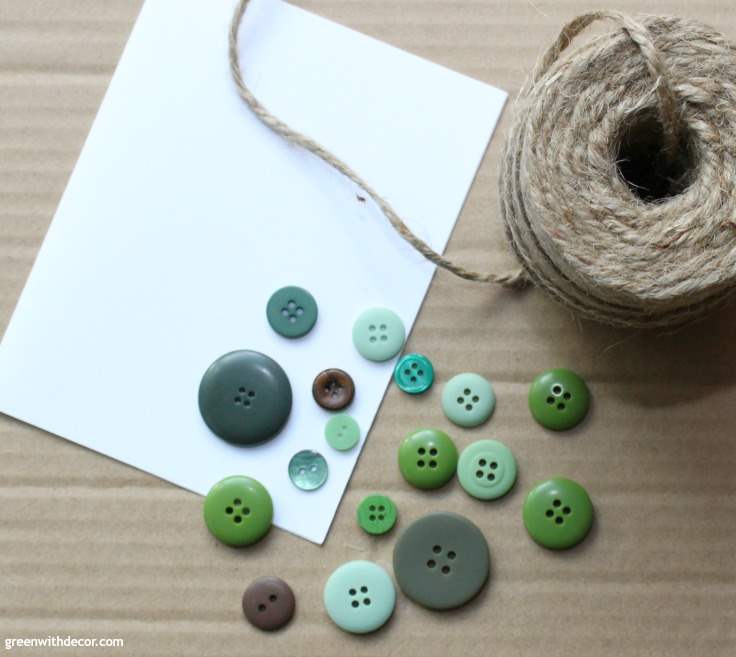
Supply list for DIY Christmas cards:
- Buttons
- Cardstock cards
- Twine
- Scissors
- Rubber cement
How to make Christmas cards with buttons:
1. Pick your buttons.
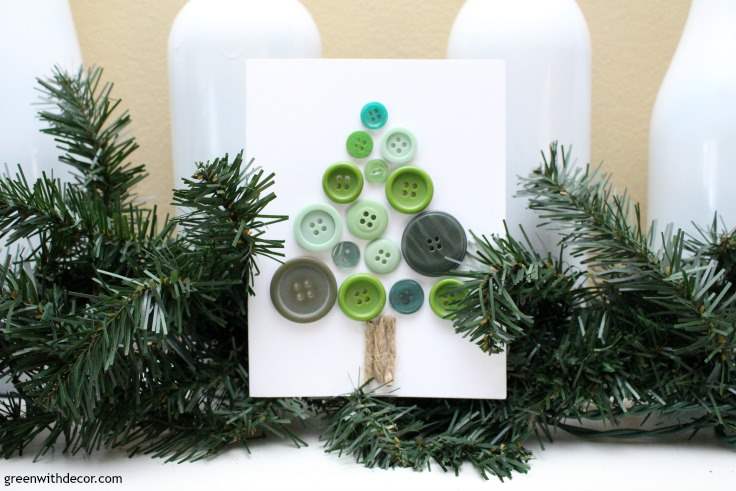
I went through my green buttons and played with them until I liked a tree arrangement. It’s fun to use different sizes and shades of green.

2. Glue the buttons to the cardstock.
Use rubber cement or a hot glue gun. Given that this was such a small project, I went with rubber cement.
3. Cut the twine.
4. Glue the twine below the buttons.
Rubber cement is probably the right choice here, too so you don’t burn your fingers using a hot glue gun.
5. Start handing out!
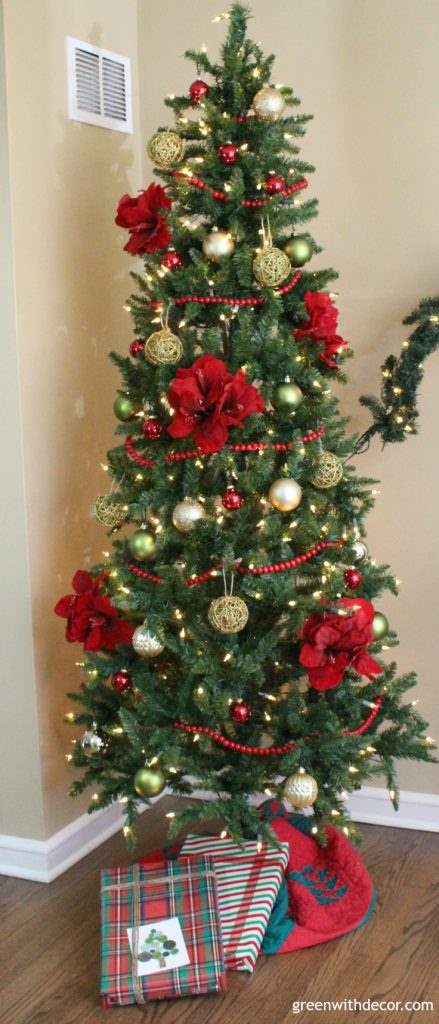
Or display your new Christmas card on your garland and take a picture. Whatever you feel like. 🙂
Confession time: who else hoards (keeps) extra buttons?
If you like easy DIY Christmas projects, check these out:
Remember to bookmark or pin this post if you want to save it for later!
Pin it!
Want to read more posts like this?
Follow along: Get my emails | Facebook | Pinterest | Twitter | Instagram
Leave a Reply