This post contains affiliate links. This means if you click the link and buy something, I may receive a small percentage of sales at no extra cost to you.
Do you have a plain old tray sitting around begging to be updated? If so, this blog post was made for you.
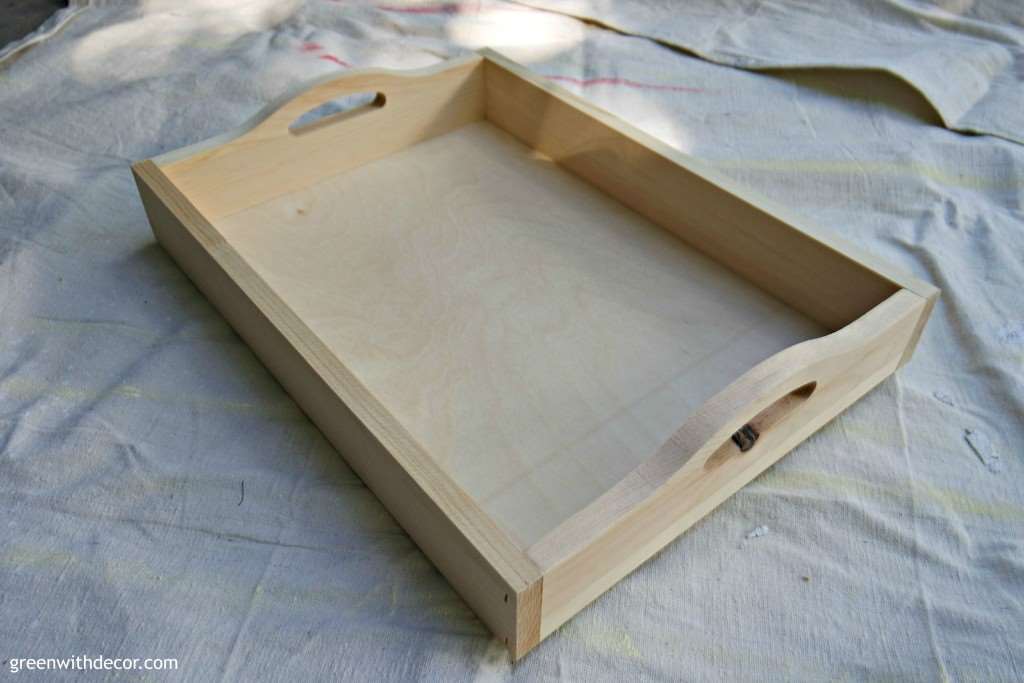
I’ve teamed up with a group of bloggers to share all sorts of fun tray makeover ideas. We each started with the same 15” x 11” plain wooden tray, and everyone did something different with their tray.
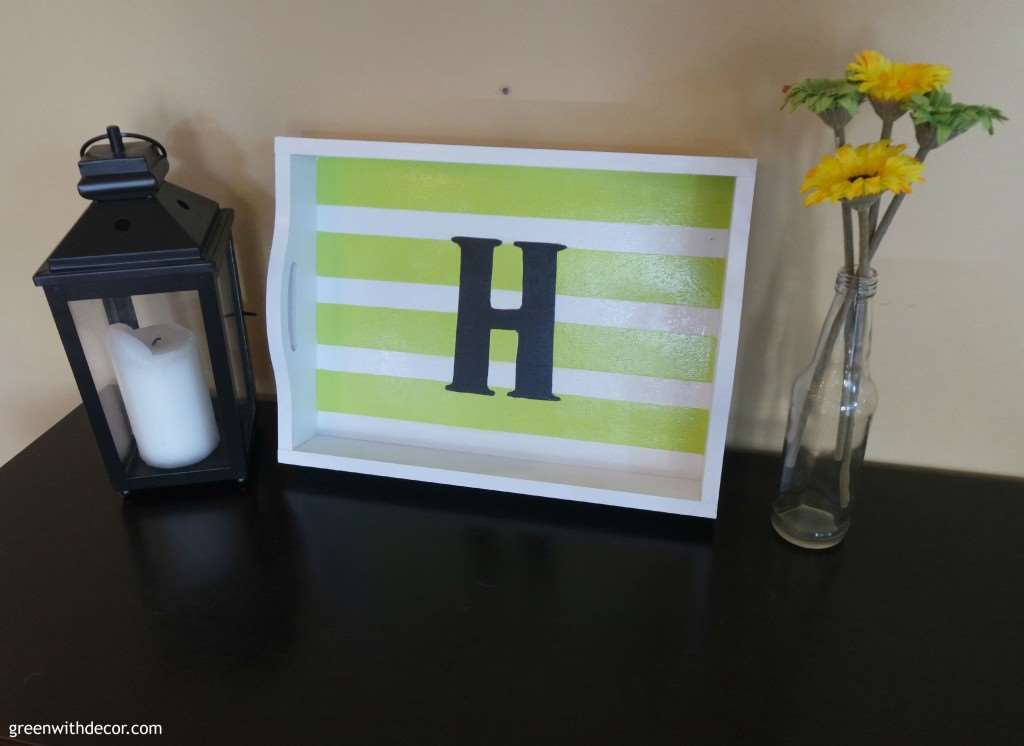
Here’s what I did with mine:
I loved this idea from the very beginning. Trays are something I can’t get enough of. Slowly but surely, I’m adding trays to every room in my house.
Be sure to hop around to the other blogs to see details on everyone’s project (links below)!
So this project actually took me a bit of time. If you think bloggers don’t ever screw up our DIY projects, we do.
I did this project twice. Yes, twice. I’ll share my mistake with you guys so you don’t waste time doing the same thing!
First, a quick side note. When I say I did this project twice, I even ordered the tray twice.
The first tray arrived broken. I’d never had anything arrive broken from Amazon before, so I wasn’t quite sure about shipping returns back. I called my brother David, who buys everything off of Amazon, and he assured me that returns were easy.
He was right. Whew!
I just printed off the return label, stuck the broken tray in the box, dropped it off at a UPS box, and a few days later, my new tray arrived – all in one piece. Awesome!
I wanted my tray to have green (big surprise, right?) and white stripes with a black ‘H’.
Supply list for a tray makeover:
- Tray
- Painter’s tape
- Paint (I used Rust-Oleum’s Gloss Key Lime and Gloss White)
- Tape measure
- Drop cloth
I painted the stripes first and then the ‘H’. I wouldn’t do it in this order again. It was hard to tape the ‘H’ stencil exactly up against the tray, so the edges of the painted ‘H’ were feathery instead of a clean line.
So, I essentially ended up starting with the spray painted ‘H’ and then re-painting the stripes.
It all worked out in the end. But if you want to save time and end up with a similar looking tray, follow the steps below.
How to add an initial and stripes to a tray
1. Paint the whole tray one color.
I picked white as my main color.
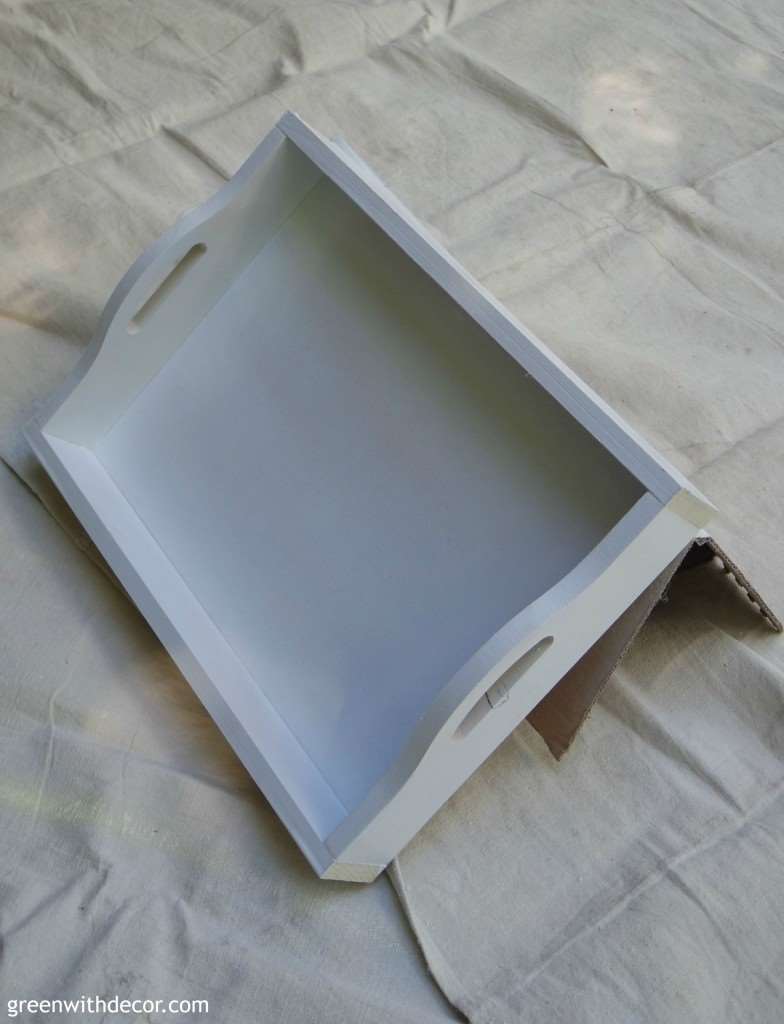
Let it dry, do a second coat, and let it dry.
2. Get a stencil for the letter you want.
Based on the tray size, I picked a 5½” tall stencil.
3. Tape the stencil onto the tray, spray paint the letter.
Tape the stencil onto the tray. Cover the rest of the tray with painter’s tape so you don’t accidently get any paint where you don’t want it.
Spray paint the letter.

Let it dry, do a second coat, and let it dry.
4. Put painter’s tape over the letter.
This protects it while you spray paint the stripes.
5. Decide how far apart you want the letters, measure and tape.
I measured so my white stripes would be 1” wide and the green stripes would be 1½” wide.
Tape over the first color stripes (white in my case) to protect your paint job.
Spray paint the other color (green for my tray) onto the tray to create the contrasting stripes.
Let it dry, do a second coat, and let it dry.
All done!
Update: I painted the sides of the tray black for a new look.
Remember to check out the other bloggers’ posts for fun, creative ideas!
Faux Living Wall Art by Up To Date Interiors
Tray Makeover by Refashionably Late
DIY Wet Mitten Dryer by Our House Now A Home
DIY Portable Office Space by One Mile Home Style
Add an Initial and Stripes to a Plain Wooden Tray by Green With Decor (you’re here!)
DIY Tray Art Organizer by Shabby Grace Blog
DIY Trendy Plaid Tray by Casa Watkins
Conversation Starter Boards by Uncookie Cutter
What would you have done with the plain wooden tray?
For more easy DIY ideas, check out these projects:
Remember to bookmark or pin this post if you want to save it for later!
Pin it!
Want to read more posts like this?
Follow along: Get my emails | Facebook | Pinterest | Twitter | Instagram
Ruthie says
Love that you added your initial to it! I love how it’s specific to you and a great piece of art yet functional if you need to carry anything!
GreenWithDecor says
Thanks, Ruthie! Love yours, too!
Emily, Our house now a home says
This is so cute! I like the idea of having the bright yellow lines!
GreenWithDecor says
Thanks, Emily!
Sara says
Love the idea Meg! Great green color too!!!
GreenWithDecor says
Thanks, Sara! Of course I love the green 🙂
April R @Uncookie Cutter says
It’s adorable Meg! What a great little upgrade!
GreenWithDecor says
Thanks, April!
Stephanie @ Casa Watkins says
Meg, I love this tray! I just adore monogram trays. Thanks for sharing your tutorial and participating in the create and share challenge this month. Pinned and shared.
GreenWithDecor says
Thanks, Steph! This was a fun create and share challenge!
Kathy says
Your tray turned out really cute Meg. I was contemplating a monogram in mine too!
GreenWithDecor says
Thanks, Kathy! I love trays!
Heather says
This turned out really cute and classy! Thanks so much for sharing and linking up to Friday Favorites!
GreenWithDecor says
Thanks, Heather!
Kathy says
Thanks for sharing your awesome tray at The Creative Circle Meg. Hope to see you this weekend!! xoxo
GreenWithDecor says
Thanks, Kathy!