A cute idea for an end table in a small bedroom.
The nursery has been sitting half-finished for … a while.
We’re getting there, but it’s a little hard to work on a room when the only free time you have is when your daughter’s napping in said room.
Remember our gorgeous neutral glider we got for the room last summer?
We love it! And we needed a little table next to it for books and a water glass.
Except that the glider sits in a corner between two windows, one of which is pretty low to the floor.
Plus the glider swivels so we were having trouble finding a little end table to fit in the space without it getting in the way.
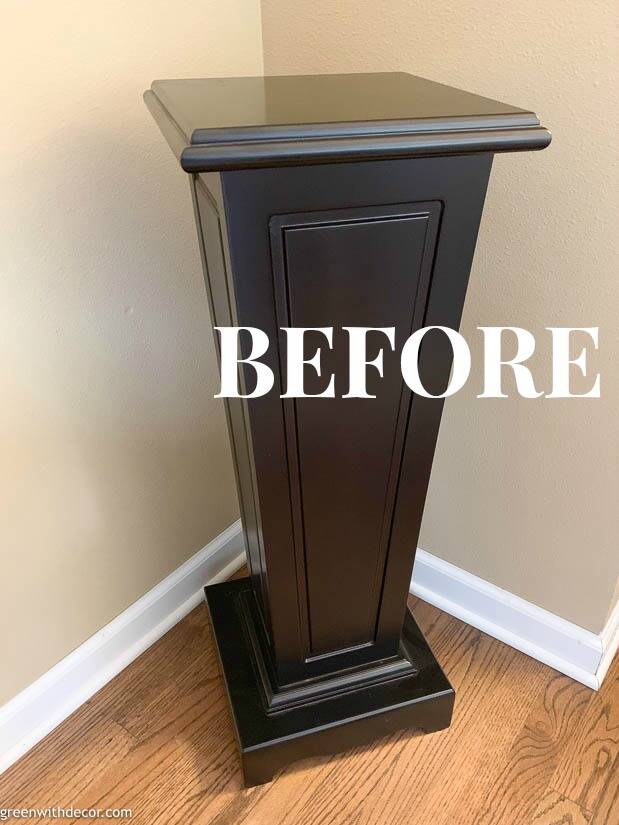
And then I remembered we had this plant stand in the basement (from my grandparents!) and thought it would be the perfect little nursery table.
Super random, but it totally works in the space!
It started like this:
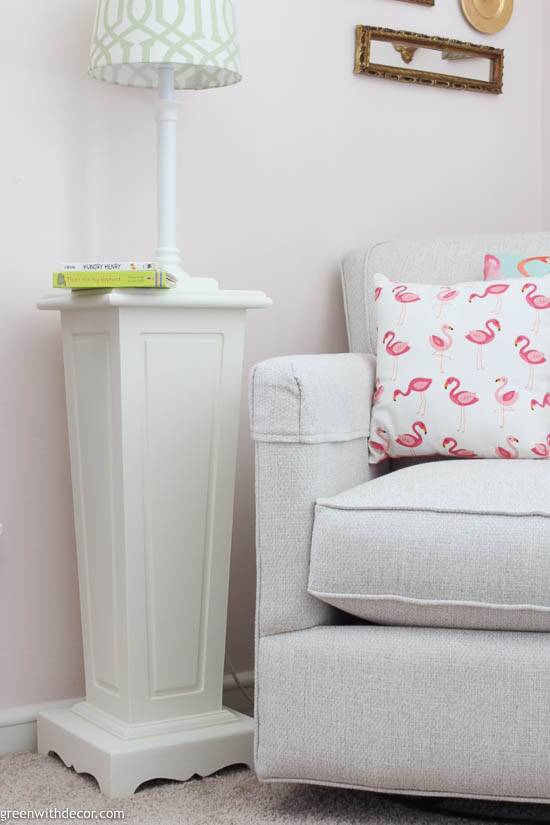
I brightened it up with some paint to match the other white furniture we have in the room:
Today’s post is part of the Thrift Shop Challenge series I do with a few blogging friends.
(My previous posts in the series include blog posts on how to paint candlesticks, this mini sled makeover and this nursery artwork with a thrifted frame if you want more thrift store makeovers!)
You can see all of their awesome thrift store makeovers linked at the end of this post!
This post contains affiliate links. This means if you click the link and buy something, I may receive a small percentage of sales at no extra cost to you.
Supply list for a plant stand makeover:
- Drop cloth or old blanket
- Paint stir stick
- Paint brush
- Primer
- Paint – I used Country Chic Paint’s Vanilla Frosting
How to paint a plant stand or end table:
1. Clean your plant stand to get rid of any dirt or dust.
2. Prime your table.
I get asked about when to use primer a lot. If you’re painting a light color on a dark piece (like this project) or if your original piece has a bit of a shine to it (also like this project), do a coat of primer.
You’ll use less paint, and your project will go faster.
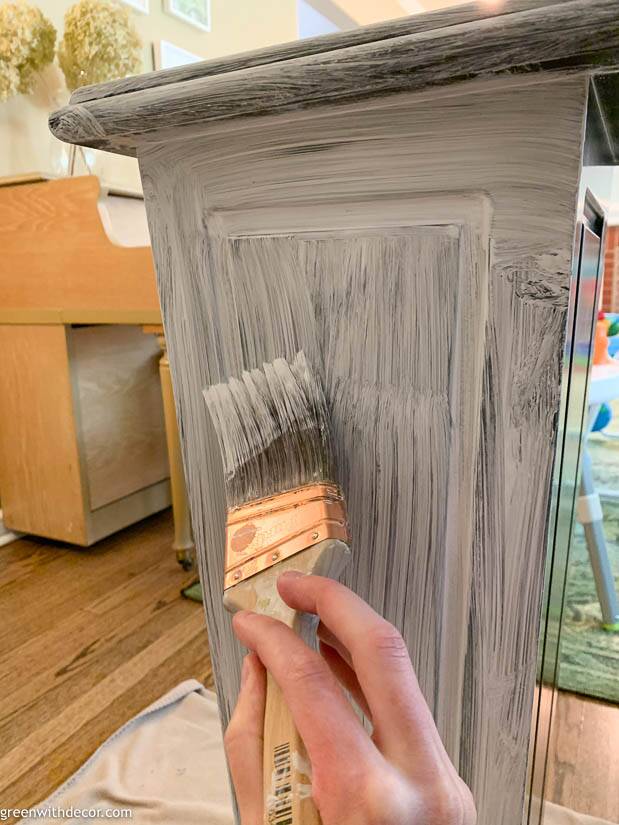
3. Paint your table.
Shake and stir your paint.
Paint your piece, applying brush strokes in the same direction.
You can see the difference between the primer and paint in this pic:

4. Let it dry and do a second coat.
Let it dry, and you’re all set!
Isn’t this the cutest little table?!
I love it, and it’s even cooler we can use a piece from my grandparents in our daughter’s nursery.
Remember to check out the other bloggers’ Thrift Store Challenge makeovers below:
- Making Manzanita – Boho style cabinet makeover
- Small Stuff Counts – Painted tin canisters
- Love & Renovations – How to turn anything into a planter
GET THE LOOK:
Since a popular question I get is “Where’d you get that?!,” here are links to the same or similar sources:
If you want to see the other projects in the nursery, here’s what we’ve accomplished so far:
- Changing table makeover
- A gorgeous neutral glider
- How to paint a nursery with a paint sprayer
- An old TV stand turned book storage
- Nursery artwork with a thrifted frame
Remember to bookmark or pin this post if you want to save it for later!
Pin it!
Want to read more posts like this?
Follow along: Get my emails | Facebook | Pinterest | Twitter | Instagram
Chelsea @ Making Manzanita says
Wow, looks so good!! I would never imagine it wasn’t always used like that because it looks so perfect! 🙂
GreenWithDecor says
Thanks, Chelsea! It works perfectly in this little corner, and I love how bright it is now!
Amanda says
This is so cute, Meg! I never would have thought to use that as a table. Genius!
GreenWithDecor says
Thanks, Amanda! I love it in this little corner!