Disclosure: Cutting Edge Stencils provided the stencil used for the project in this blog post. All opinions, images and love of Christmas pillows are 100% mine.
It’s no secret I love throw pillows around here. If you saw the living room or family room Christmas tours, you probably know my throw pillow obsession continues right through the holiday season.
Guess what? I just added another Christmas throw pillow to the collection. I know, I know. But I just can’t get enough.

Today’s post is part of the monthly Create & Share Challenge hosted by Cat of Pocketful of Posies.
We all got Christmas stencils this month, and the projects are fab. Scroll down to the end of this blog post to see the other bloggers’ Christmas projects.
This post contains affiliate links. This means if you click the link and buy something, I may receive a small percentage of sales at no extra cost to you.
Supply list for stenciling a pillow:
- Christmas stencil
- White pillow cover
- Pillow insert
- Red paint (Be sure whatever paint you’re using can be used on fabric.)
- Green paint
- Gold DecoArt paint
- Paint tray (I almost always just use a paper plate.)
- Paint stir stick
- Painter’s tape
- Mini paint roller
- Foam brush
- Drop cloth (or old blanket)
How to stencil a pillow:
This is a simple project – perfect for this crazy busy time of year! It took me maybe 30 minutes to paint it and clean off my paint roller and stencil.
1. Prep your paint.
Shake and stir your paint. Pour some onto your paint tray (or paper plate – ha!).
Roll your roller through the paint to get rid of any excess paint. You want as little paint as possible on your roller so the paint doesn’t clump and smudge when you paint your pillow.
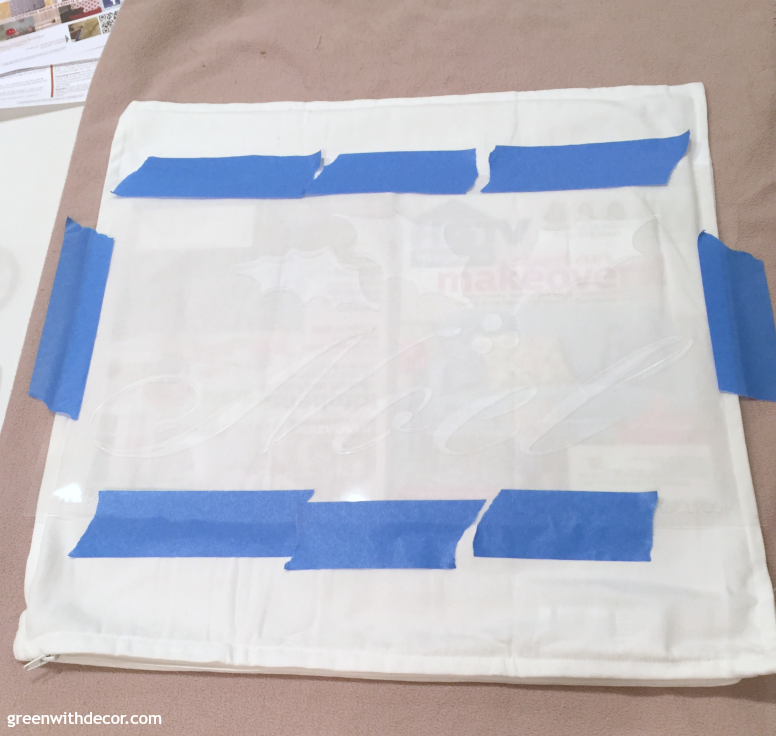
2. Prep your stencil.
I used painter’s tape to tape the stencil to the pillow cover so it wouldn’t move and smudge my paint.
I also put a couple HGTV magazines inside the pillow cover so that any paint wouldn’t bleed through to the other side of the pillow. I didn’t actually need it because paint didn’t bleed through but better safe than sorry.
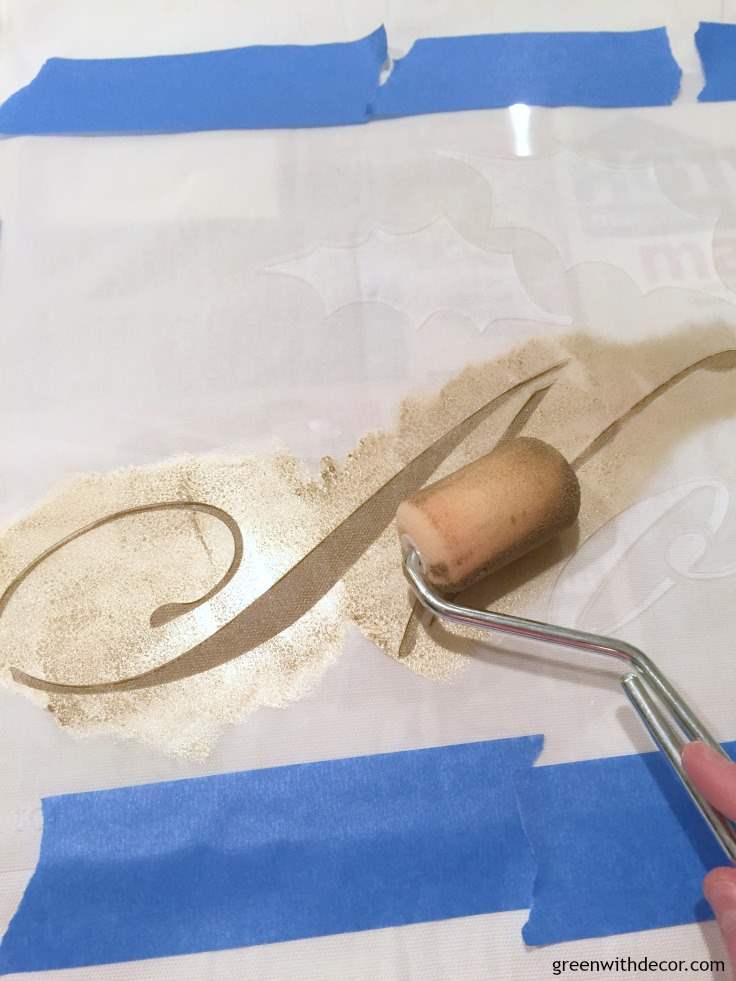
3. Paint!
Roll the roller over your stencil. Start with light pressure and add more as needed. It’s easier to add paint than try to remove excess paint.
I started with the gold to cover the ‘Noel’ part of the stencil since it was the largest part. I love this gold paint! I picked it up at the Haven Conference over the summer and knew I wanted to use it for something Christmassy. The gold is just so festive!
Then wash off your roller and let it dry for a few minutes.
I used a foam brush to do the little red berries since the area inside the stencil was so small, I didn’t feel like I needed a roller for it. Plus my roller could dry while I was painting the red.
Then I grabbed the roller and painted the green leaves.
4. Take the stencil off.
Remove the painter’s tape and the stencil.
5. Clean up.
Wash off your paint roller again.
Then wash off the stencil. If you use paint that easily washes off with water (I almost always do), the paint will come off pretty easily.
Honestly, I threw the foam brush away. I keep them sometimes if I know I have another project I’ll need it for again soon, but otherwise, they’re so cheap, I feel like washing them out isn’t worth the time.
6. Optional: Heat set the pillow.
Once it’s fully dried, you can iron the pillow cover through a piece of cloth for about 30 seconds to heat set the pattern. This protects the cover for throwing it in the wash or using it outside. To be honest, I hate ironing and skipped this. 🙂
Then enjoy your pillow! It adds the perfect touch to the couch (like I really needed another festive pillow!).
My number of blankets is quickly reaching my numbers of pillows. I’m always freezing, and I leave blankets in every room because I pretty much always have one on my lap, ha!
GET THE LOOK:
Since a popular question I get is “Where’d you get that?!,” here are links to the same or similar sources:
- Green and white blanket
- Tan blanket
- Red pillow from At Home
- Christmas stencil
- White pillow cover
Check out the other Christmas stencil projects here for some last minute holiday inspiration!
Kim Six Fix – Stenciled Spray Snow Flakes
Green With Decor – How to Stencil A Pillow For Christmas (you’re here!)
Vintage Romance Style – The True Meaning of Noel Sign
Southern Couture – Wooden Reindeer Stencil
One Mile Homestyle – Stenciled Holiday Coloring Page Place Mats
DIY Beautify – Stenciled Wall Hanging Christmas Decor
Elizabeth Joan Designs – Stenciled Wall Hanging
Farmhouse 40 – DIY Reindeer Antlers Bulletin Board
Iris Nacole – Stenciled Christmas Tree Stand Box
Pocketful of Posies – The Easiest Christmas Cookie Decorating Hack Ever
If you like DIY pillow projects, you’ll want to see these posts, too:
Remember to bookmark or pin this post if you want to save it for later!
Pin it!
Want to read more posts like this?
Follow along: Get my emails | Facebook | Pinterest | Twitter | Instagram
BonBon says
Meg…..Looks so pretty…I really like the color combo you used.
GreenWithDecor says
Thanks, bonbon!
Stephanie @ One Mile Home Style says
You can never have too many pillows or blankets Meg!! This one is perfect for Christmas, I love the gold paint you used!
GreenWithDecor says
Thanks, Stephanie! Glad you agree on pillows and blankets! 🙂
Cindy diy beautify says
Such a cute pillow Meg, I love the gold paint! Now that I own this stencil, I’m sure I’ll be adding some pillows like this in the future…can never have enough pillows or cozy throws!!
GreenWithDecor says
Thanks, Cindy! The gold paint was fun to use!
Kim says
That came out darling! I love that stencil design!
GreenWithDecor says
Thanks, Kim!
Iris Nacole says
Love this, Meg! Super cute!
GreenWithDecor says
Thanks, Iris!
Adriano says
Your blog is beautiful, happy new year, thanks for the tips.
GreenWithDecor says
Thank you!