Let me just preface this blog post by saying I’m no sewing genius.
But my mom is, so she helped me with this fun little project. Like we needed another excuse to get together and work on another DIY project.
After we hemmed the curtains for the home office, we had some extra fabric left over. In fact, it was just enough to make a throw pillow – well how perfect for my throw pillow obsession!
If you have extra fabric laying around and are totally with me in my throw pillow obsession, then this is an easy way to get more pillows without having to buy any!
This post contains affiliate links. This means if you click the link and buy something, I may receive a small percentage of sales at no extra cost to you.
Supply list for making a pillow:
- Fabric (These are the curtains we used.)
- Poly-fill
- Pins
- Measuring tape
- Sewing machine
- Thread (pick a color that won’t stand out against your fabric)
- Iron
How to make a throw pillow from extra fabric:
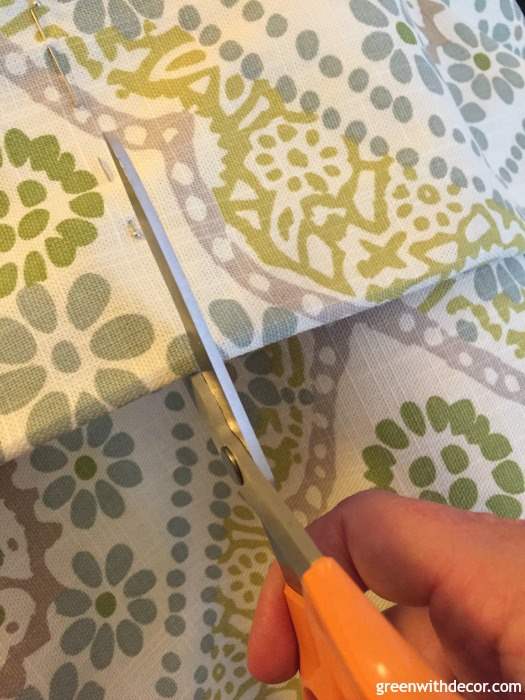
1. Cut the fabric to your desired pillow size.
Unless your fabric is solid or a very small repeating pattern, you’ll probably want to look at the pattern on the fabric to determine what size and shape your pillow will be.
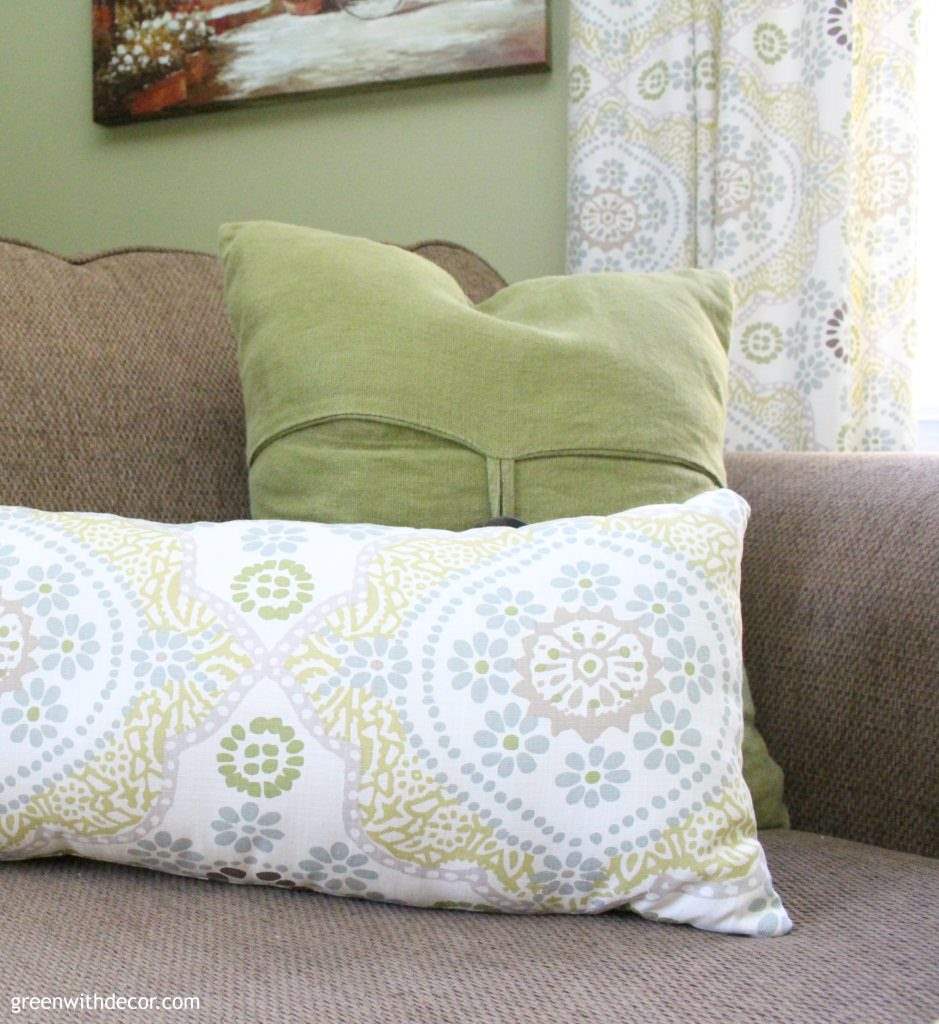
Based on the fabric we had left from the curtains, we could make a lumbar shaped pillow to include two of the starbursts from the pattern. The directions below are for a lumbar shaped pillow, but you can adapt them for whatever size pillow you want.
Before you cut, include an additional inch on the shorter sides (the sides of the pillow) and 5/8” inch on the longer sides (the top and bottom) of the rectangle to allow for seams.
We were able to fold the fabric scrap over, eliminating the need for a seam on one of the shorter sides.
2. Measure and fold the fabric over 1 inch on the shorter sides to allow for the seam.
Pin and iron then remove the pins.
3. Fold the sides of the fabric together so the fabric is now inside out.
4. Pin the fabric together. Sew a 5/8” seam along the top and bottom (the long sides).
5. Stitch a 1-inch seam on the side of the pillow that’s still open, following along the fold.
Leave approximately a 3-inch opening so you can stuff the pillow later.

6. Reach through the opening in the pillow and pull it though so it’s right side out.
7. Push the poly-fill into the corners of the pillow.
Keep stuffing until it’s full.
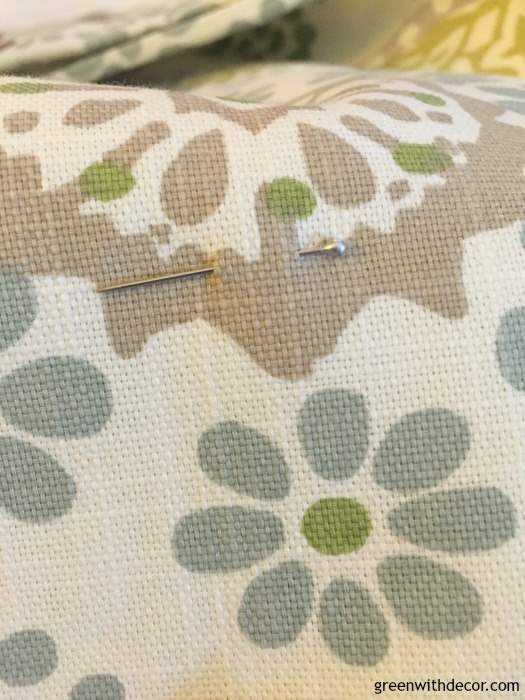
8. Pull the fabric together near the opening. Line up the pattern on the two sides of the fabric.
Pin the fabric together, and hand stitch a blind stitch so the thread won’t show on the finished pillow. Remove the pins.
Now isn’t this cute throw pillow worth a little sewing?
I love ours with this green pillow I found at a local decor thrift store.
You can see all of the home office makeover progress here:
- The home office ‘before’
- How to hem curtains
- 10 pretty silver light fixtures
- How to organize a craft closet without spending a dime
- How to paint a bookshelf
- Home office makeover reveal
GET THE LOOK:
Since a popular question I get is “Where’d you get that?!,” here are links to the same or similar sources:
- Wall color: Ryegrass by Sherwin Williams
- Curtains
- Curtain rod here, but it’s not always available. This one is similar.
- Green + white blanket
- Chaise
- Lamp shade
- Desk
- Golf ball display cabinet
You may want to see these sewing projects, too:
Remember to bookmark or pin this post if you want to save it for later!
Pin it!
Want to read more posts like this?
Follow along: Get my emails | Facebook | Pinterest | Twitter | Instagram
Shelby Dillon says
Great post. Like your pillows! Keep up!
GreenWithDecor says
Thanks, Shelby!