Disclosure: This post is sponsored by Country Chic Paint. All opinions, images and love of painting projects are 100% mine.
Back in February, Kalen and I had some time to kill before meeting some friends downtown.
Knowing me all too well, Kalen suggested heading to an estate sale down the street he’d passed on a run earlier that day.
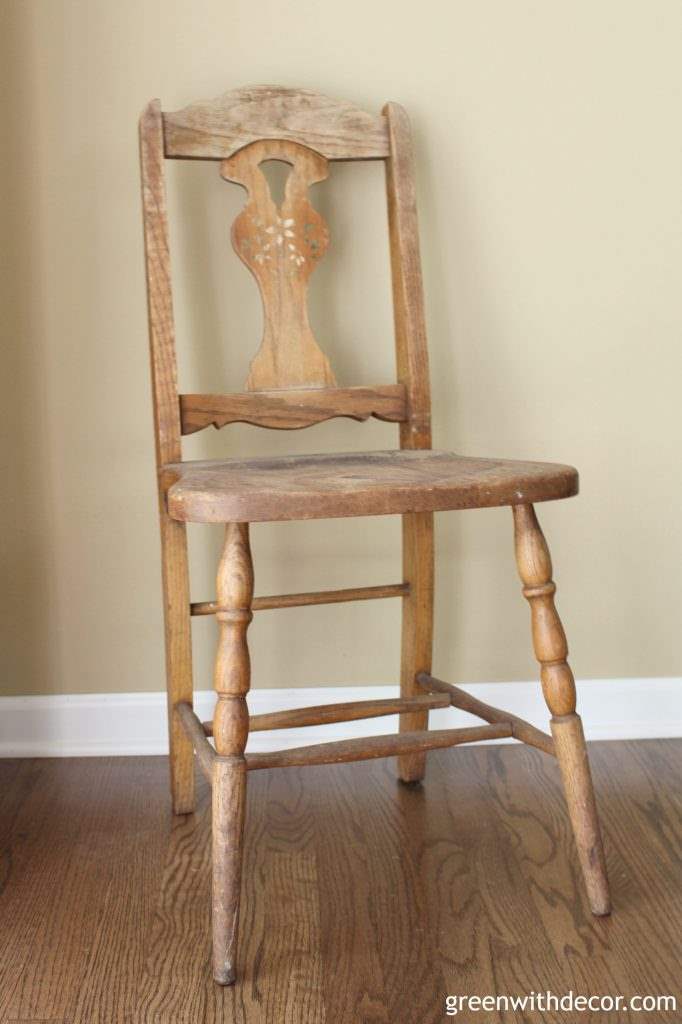
It was pretty picked over by the time we got there, but we ended up with two of these cute little chairs. I couldn’t pass them up.
A not so fun (but funny after the fact) part of the story is that we managed to lock ourselves out of our house when we headed out to the estate sale and didn’t realize it till we got home.
So we got to hang in the driveway with our new chairs till our friend came over with our spare key.
At least we knew the chairs were comfortable. And it was a beautiful Milwaukee day, so there’s that.
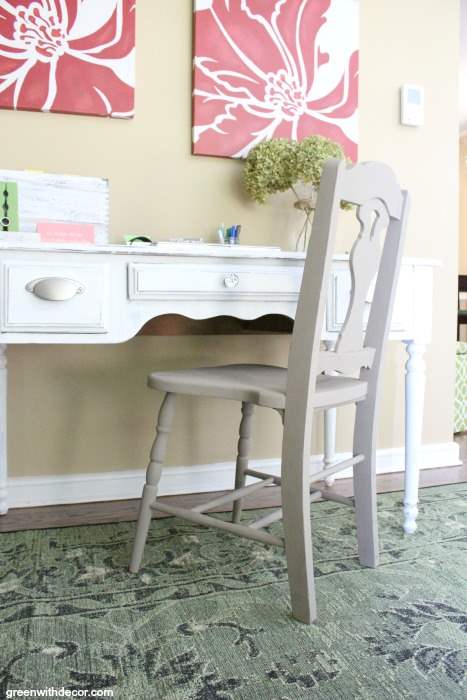
I painted one of the chairs a few months ago, but the second one has sat in the basement for a long time. Until now:
This post contains affiliate links. This means if you click the link and buy something, I may receive a small percentage of sales at no extra cost to you.
Aside from being busy with other house projects, I kept putting this chair off.
I wasn’t sure how paint would cover the big mark across the seat of the chair, and I had a feeling this little chair was going to turn into a big project.
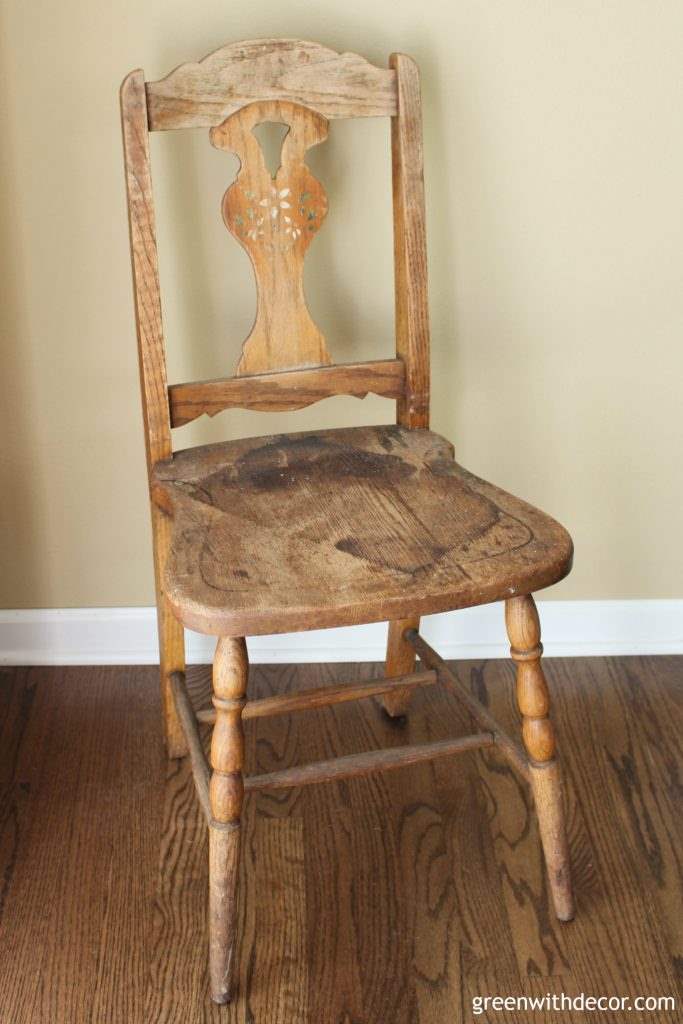
I shouldn’t have been worried at all because this wasn’t a problem. The paint covered it right up.
Supply list for a chair makeover:
- Drop cloth
- Sanding sponge
- Driftwood paint by Country Chic Paint
- Paint stir stick
- Paint brush
- Natural Wax by Country Chic Paint
- Wax brush
- Lint-free cloth
I’ve used Country Chic Paint before (see them here: desk, end table or foyer table), and I just love the colors they have.
I picked Driftwood this time around. Country Chic Paint comes out with a handful of seasonal colors every few months, and Driftwood is one of those. (Update: Driftwood is a regular color now!)

You can look at all of the colors on Country Chic Paint’s website, on Amazon or in person at a local store.
(Local folks, Harvest Home in Pewaukee is the only Milwaukee-area store that carries Country Chic Paint. It’s such a cute store so be sure to check it out if you’re in the area!)
How to paint an old chair with clay paint:
1. Prep the chair.
Sand it down. I use sanding sponges for almost all of my project sanding now.
I know I’ve already proclaimed my love for them in several other blog posts so I’ll leave it at that here.
There was a small painted design on the backside of the chair, so I was sure to sand a lot over that part to remove as much of the design as possible. I didn’t want it to show through the paint.
Wipe the chair clean with a damp cloth to get rid of any dust and dirt, then wipe the chair with a clean, dry cloth.
Be sure the chair is dry before you begin painting.
2. Paint!
Put a drop cloth down to protect whatever surface you’re painting on.
Shake and stir your paint.
This is especially important with clay paint since all the pigments settle at the bottom of the jar after it’s been sitting for a while.
Paint the chair. Go with the wood grain, and be sure all of your brush strokes on each part are going in the same direction.
Let it dry.
If you’re going for a chippy farmhouse look, you can actually stop here.
I debated it, but ultimately, I like a bit more coverage on my furniture pieces so I let the paint dry for a few hours and then applied a second coat.
3. Distress the piece. (optional)
I skipped this step this time, but if you want the distressed look, this is where you’d sand down the edges of the piece.
I distressed my desk I painted and talk more about distressing pieces here if you’re interested.
4. Seal the piece with wax.
Before you apply the wax, let the paint dry for about 24-48 hours.
Country Chic Paint offers a few different colors of wax, but I wanted to use Natural Wax to keep the color of the Driftwood on the chair.
Stir the wax brush around in the wax, then apply in a circular motion to the chair until you cover the whole piece in wax.
Use a clean, lint-free cloth to wipe off any extra wax.
You’ll need to reapply the wax every 6-12 months to keep the piece sealed. Then you’re all set!
I put the chair at my painted desk. I love the look of the darker chair with the white desk.
GET THE LOOK: Painting the desk | Drawer pulls | Drawer knob | Decorating Fearlessly book | Green rug
I don’t think I’ll ever get sick of taking old pieces and giving them new life with paint! The more I paint, the more I find it relaxing.
Have you painted any old furniture lately?
Or have you ever locked yourself out of the house because you were so excited to check out the neighborhood estate sale? 🙂
If you like painting furniture, check out these projects, too:
Remember to bookmark or pin this post if you want to save it for later!
Pin it!
Want to read more posts like this?
Follow along: Get my emails | Facebook | Pinterest | Twitter | Instagram
Xavier says
Hi Meg, This is good see clay painting for furniture of a home. You have used good combination of colours for chair, table and desk. Learned so much new Ideas.
GreenWithDecor says
Thank you!
Jean says
I did the same thing but I drilled four holes in made a seat cover padded seat cover to put on the chair turned out really nice wish I had pictures to show you.
GreenWithDecor says
Oh that’s so clever! Wish you had a picture!