Disclosure: This post is sponsored by Country Chic Paint. All opinions, images and love of painting projects are 100% mine.
If you’ve been reading the blog for a while, you know my grandparents mean a lot to me. My Grandpop was a writer and always encouraged me to follow my dream of being a writer, too.
And what’s a writer without a good desk?
My grandparents had an old desk that they both had used at various points. My Grandpop of course used it as a writing desk, and my Grandmom used it as a vanity.
My mom had it in our house when I was a little girl. I remember sitting in my parents’ bedroom at the desk playing Oregon Trail on an old computer. (Gosh, remember that game?!)
I love pieces that have a family history. When we needed another desk so that Kalen and I could each have one at home, it only made sense to make over my Grandpop’s old writing desk.
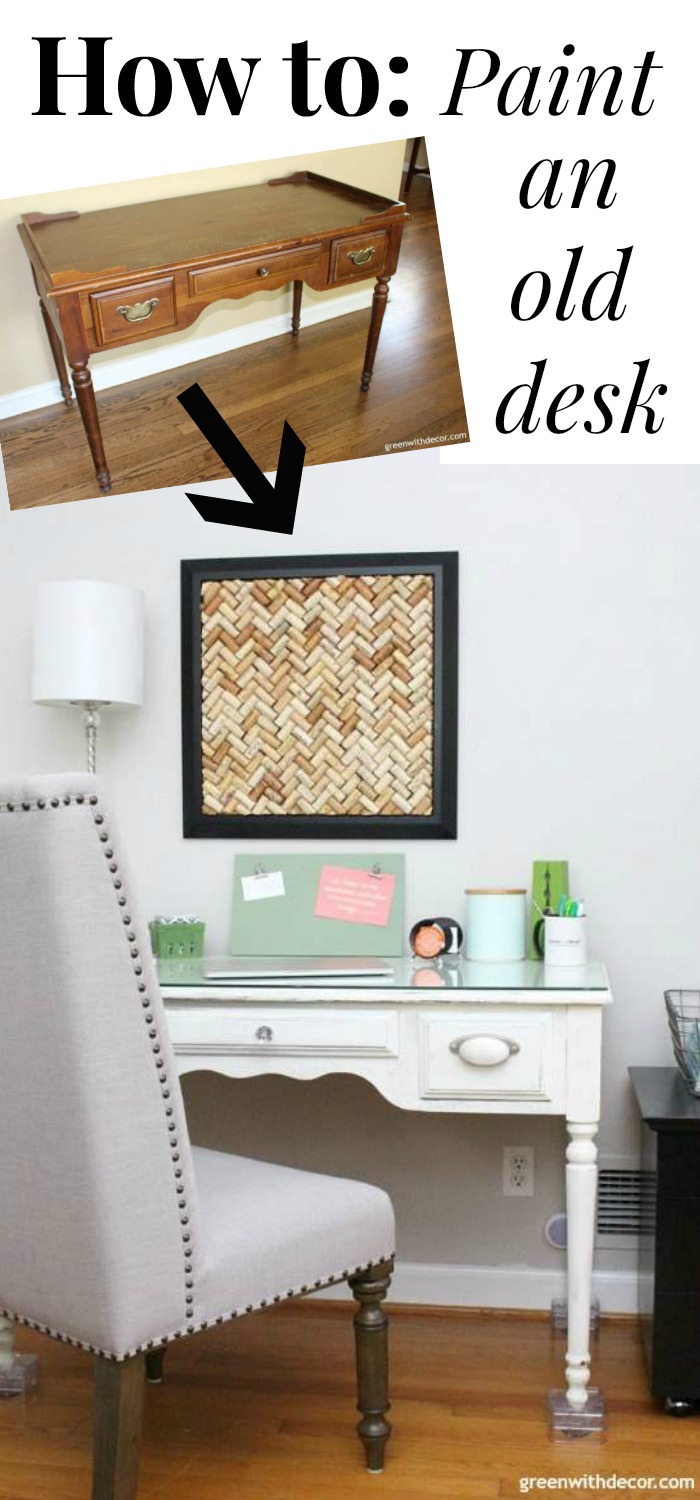
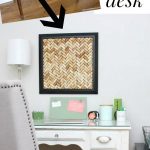
I knew painting an old desk wouldn’t be too difficult (or expensive!), and I love how the piece turned out:
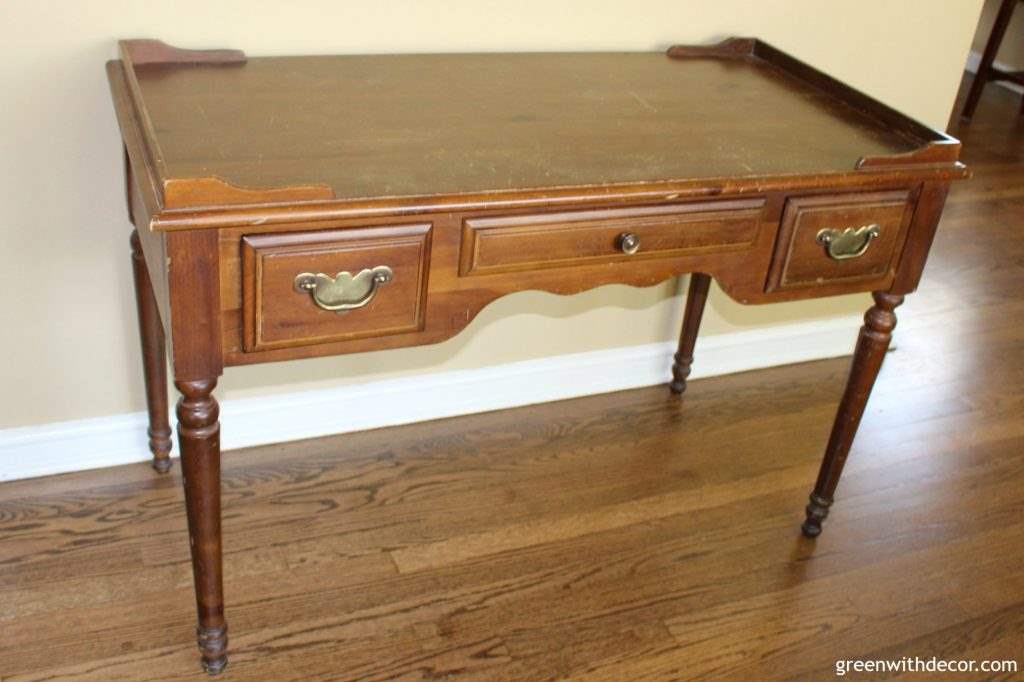
With all of those family members using the desk before me, it was pretty scratched and banged up.
Here’s how it looked when I got it:
This post contains affiliate links. This means if you click the link and buy something, I may receive a small percentage of sales at no extra cost to you.
I used Country Chic Paint’s Vanilla Frosting, which you guys may remember from the rustic bathroom sign I did recently.
I love the color!
I also bought this knob and drawer pulls. The knob was easy to find. The drawer pulls were much harder.
Because the desk is so old, the distance between the holes drilled for the pulls made it really hard to find anything that would fit. I spent far too much time looking through the hardware aisles at various stores and searching online.
You know what’s funny? The handles I used for this easy dresser makeover with spray paint last year fit the desk perfectly. Duh! Sometimes things are just so easy you don’t even realize it.
Despite the long search for handles, I love how everything came together.
Supply list for a desk makeover:
- Country Chic Paint, Vanilla Frosting
- Country Chic Paint’s Natural Wax
- Drop cloth
- Paint brush
- Screwdriver
- Hammer
- Sanding sponge
- Wood filler
- Painter’s tape
- Paint stir stick
- Lint-free cloth
- Crystal knob
- Drawer pulls
- Wax brush
Country Chic Paint is easy to use, and they have a lot of cool paint colors. You can see them all here.
I, of course, have my eye on Luscious Lime and Rustic Charm for future projects. I can’t resist a pretty shade of green! (See the table I painted with Rustic Charm here.)
How to paint an old desk with clay paint:
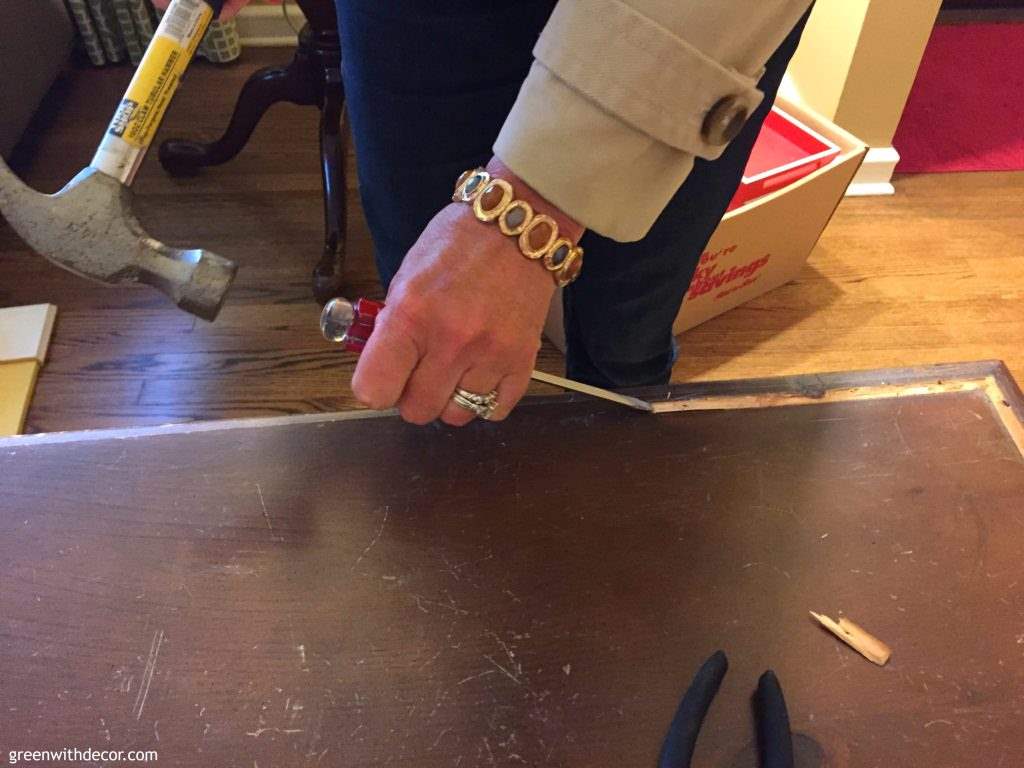
1. Prep your piece.
The desk had raised trim around the back two corners, which dated the piece.
My mom was over the day I was painting the desk and jumped into help. With a screwdriver and hammer, we got the trim off pretty easily.
I know sometimes when you get a hand-me-down piece, it can feel almost wrong to change it – like taking off this trim – but, really, don’t feel guilty. My Grandpop isn’t here to see the desk, but I just know he’d be thrilled I was using it, no matter how I changed it to fit my taste.
And my Grandmom loves the changes I made to the desk. She’s just happy I could use it and was asking me to send her pictures during every step of the makeover.
After the trim came off, we used some wood filler to fill in some of the gaps. I honestly hadn’t used wood putty before. Usually, Kalen handles that step of any project, and now I can’t believe I hadn’t done it. So easy!
With clay paint, you usually don’t have to worry about sanding a piece first. But like I said, the desk was in rough shape.
You can see my mom sanding the desk with a sanding sponge. (Pretty much anytime you see nail polish on a hand, it’s my mom in the picture, not me – ha!)

Rub the piece with a damp, clean cloth to get rid of any dust and dirt, then rub it again with a dry, clean cloth
2. Prep the drawers
I took the drawers out and removed the old hardware. Of course, I kept the old hardware just in case I want to use it in the future!
You can use painter’s tape to tape around the outside of the drawers so you don’t end up with any paint on the sides of the drawers.
3. Paint!
Shake and stir your paint.
With clay paint, the pigments sit at the bottom, so you want to be sure the paint is good and stirred before you use it.
Paint your piece.
I always paint with the grain of the wood and make sure all my brush strokes on one side of the piece are going in the same direction.
I let the first coat dry overnight.
If you’re into the farmhouse/rustic look, this might be all the paint you want to apply. It’s a cool look, but I wanted the color to be a bit thicker.
If you choose, paint a second coat. I loved the coverage the second coat provided.
4. Distress the piece
I used my sanding sponge to distress the piece.
Rub a sanding sponge or sand paper along the edges of the piece.
Rub the piece with a damp, lint-free cloth to get rid of all the sanding dust.
Let the piece dry for a day or two.
5. Seal the desk with wax.
I loved the color of the Vanilla Frosting paint and didn’t want to alter the color with dark wax, so I used Country Chic Paint’s Natural Wax to seal the piece.
Stir the wax brush around in the wax, then apply to your piece using a circular motion.
Cover the whole piece, then use a clean, lint-free cloth to buff the piece and get rid of any excess wax.
The wax needs to be reapplied every 6 to 12 months to keep your piece sealed.
Country Chic Paint has awesome video tutorials for everything clay paint you’d ever need to know on its YouTube channel. I’d highly recommend watching them if you have questions on anything clay paint-related.
Plus you have to see the cool shed where the videos are filmed. It’s seriously like something out of a fairy tale, and I just want to go there and paint all day long.
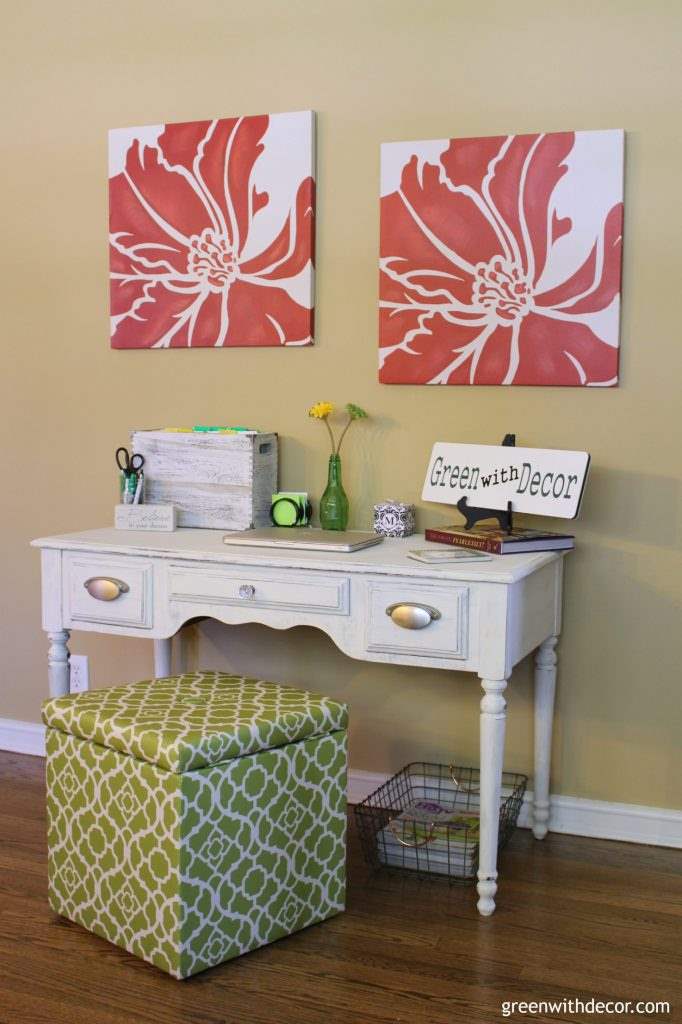
6. Display!
My favorite part: decorating!
Is it called decorating if you’re just putting your office supplies on a desk? I think so!
I set up the desk in our living room.
I’ve been doing a lot more work from home lately, and it’s nice to be on the first floor rather than up in the office working.
I love this setup, and it’s really nice to have a dedicated space for blogging and other writing work.
I love the finished paint color!
And one more shot from my fall home tour:
I love that I can sit and work at the same place my Grandpop did. It’s amazing what some clay paint can do for an old desk.
For those who work from home, how’d you set up your workspace? By painting an old desk or setting up shop at the kitchen table?
I’m always curious to hear about others’ home office! (You can see our other home office, Kalen’s workspace, here.)
GET THE LOOK:
Since a popular question I get is “Where’d you get that?!,” here are links to the same or similar sources:
- Wall color: Camelback by Sherwin Williams
- Crystal knob
- Drawer pulls
- Green + white ottoman
- Metal basket
- ‘Believe in your dreams’ sign
- ‘Decorate Fearlessly’ book
- ‘Domino: Your Guide to a Stylish Home’ book
- White file cabinet from HomeGood, can’t find anything similar online
- Green area rug
You can see more DIYs for the home office here:
Remember to bookmark or pin this post if you want to save it for later!
Pin it!
Want to read more posts like this?
Follow along: Get my emails | Facebook | Pinterest | Twitter | Instagram
Celeste says
I just love how much family history is in your desk! It’s furniture like this that really adds character to a home! This turned out beautifully. Love the pulls you chose! And yes, Oregon Trail was pretty much the best game ever. 😉
GreenWithDecor says
Thanks so much, Celeste!