Make this easy DIY cork snowman in an afternoon with some old wine corks, paint, buttons and ribbon! Such a cute winter craft!
We’re still very much in the middle of a whole bunch of decorating, organizing and even a few DIY projects around here, so I promise more house updates are coming just as soon as there’s something fun to share rather than a bunch of things that are just partway done.
Because as much as I love before/progress pictures, they’re not as fun if you don’t get to see the ‘after’, too! Otherwise it seems like just a bunch of messy pictures. (You can see all blog posts on our Milwaukee house here though if you’re interested in seeing what we’ve done so far.)
In meantime, it’s about time for another wine cork DIY around here, don’t ya think?!
This cork snowman is really easy and a fun little winter craft idea for those days you’re snowed in. We’ve had quite a few of those lately, and this week isn’t looking any better. It’s supposed to be about a billion degrees below zero tomorrow, how is that even possible?!

This post contains affiliate links. This means if you click the link and buy something, I may receive a small percentage of sales at no extra cost to you.
Supply list for a DIY cork snowman:
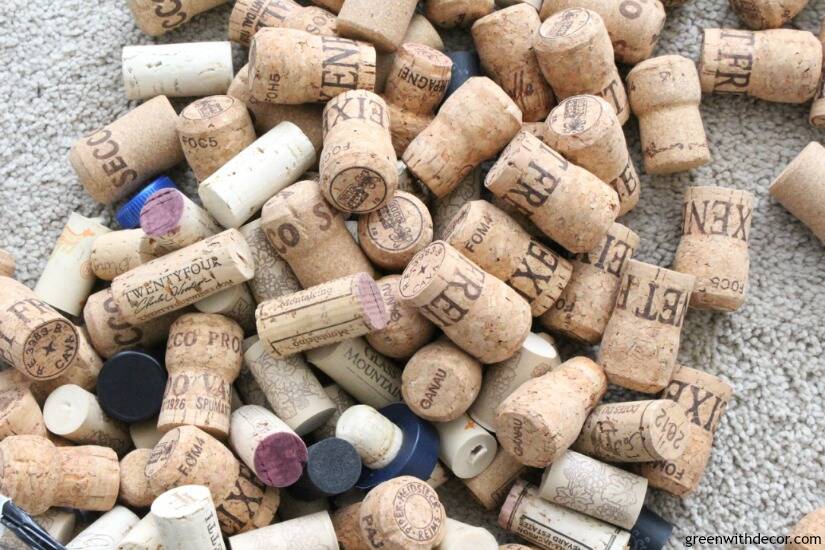
- Wine corks (You can buy some if you’re not a cork hoarder like we are!)
- Hot glue gun or Gorilla Glue’s Clear Grip (available here or here)
- Small paint brush
- White craft paint
- Orange button or orange craft paint
- Black buttons
- Scissors
- Red ribbon
- Black cardstock
Okay for such a simple project, the supply list actually seems kind of long, huh?!
How to make a DIY cork snowman:
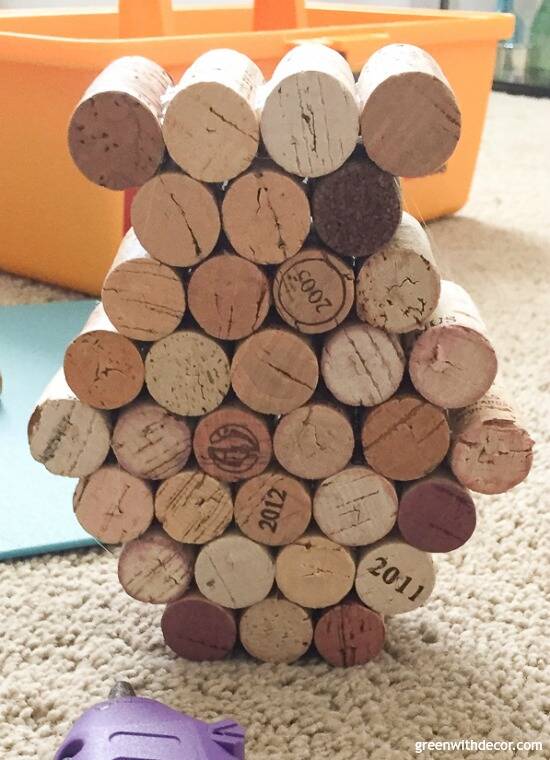
1. Line up your corks into the snowman shape.
2. Glue the corks together.
3. Paint the snowman white.
I just painted the fronts of the corks since I like the natural look of corks.
4. Paint a button orange.
Unless you’re lucky enough to have an orange button lying around!
5. Glue on the buttons for the face and coat buttons.
6. Add the scarf.
Tie it around, position it how you want and glue it on so it stays put.
7. Cut the cardstock into a hat shape.
I looked for a cute little hat to add to the top of the snowman, but I could only find them in huge packs, which seemed silly to buy a bunch when I only needed one.
So cardstock it is!
I used another cork behind the hat, glueing the front of it to the cardstock and the bottom to the corks at the top of the snowman’s head. This keeps the cardstock upright.
All done!
If you want another winter craft idea, check out these DIY snowmen from old glass jars.
If you’re looking for more cork DIYs, check these out:
- A DIY cork shamrock for St. Patrick’s Day
- The secret to making a DIY cork bulletin board
- DIY cork pumpkins
- A DIY Christmas ornament with wine corks
- A cork chalkboard from an old calendar frame
- DIY wedding place cards from wine corks
Hmm yeah, I may have a wine cork addiction. 🙂
Remember to bookmark or pin this post if you want to save it for later!
Pin it!
Want to read more posts like this?
Follow along: Get my emails | Facebook | Pinterest | Twitter | Instagram
Leave a Reply