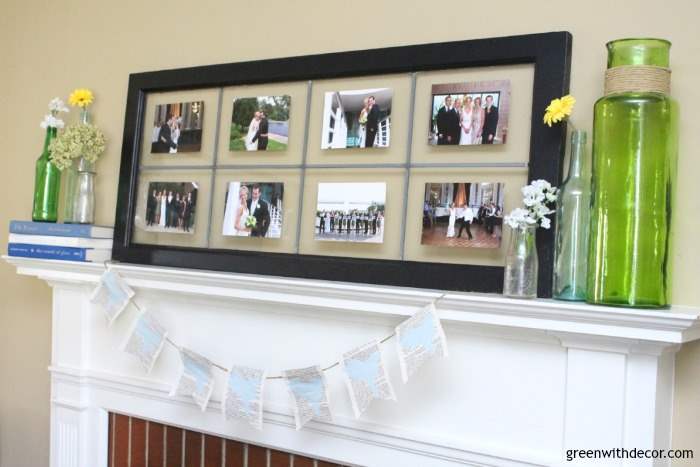
After I took the St. Patrick’s Day banner down from the mantel, it was feeling a bit bare. Every time I’d walk by the living room, the mantel just looked so … plain.
It’s funny how quickly we get used to something.
We had garland up there for Christmas and winter, then a Valentine’s Day banner, then a St. Patrick’s Day banner, so I pretty much decided we needed some sort of garland for a spring mantel, too.
Since we’ve been purging like crazy, I spotted a pile of books we were planning to get rid of and grabbed one thinking some book pages could be the perfect backdrop for a spring garland.
I wandered up to my craft closet to look at paint colors and remembered I had some light blue left from this spring project last year and knew I could tie everything together for an easy spring banner.
This post contains affiliate links. This means if you click the link and buy something, I may receive a small percentage of sales at no extra cost to you.
This project took about 20 minutes total. Waiting for the paint to dry took the longest.
You can even make one in time for Easter this weekend if you’re hosting and running around trying to get your house all decorated and menu set up.
This post contains affiliate links. This means if you click the link and buy something, I may receive a small percentage of sales at no extra cost to you.
Supply list for a book page spring garland:
- Old book pages
- Pencil
- Stencil (I had a bird stencil waaaay back from this fall pillow project, which is still one of the most popular projects on my blog, by the way.)
- Paint
- Small paint roller
- Painter’s tape
- Scissors
- Twine
- Tape
How to make a spring garland from old book pages:
1. Trace the garland panels.
I used my St. Patrick’s banner as a template.
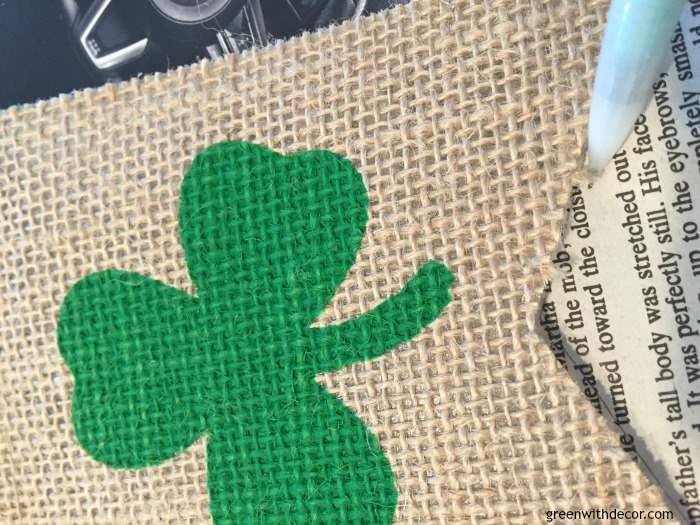
2. Paint the design on each garland panel.
Tape the stencil on top of your book pages so it doesn’t move around while you’re painting.
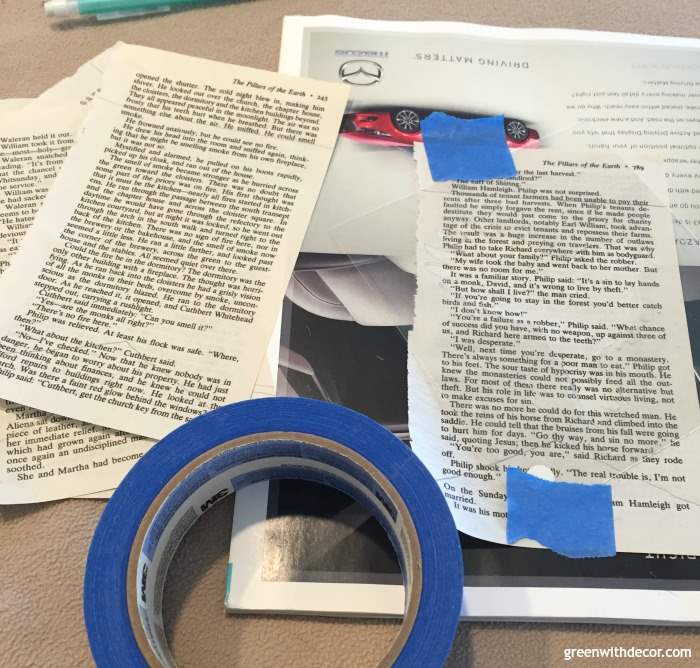
A paint roller is the best way to get a clean paint line when using a stencil. The less paint you use, the better. Otherwise, it can pool.

Let the paint dry.
3. Cut out each panel.
Also you may notice the bird isn’t in *exactly* the same place on each panel. I’m totally okay with that. 🙂
4. Tape the twine to the back of each panel.
I eyeballed it so each panel would be an equal distance apart. I also taped the twine at about the same distance from the top on each panel so the garland would hang evenly.
5. Hang up and enjoy!
I’m loving using glass bottles and books for decor lately.
Have you done any book page crafts lately? I’d love to hear your ideas … I’ve been thinking about what else I can do with the rest of these old books!
GET THE LOOK:
Since a popular question I get is “Where’d you get that?!,” here are links to the same or similar sources:
- Window turned picture frame (DIY)
- Glass milk jars
- Tutorial: How to dry hydrangeas
- Books here, here and here
If you want more spring mantel decorating ideas, you’ll want to see these, too:
Remember to bookmark or pin this post if you want to save it for later!
Pin it!
Want to read more posts like this?
Follow along: Get my emails | Facebook | Pinterest | Twitter | Instagram
Leave a Reply